Step by Step Wedding Planning Guide to Your Dream Day
- Author: Natali Grace Levine
- Reading time: 36 min 45 sec
- Publication date: 09/15/2026
- Updated: 10/06/2026


- How Long Does It Take to Plan a Wedding? 4, 6, 8, 10, and 12-Month Timelines
- Step 1 – Define Your Wedding Vision
- Step 2 – Set a Realistic Budget
- Step 3 – Build Your Guest List
- Step 4 – Choose the Perfect Date and Venue
- Step 5 – Hire Key Vendors Early
- Step 6 – Decide on Wedding Style & Design
- Step 7 – Find and Secure Attire
- Step 8 – Plan the Ceremony
- Step 9 – Organize the Reception
- Step 10 – Manage Invitations & Stationery
- Step 11 – Organize Transportation & Accommodation
- Step 12 – Gifts, Registry & Favor Management
- Step 13 – Legal & Administrative To-Dos
- Step 14 – The Rehearsal
- Step 15 – The Wedding Day
- FAQ
Your engagement glow is real, and you’re ready to start planning. But it can quickly shift from exciting to overwhelming when you’re staring at a thousand decisions and no clear path forward. Sound familiar? But did you know a structured, step-by-step approach can turn planning from chaotic into manageable? You’ll know exactly what to do, when to do it, and how to make decisions that reflect who you are as a couple. This isn’t about following rigid rules - it’s about giving you the framework to build something authentically yours while keeping your sanity intact.
We’ll walk you through the essential stages, including practical timelines, expert tips, and no-nonsense advice to help you save time and money and reduce stress. No matter whether you’d like to have an intimate garden ceremony or a large ballroom wedding, guidance on how to plan your wedding begins right here. Let’s make your vision a reality.
Find Your Perfect Wedding Vendors


How Long Does It Take to Plan a Wedding? 4, 6, 8, 10, and 12-Month Timelines
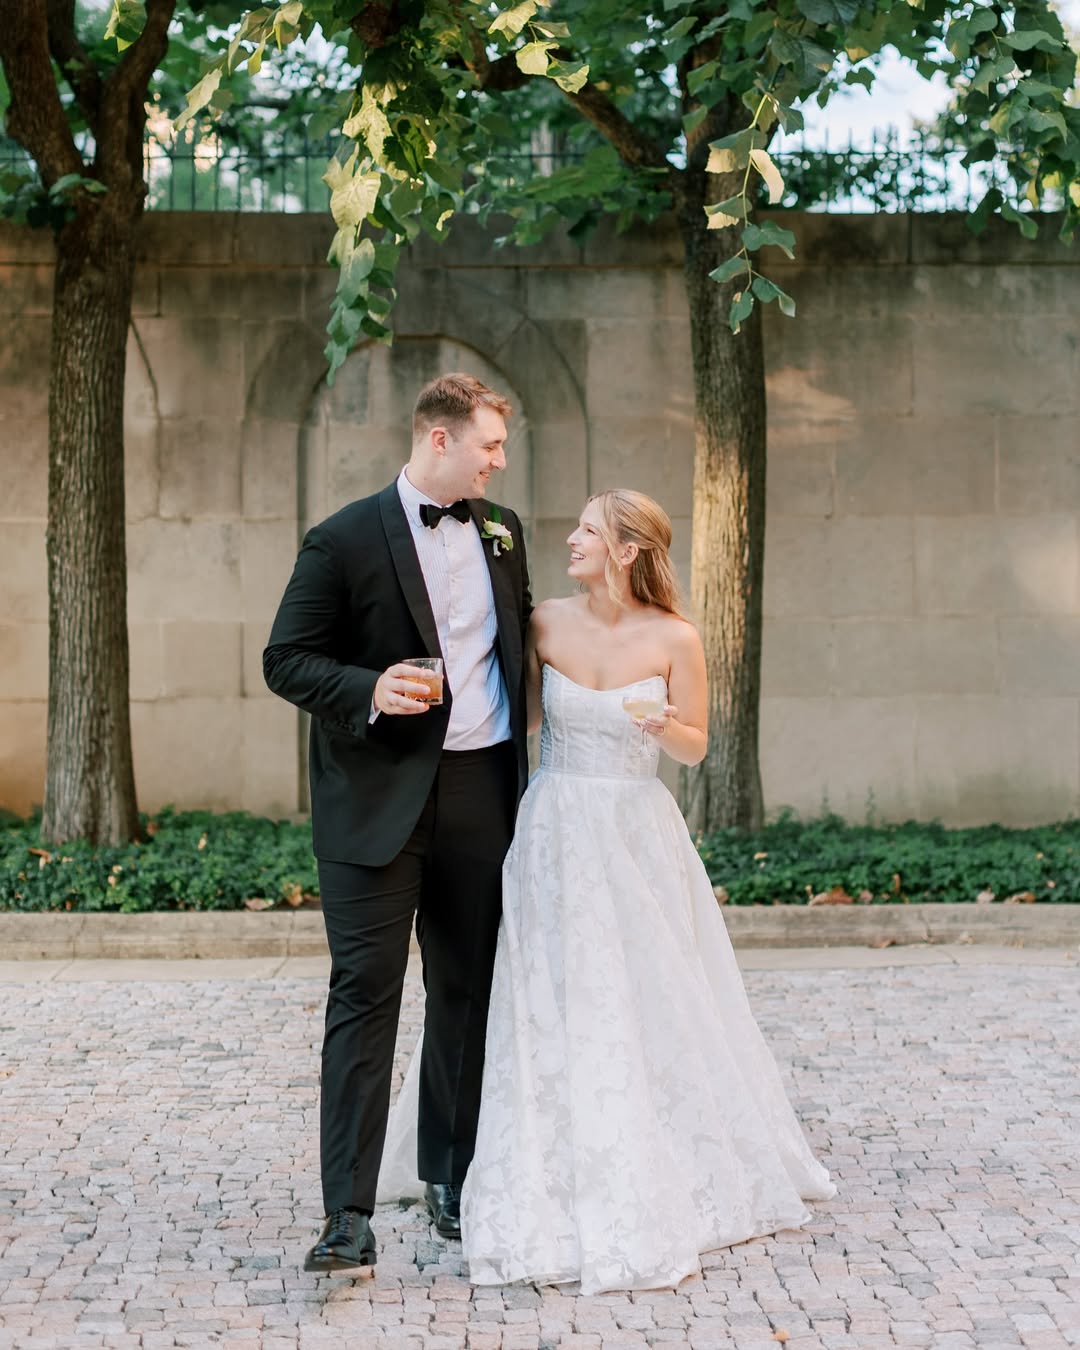
Before looking at the fifteen steps that come next, it is useful to find out what kind of runway you are actually dealing with. The time between your engagement and your wedding day affects almost every subsequent decision, whether it's how much flexibility you have with the venue or how custom your dress or floral arrangements can realistically be. With a twelve-month engagement, you can wait for the ideal venue to become available; with a four-month engagement, you have to act quickly and trust your instincts. Neither approach is better than the other; they simply require different priorities. The table below gives a brief overview of what each timeline actually permits, and the sections that follow explain what this looks like in real life.
| Timeline | Realistic For | Biggest Trade-off |
|---|---|---|
| 4 months | Small to mid-size weddings, flexible dates | Limited venue choice, fast decisions required |
| 6 months | Most standard weddings with some flexibility | Less time for custom orders and fittings |
| 8 months | Comfortable planning pace, moderate customization | Peak-season venues may already be booked |
| 10 months | The most common engagement length | Requires steady, consistent progress |
| 12+ months | High-demand venues, destination weddings, full customization | Longer engagement, more decision fatigue over time |
Planning a Wedding in 4 Months
You can plan a wedding in four months, though this approach encourages decisiveness rather than careful consideration. Decide early on your three non-negotiables, whether those are the venue, the photography, or the guest experience, and let the other choices flow from that, rather than spending a great deal of time weighing each one equally. During peak season, venue availability will be your main limitation, so being open to a Friday or Sunday wedding will greatly increase your options. Expect to pay several vendor deposits within that same short period, rather than spreading payments out, and prefer sample or off-the-rack dresses to anything made to order. This does not in any way mean that the wedding will be of lower quality, merely that it will be one based on swift and confident decisions.
Planning a Wedding in 6 Months
Six months gives you considerably more time, while still requiring quick decisions when the situation arises. During this period, you can order a custom dress, schedule a proper alteration appointment, and instead of booking the first photographer who becomes available, you can meet with two or three photographers. You still need to send out the save-the-dates within the first month so out-of-town guests have enough time to plan their travel. The drawback is that vendors already booked a year or more in advance by other couples may not be available, and custom features such as hand-painted invitations and elaborate floral arrangements may need to be simplified to fit the schedule.
Planning a Wedding in 8 Months
Eight months is a perfectly comfortable duration: long enough to avoid the urgent decisions a shorter time frame forces you to make, and short enough that planning exhaustion seldom sets in before the wedding. Couples with a timeline of this length generally find the experience steady rather than stressful because they can research before committing, rather than simply taking the first option that comes along. At this duration, you are usually able to:
- Book your venue and key vendors without the urgency a shorter timeline demands
- Order a dress on a standard timeline with room for two or three fittings
- Work with your florist on a real custom concept, not a simplified package
- Space major deposits across several months instead of all at once
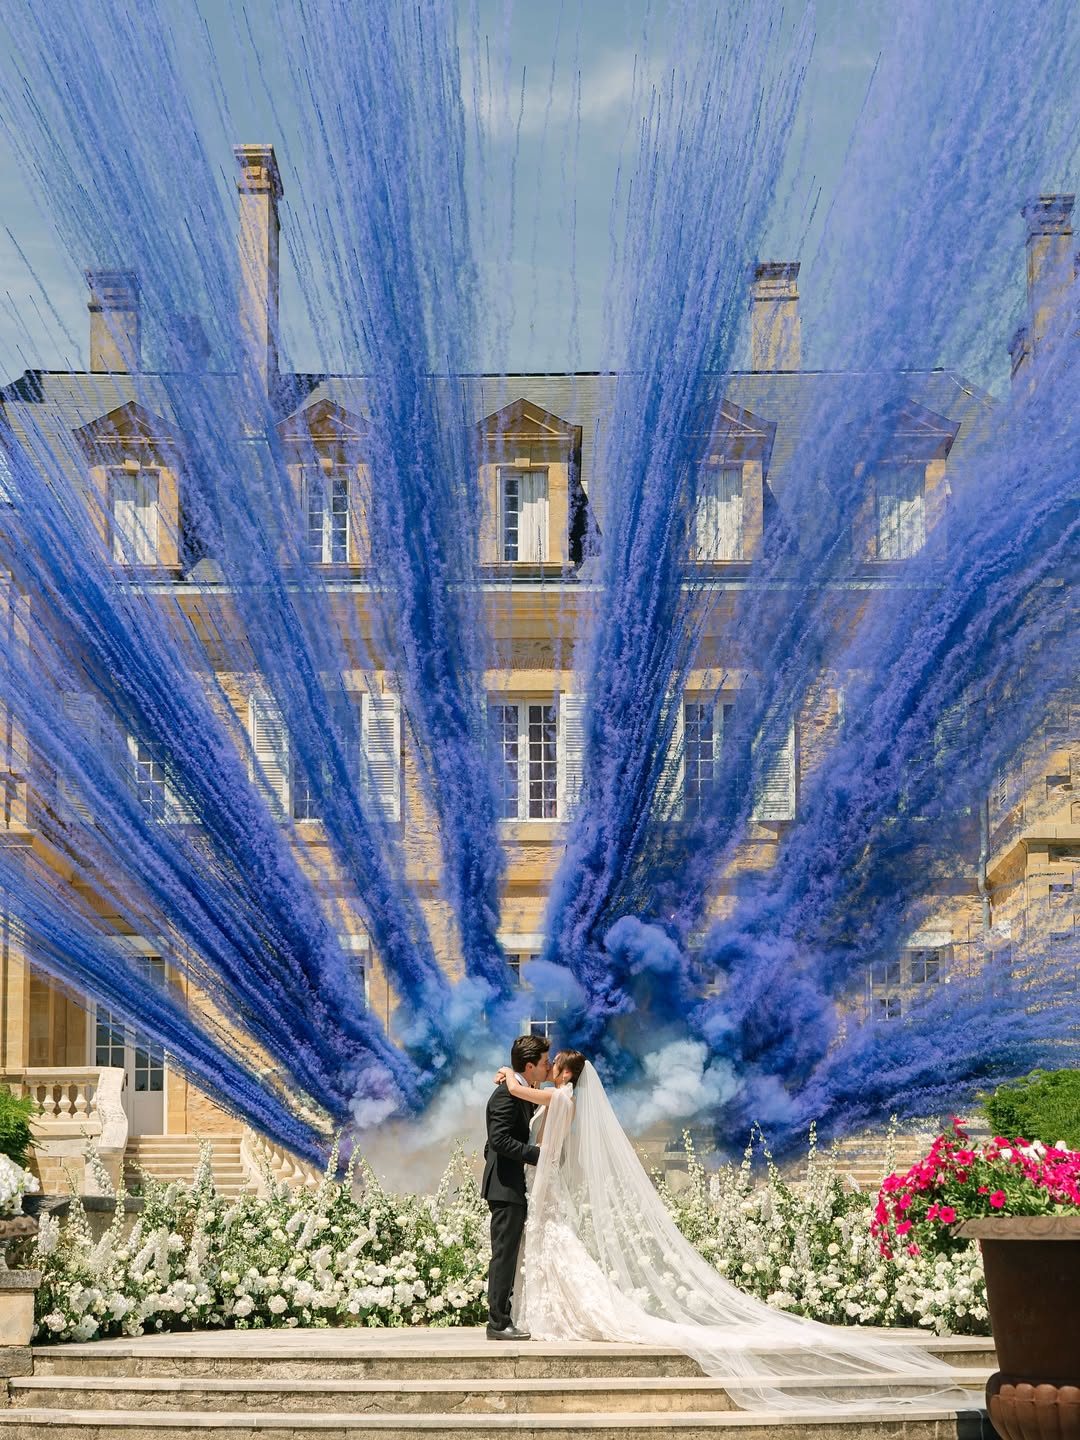
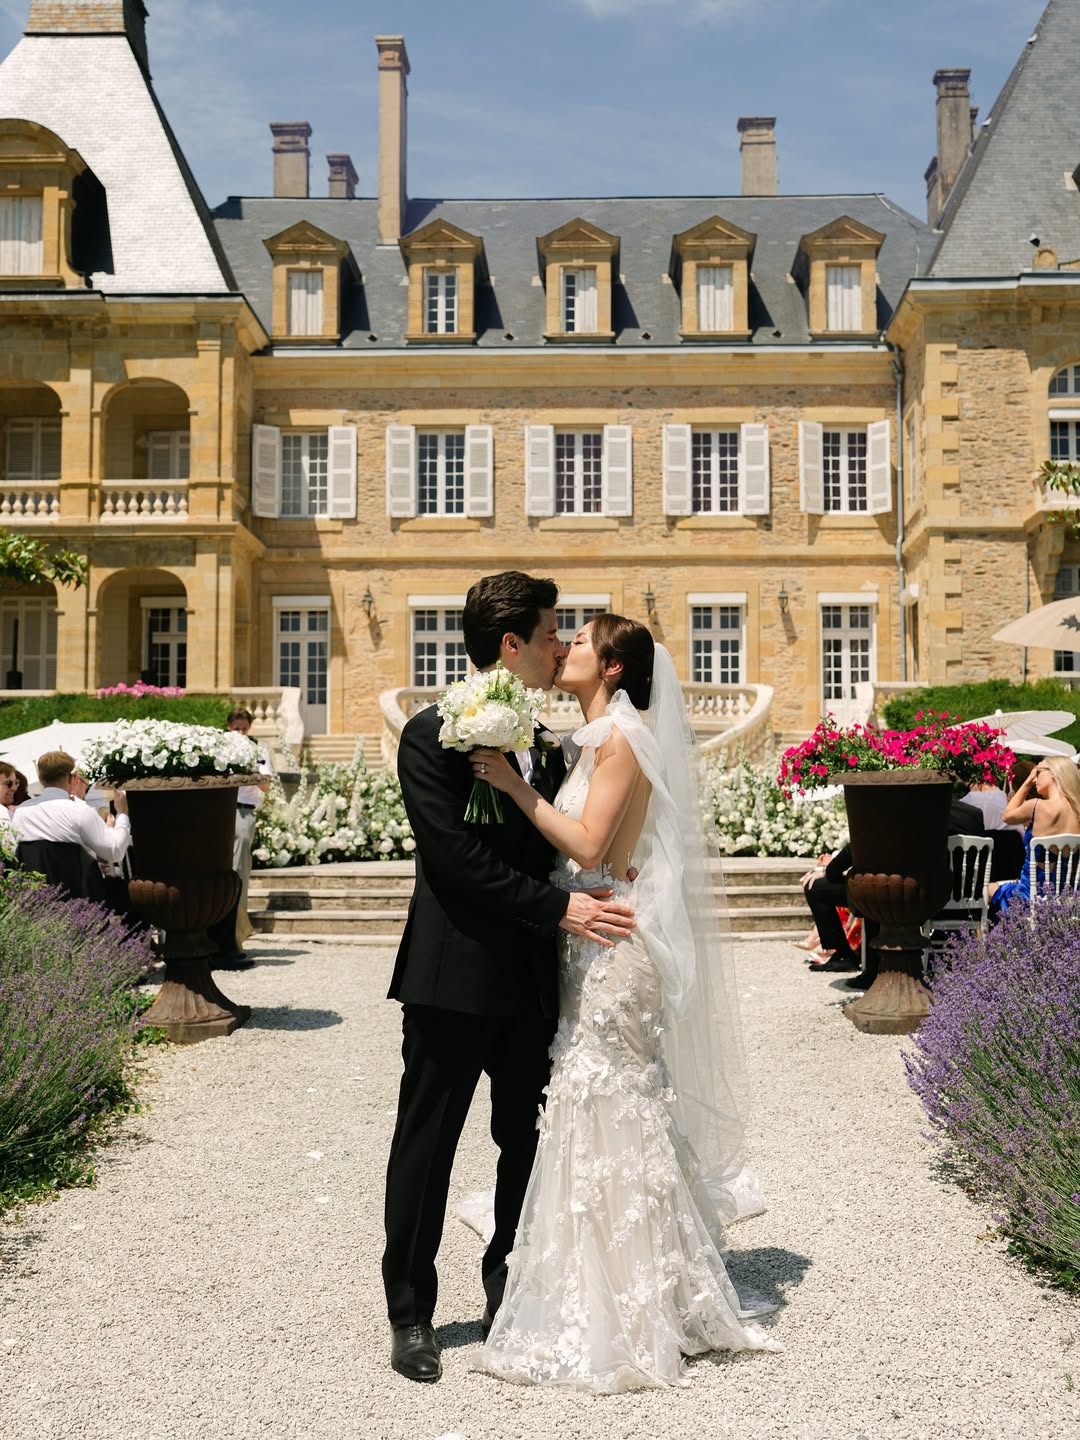
The biggest limitation is venue availability during peak season, as the most popular locations are usually booked a year or more in advance by couples with a longer timeframe than you do. If you are flexible about your exact dates, even by a week or two, your choices will remain genuinely open rather than being reduced to the options that are still available. Giving up some spontaneity pays off after eight months with a planning process that never really becomes stressful.
Planning a Wedding in 10 Months
Ten months has become one of the most frequently chosen engagement lengths, and it's easy to see why. With this timeline, you can make the major early decisions, venue, budget, and guest list, without feeling pressured, and you also have time later to handle vendors, your attire, and the overall design at a relaxed pace. The timeline requires consistency rather than urgency, because it's easy to think you have "enough time" at the beginning, only to discover that many details need attention in the final few months. Keeping a simple month-by-month checklist and reviewing it regularly helps ensure steady progress doesn't turn into a last-minute rush.
Planning a Wedding in 12 Months or More
A full year or longer remains the gold standard for luxury wedding planning, especially if you're booking a popular venue, having a wedding at a destination with international guests, or wanting truly custom, tailor-made details. With this kind of timeline, you can secure a venue with an eighteen-month waiting list or order a specially designed dress from a designer who takes only a small number of customers each season. The real compromise isn't logistical; it's managing your emotional pace, since keeping wedding planning in the background for over a year can lead to real decision fatigue if you cram all the details into the first few months. The couples who manage long engagements most effectively make time-sensitive decisions early and then deliberately spread the smaller details out over the following months.
Whether you have four months or fourteen, the fundamentals of this wedding planning checklist stay the same; only the speed at which you proceed adjusts to match your schedule. If your engagement is short, you have to be ruthless about prioritizing; if it is longer, patience and gradual progress are rewarded rather than sudden spikes in activity. With your timeline in mind, below is a clear explanation of how to move through each stage of the planning process, starting with the first decision every couple has to make.
Step 1 – Define Your Wedding Vision
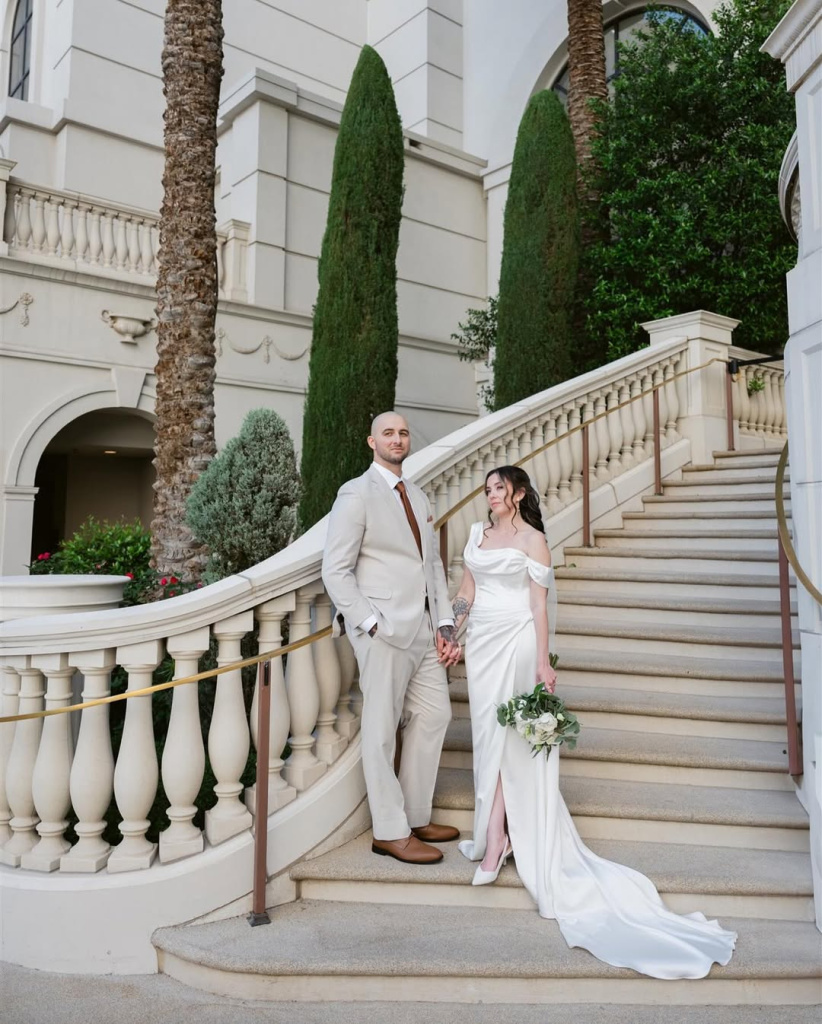
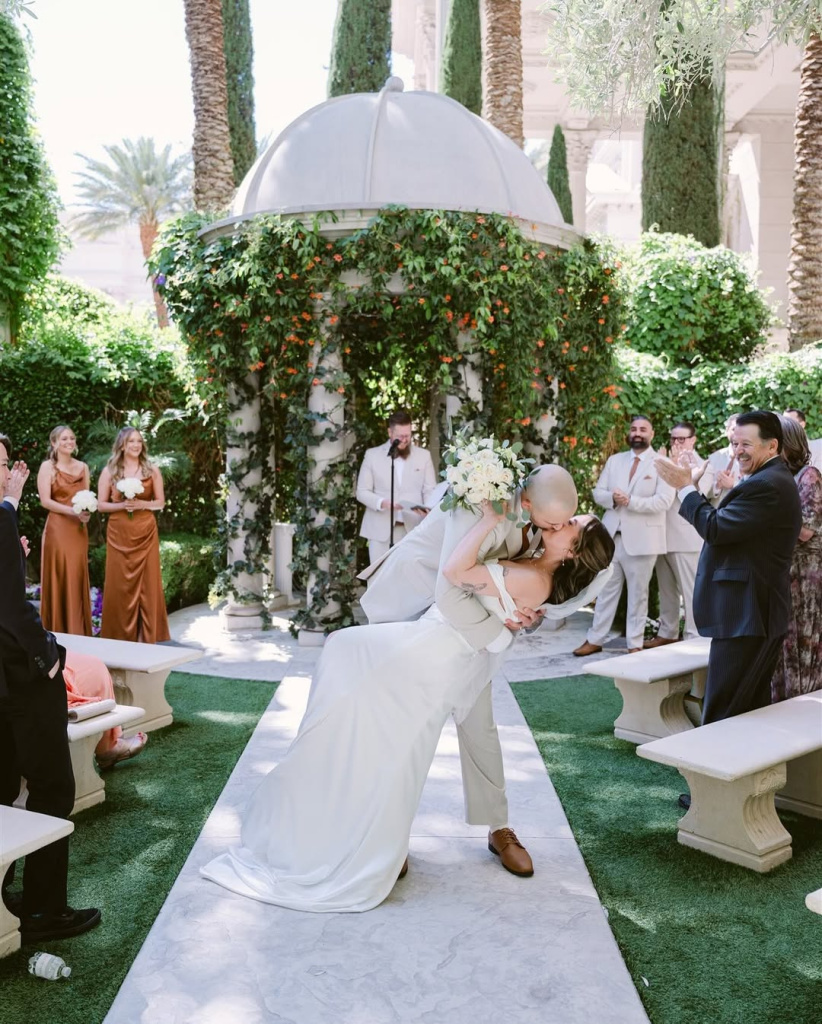
Before you dive into spreadsheets and vendor emails, pause. When planning your wedding, start with a clear vision rather than logistical considerations or budget arguments; skipping this stage is how couples end up with a beautiful venue that still doesn't feel like them. This is the point to dream without limits and work out what matters most to both of you, before anyone else's views, budget restrictions, or the idea that 'that's just the way it is' enters the discussion. Allow yourselves genuine time for this, even if it's just a slow weekend with no plan other than to talk, since all the other parts of this guide are based on the decisions you make during these initial talks.
Clarify Your Priorities
Seat yourselves and ask: What does an ideal day of ours really consist of? In some cases it involves bringing together your nearest 50 people, while for others it's a celebration attended by everyone you have ever loved. You might be very particular about the venue, or photography could be a must if you want those memories preserved perfectly. Once this image is clearer, decide on your top three priorities - whether it's the location, the food, the atmosphere, or live music. After you have established what you will not give up, all the other choices will become much simpler, since you'll always have a clear criterion by which to assess new options. As Sara Mazzei puts it, couples "often try to please everyone, especially their families, but forget what's truly important to them", a trap worth watching for before it quietly reshapes your whole guest list and day.
Mood & Style
Let us consider aesthetics. What sort of atmosphere do you want your wedding to convey? For example, should it be romantic and timeless, modern and minimalist, bohemian and free-spirited, luxurious and opulent, or deeply based on your cultural heritage? Whatever response comes to you immediately, keep in mind that your style is not merely about appearing attractive; it's about establishing an atmosphere that reflects who you are, one that your guests will pick up on even if they can't put their finger on it. Recall the weddings or events you've actually been to that had a strong impact on you - the ones you still refer to years later. What was it that made them stand out? That experience should be your true starting point, more valuable than any one Pinterest board.
Build Your Dream Board
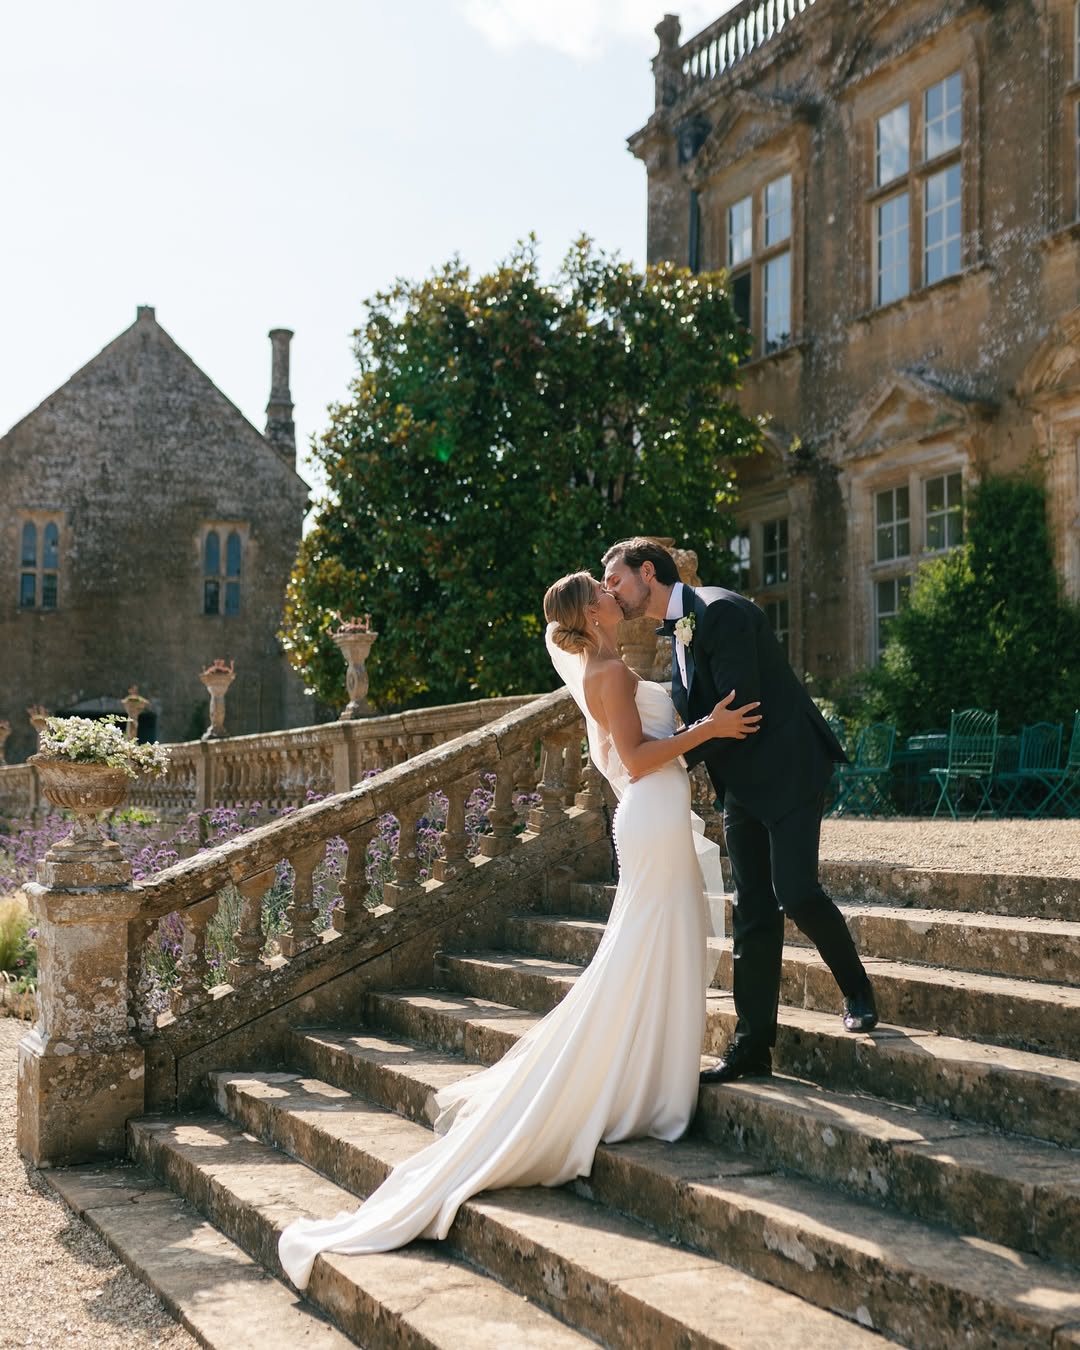
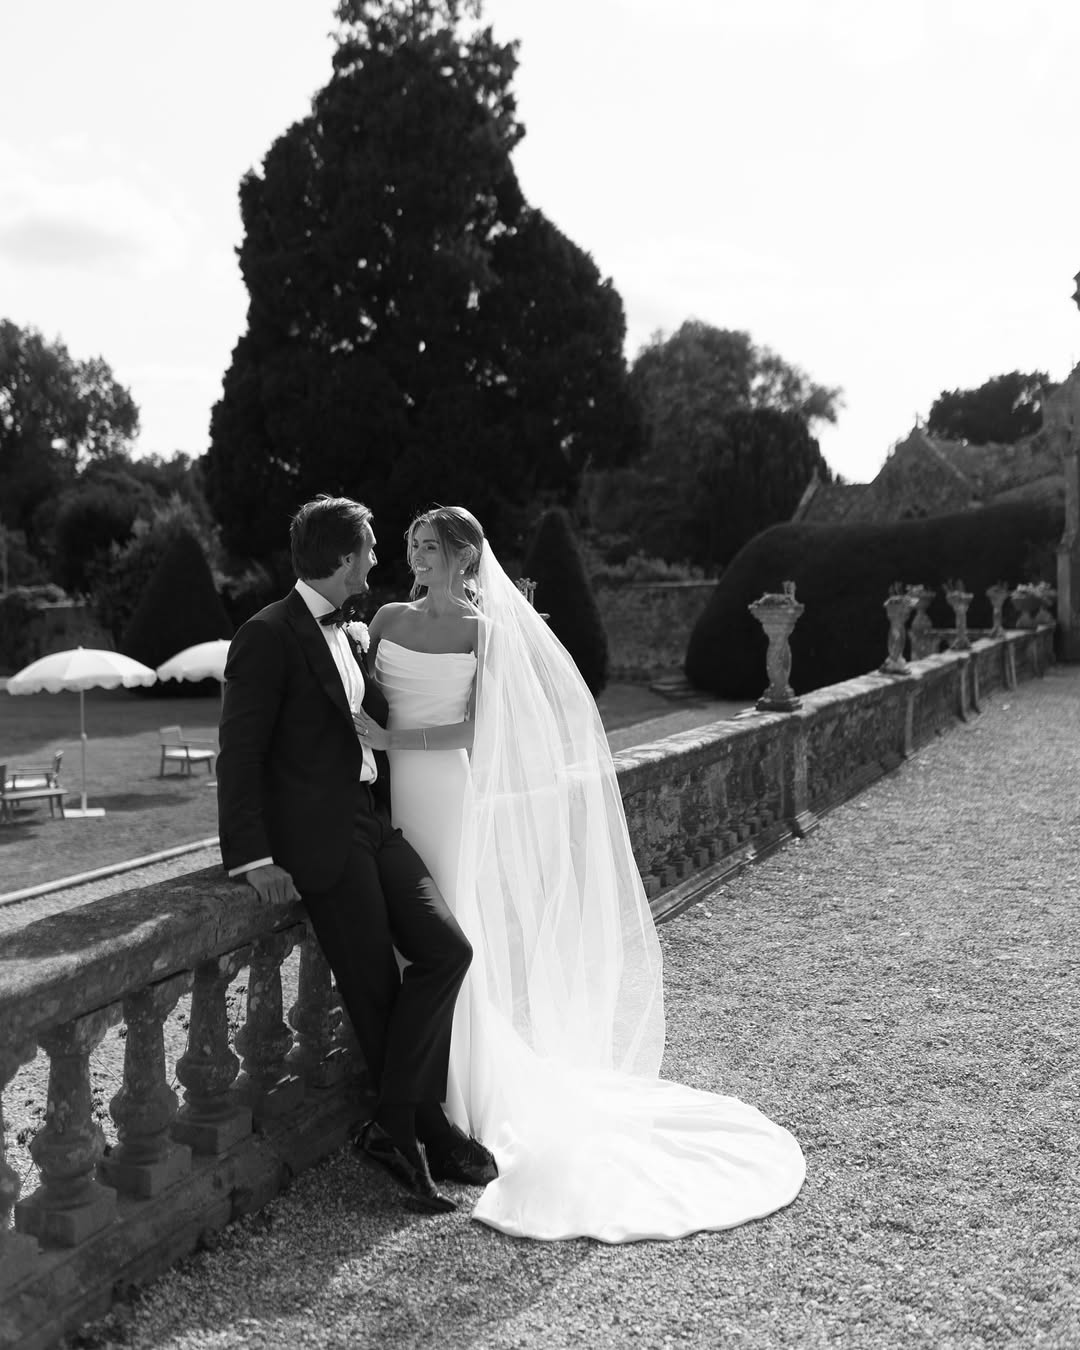
That's when the enjoyable part starts. Create a visual collection of everything that makes your heart skip a beat - Pinterest boards, Instagram saves, magazine clippings, fabric swatches, and screenshots of color palettes. Collect inspiration without imposing filters on yourself; as your collection grows, you'll start to see patterns emerge. For example, you might find that you're always saving pictures showing candlelight and greenery, or perhaps all your saves include bold geometric patterns and rich, jewel-like colours. These patterns show what your true vision is - so have faith in them. Sara Mazzei, of Sara Mazzei Events, warns against relying too heavily on social media at this stage:
 While they are very useful tools, one can easily end up falling into conformity.
Also remember that when you're learning to plan a wedding step by step, starting with a clear vision board sets the tone for all your later decisions.

Step 2 – Set a Realistic Budget
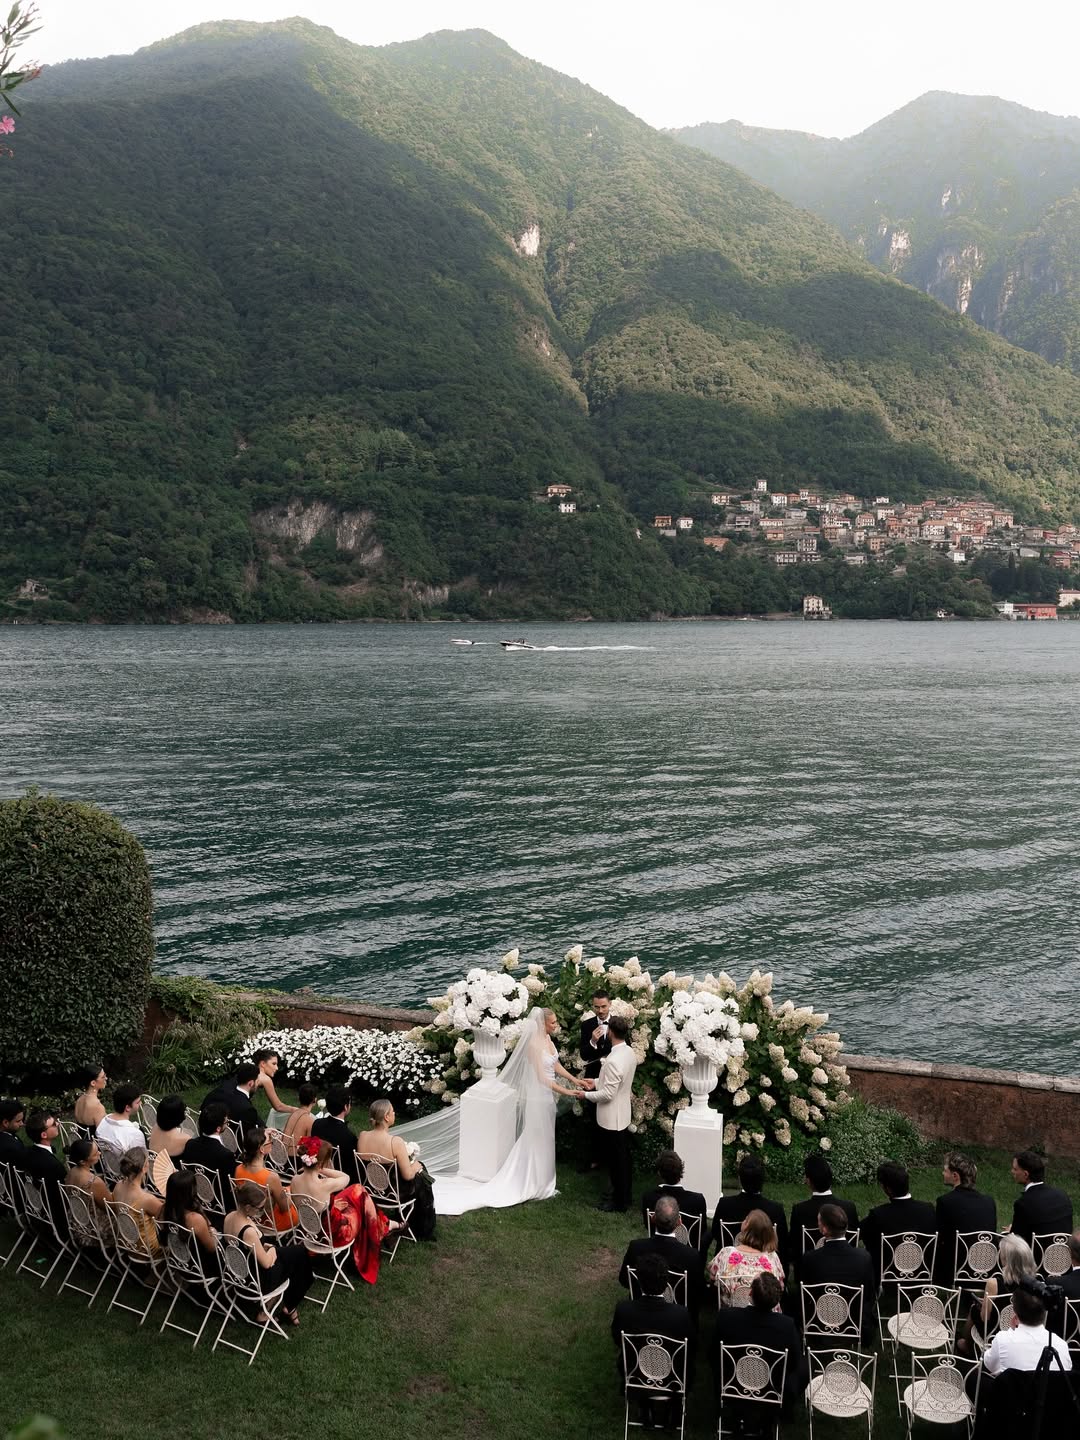
The budget forms the basis of this step-by-step approach to planning your dream wedding, since every other decision in the process is quietly based on it. Although planning a wedding on a budget isn't the most romantic aspect of the whole thing and it's easy to want to jump straight to choosing venues and dresses, if you get this right from the beginning you will avoid the kind of heartbreak that all planners cautions against - which is touring a venue, imagining your entire wedding within it, and then finding out that it's 40% over your actual spending limit.
Break Down Costs
Your wedding budget isn't a single figure; it's a set of individual items that must work as a whole, all drawing from the same fund and competing for the same amount of money. If you have a realistic sense of where that money actually goes before you start booking anything, you'll avoid overcommitting to one category and then having to rush and pay for the others later. Below is a breakdown of where your money usually goes:
- Venue and catering usually eat up 40-50% of your budget. This includes the space rental, food, beverages, and service staff
- Photography and videography typically run 10-15% because these memories last forever
- Your attire (dress, suit, alterations, accessories) takes another 8-10%
- Flowers and décor can range from 8-12% depending on your vision
- Entertainment (band or DJ) sits around 8-10%
- Then you’ve got stationery, favors, transportation, hair and makeup, and your officiant filling in the remaining percentages
Rather than building your own spreadsheet from scratch, use your Wezoree dashboard to assign percentages based on the priorities you set in Step 1. This becomes your actual working wedding planning budget, so if photography is your top priority, bump its percentage up and adjust elsewhere by trimming a few points from flowers or favors to compensate. Check these numbers every few weeks as real quotes come in, since the percentages above are a starting point, not a promise, and your actual spending will almost certainly shift once vendors give you firm prices, something your dashboard tracks automatically as you go.
Hidden Expenses
What tends to surprise couples is the costs that aren't obvious, the ones which do not appear on the venue's attractive price list but do show up as soon as you sign the contract. Service charges and tips can increase your venue and catering bill by 20 to 25 per cent. Sales tax varies by location but can still be quite high. Overtime fees apply if your event goes beyond the agreed hours. Delivery and setup charges also apply for rented items. There are charges for altering your clothes. Postage for the invitations (yes, it adds up quickly). Meals are also provided for the vendors at the reception.
Include a 10-15% buffer to your total budget for unexpected extra charges and other sneaky additions, and treat it as a real line item rather than a last-minute expense you'll have to handle when the need arises. You'll probably thank yourself when a rental company charges a delivery fee that wasn't listed in the original quote. Sara has a clear hierarchy when couples ask her where the money should actually go: lighting and entertainment first, since together they create the real magic of an event, and stationery last, "something beautiful, yes, but never too much." Her rule for the rest of the budget is just as direct, chef and food, bar service, lighting, and music are non-negotiable, "as for the rest… we can figure it out."
Budget Management Tools
Don't try to track everything in your head or on random scraps of paper. Your Wezoree dashboard is built for this: set a total budget, distribute it by category, and watch the numbers update automatically as vendors are added and quotes come in. Hiring a wedding planner to manage this entirely is another solid route, their industry connections and negotiating power often save you more than their fee costs, which makes the expense easier to justify than it first appears. Whichever route you choose, keeping your budget organized from day one is one of the smartest steps in planning your dream wedding, since a messy budget has a way of becoming everyone's problem by month six.
Step 3 – Build Your Guest List
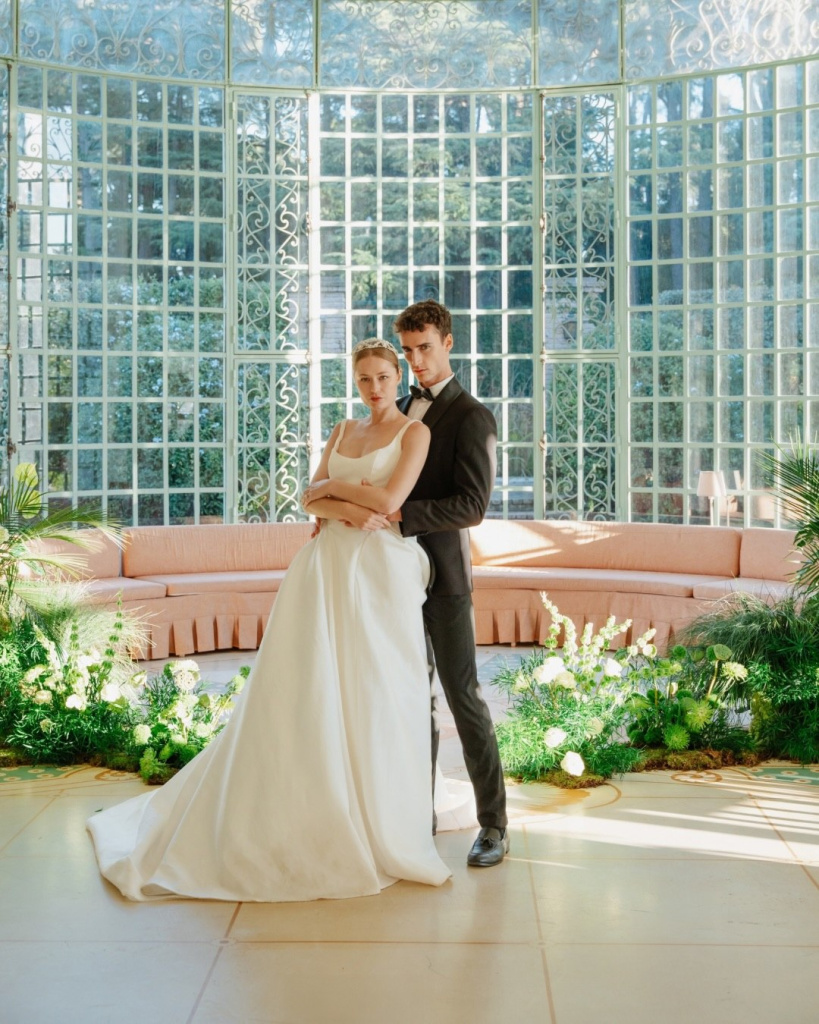
Your guest list ripples through everything: it influences the venue size, the catering costs, the arrangements, and your invitation budget. Since this decision usually stirs the strongest emotions, treat it with care and realize how much it can increase your other expenses. For example, if your caterer charges $150 per person, the difference between 100 and 150 guests amounts to $7,500 - money you could instead spend on your dream photographer or your honeymoon.
It's better to build the list in circles than to try to visualize everyone at once. Begin with your immediate family - that is, your parents, siblings, grandparents, and your non-negotiables. Then include your closest friends, the ones you speak to frequently and who have been with you through important occasions. After that, think about your extended family: your aunts, uncles, and cousins, since in this group you'll have to make actual choices rather than just assuming everyone should be included. Finally, add your work colleagues and acquaintances, and be honest about who you truly want there, not who you feel obligated to invite out of guilt.
Many couples create an "A-list" and a "B-list" to manage the inevitable gap between dream guest count and final budget. Your A-list gets invited immediately, and if early declines free up room in your budget and venue, invitations go out to your B-list next, with enough notice to be respectful, at least two months before your wedding. Have this conversation with both families early too, since parents contributing financially typically expect some say in the guest list, and establishing clear numbers for each side upfront saves considerably more conflict than negotiating them later.
Step 4 – Choose the Perfect Date and Venue
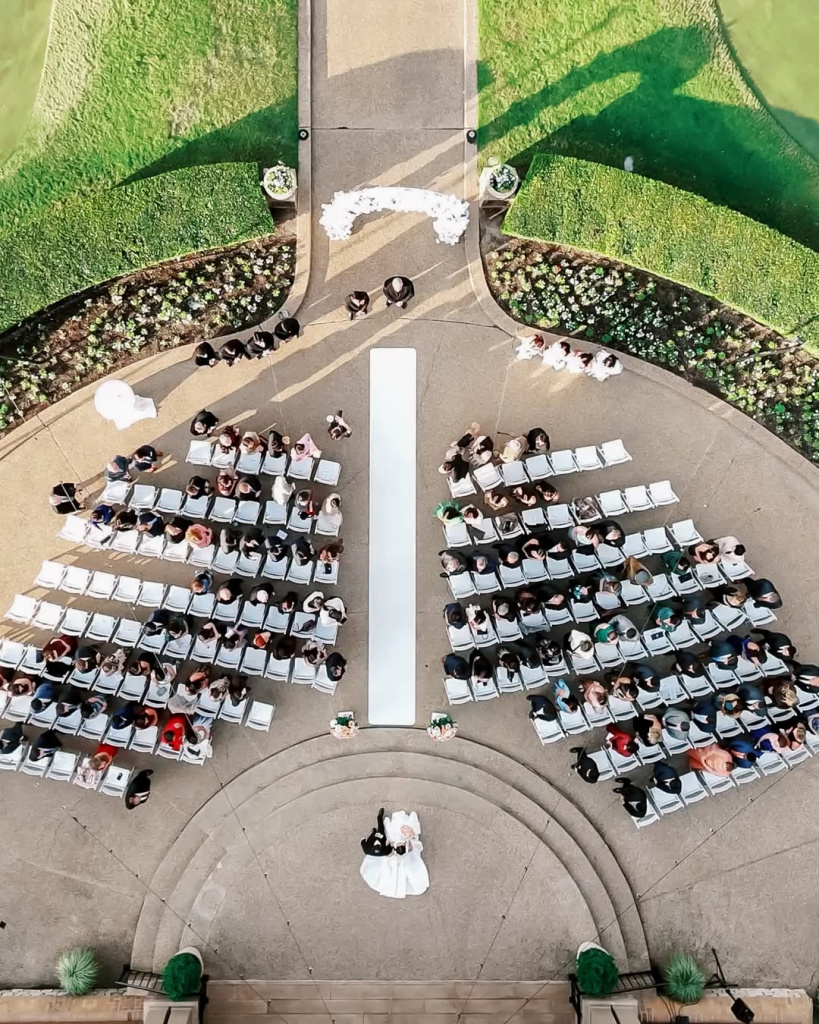
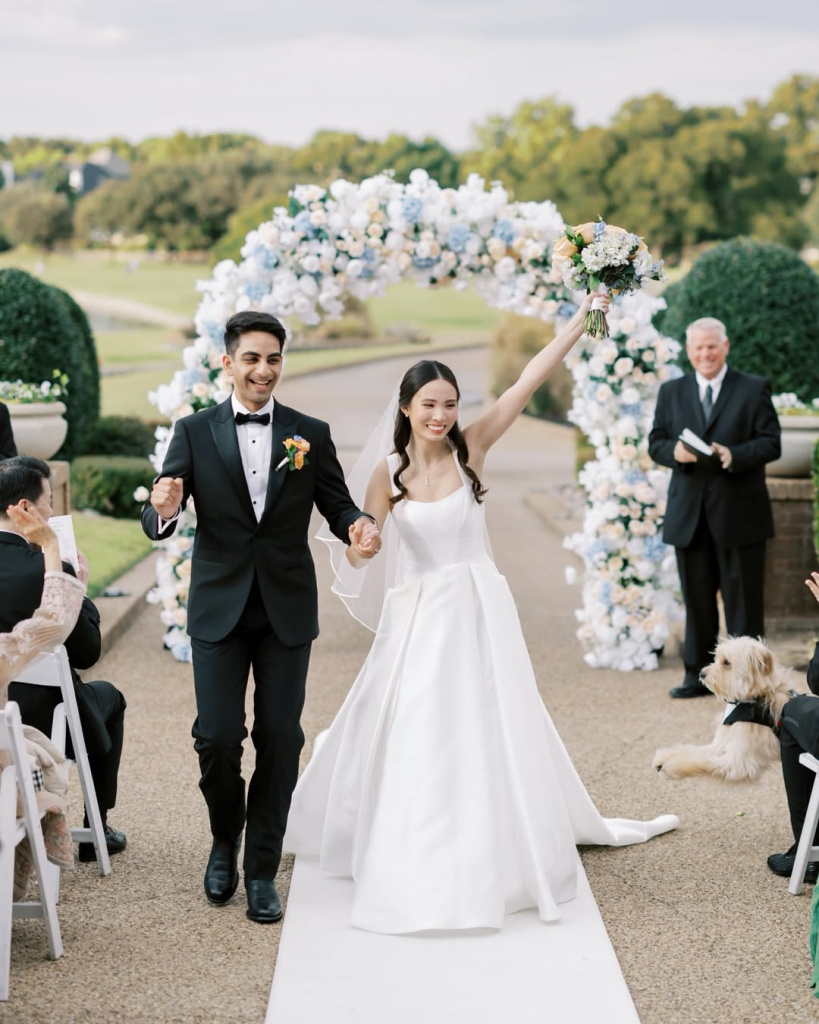
When you're booking your date, you also have to consider the venue, because the season you pick will limit the venues available to you before you've even started looking at different spaces. The season you choose strongly shapes the overall character of your celebration, affecting everything from the lighting in the photographs to the clothes your guests wear, so it deserves more thought than simply picking the first option that comes along. Sara has watched one decision shape an entire weekend more than any other: choosing a venue that's genuinely out of the box. "That choice set the tone for the weekend," she recalls of one couple who did exactly that.
Season and Timing Considerations
Every season has its own genuine characteristics, and the choice of season relies more on the vision you established in Step 1 than on individual preference. Spring features flowering plants and mild weather, although it can be unpredictable due to rain, something that becomes important if your vision includes outdoor space. Although summer ensures warmth, long daylight hours, and the rich greenery that so many couples imagine, it also involves high prices and fierce competition among vendors that you should plan for. Fall offers beautiful foliage and pleasant temperatures; since it is the most popular season for a reason, book early if you want that warmer, golden-hour look. Winter offers a striking, atmospheric ambiance and is often cheaper, trading some weather risks and scheduling challenges for a truly impressive, intimate atmosphere few other seasons can match.
Destination vs. Local Weddings
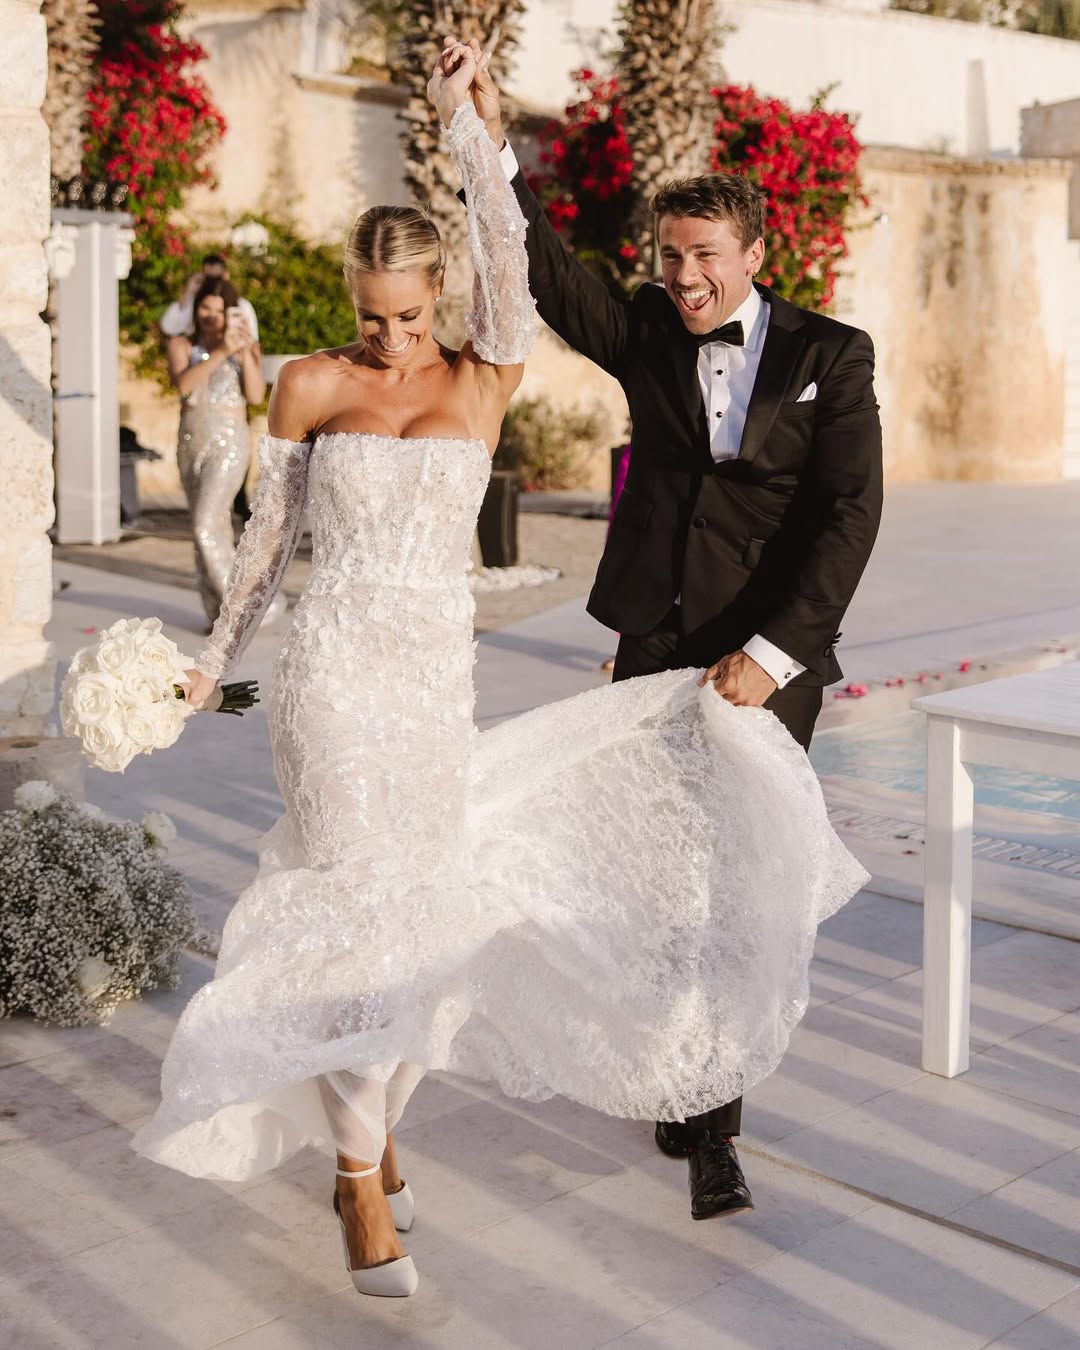
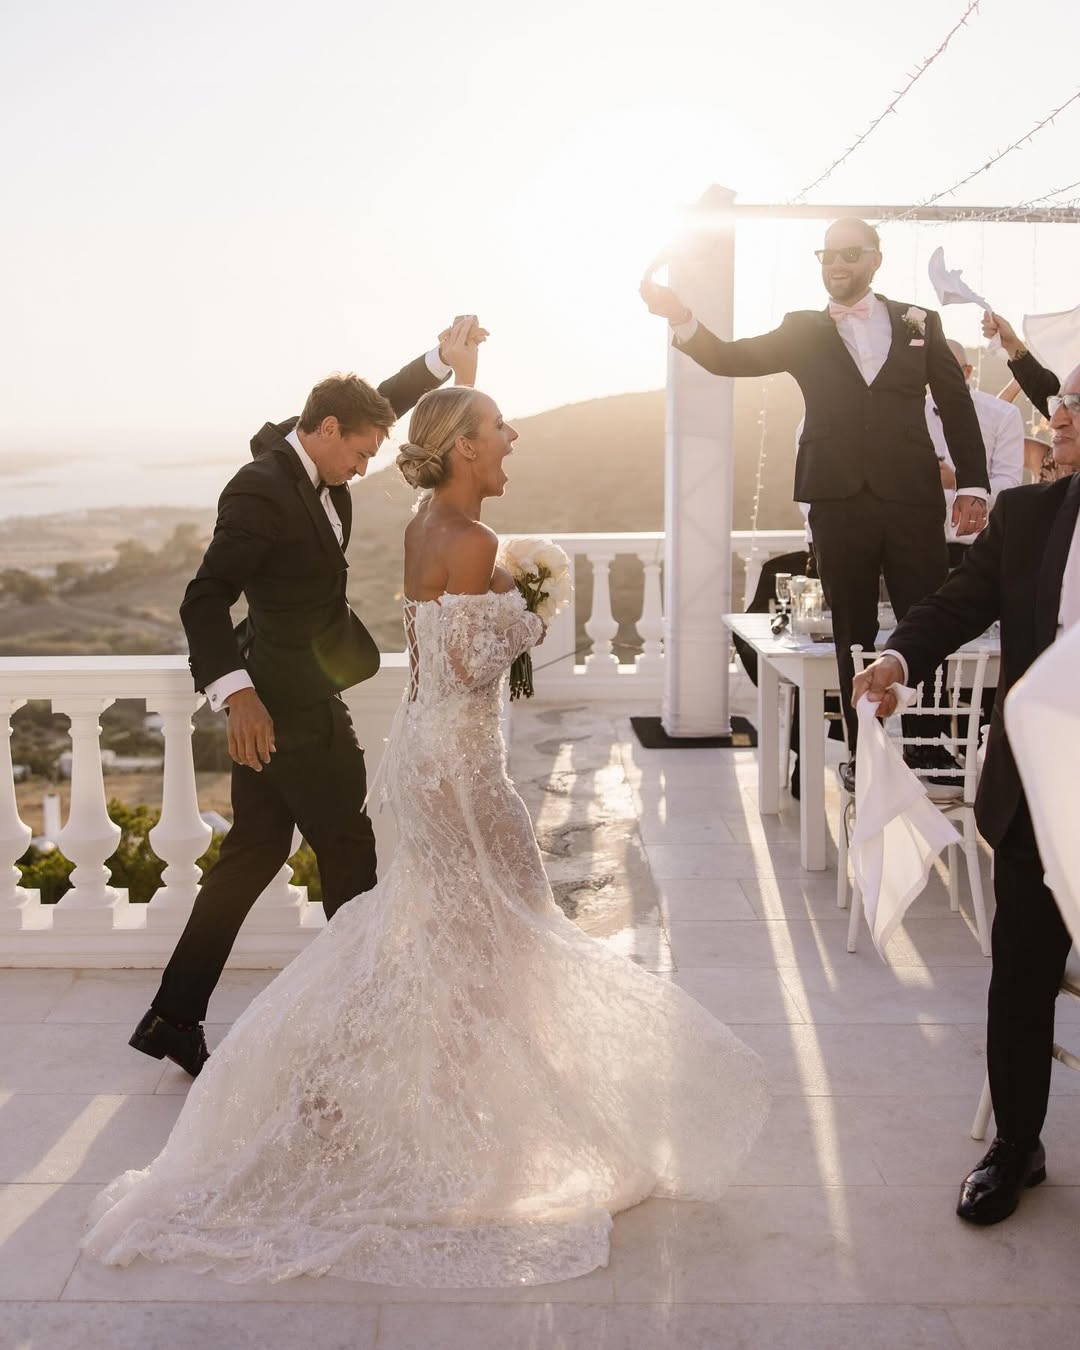
Destination weddings offer a certain level of intimacy, allowing fewer guests because of travel constraints, providing spectacular backdrops, and creating a real vacation atmosphere that turns the wedding into a multi-day affair rather than something that happens in a single evening. However, destination wedding planning involves coordinating from a distance, which means you have to place real trust in the vendors even if you'll never meet them in person before the big day, and your guests will have to pay higher prices to attend - so it's important to honestly consider whether this kind of trade-off is something you're willing to accept before you become taken with a particular location. On the other hand, local weddings work in the opposite way: they give you more control, make the planning easier in terms of logistics, and offer better accessibility to your guests, since they won't need to book flights or hotel rooms just to be there. You'll probably end up with a larger number of guests as well, which has an effect on your budget on the one hand but also means that you'll be able to celebrate with more of the people you actually care about, a consideration that should be weighed against the intimacy that a destination wedding provides.
Indoor vs. Outdoor Spaces
Outdoor locations offer natural beauty, open space, and excellent opportunities for photos - something no amount of floral decoration can fully achieve indoors. However, this beauty has drawbacks: you have to plan for bad weather, rent extra equipment such as tents, lighting, and temperature control, and in the end you're still at the mercy of nature no matter how well you plan. On the other hand, indoor venues work differently: they provide climate control, reliable conditions, and often include more amenities in the base price, eliminating a whole category of worries. Although they tend to have a more formal atmosphere, a well-chosen space with good features - such as exposed brick, high ceilings, and interesting architectural details - can have real character without making the weather something you need to plan for.
Booking Timeline
For popular venues and desired dates, especially on Saturday evenings during the peak season, you should arrange your booking 12 to 18 months in advance, as the places that are most attractive to people usually get fully booked well before most couples have even begun to look seriously. When booking a wedding in the off-season or on a weekday, you have much more flexibility; in some cases, reserving 6 to 9 months in advance is enough, which matters if your timeline is shorter than average. Regardless of the time frame you choose, it's a good idea to visit the venues in person before making a decision, since photographs do not accurately show the scale, the lighting, or the flow, and only become apparent when you're actually in the room. Find out what is included—such as tables, chairs, linens, the sound system, any restrictions like noise ordinances or alcohol policies, and the preferred vendor lists—and also check the small print relating to payment schedules, cancellation policies, and the times required for setup and breakdown, since these details have a much greater impact on your budget and logistics than the venue's Instagram photos ever do.
Step 5 – Hire Key Vendors Early
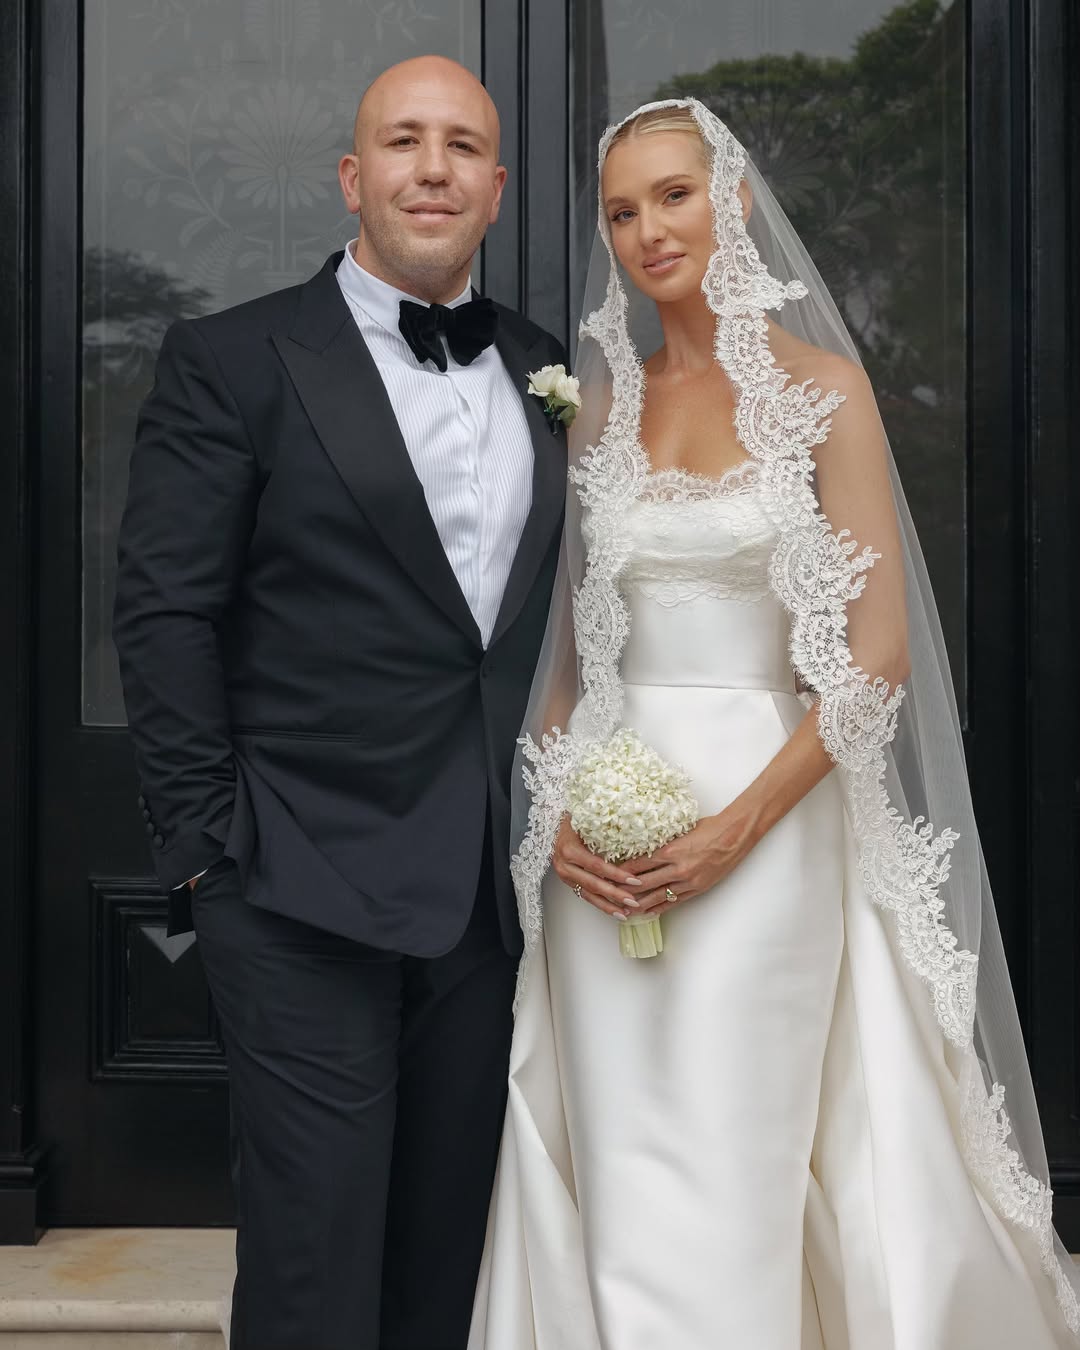
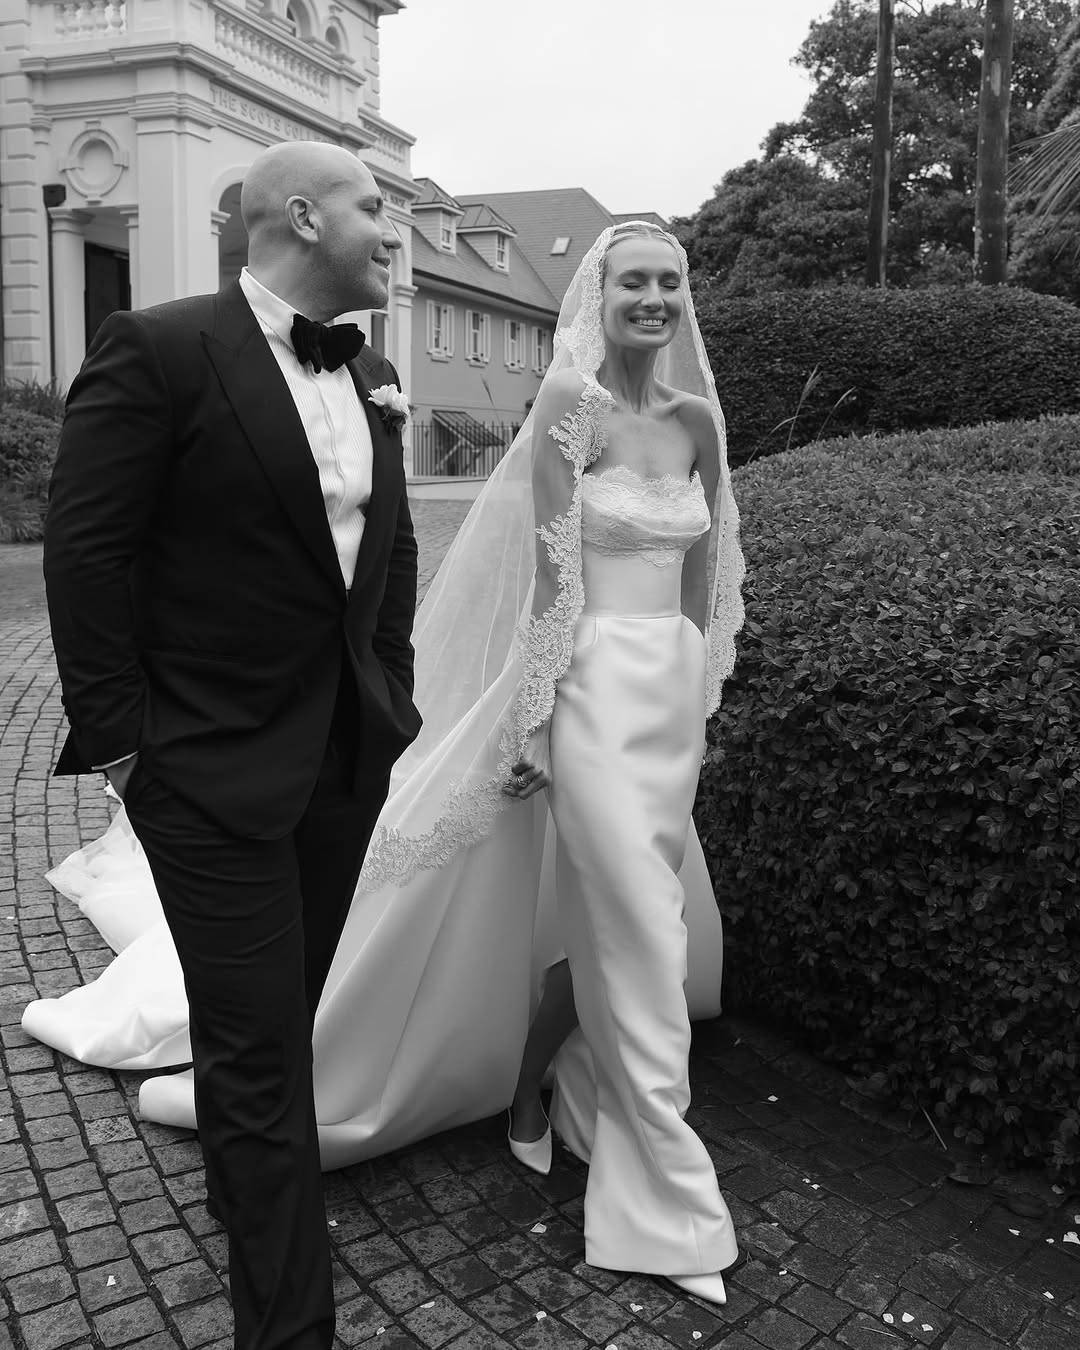
Once you have decided on your date and venue, quickly book your ideal range of vendors. Popular vendors, particularly photographers, videographers, and planners, tend to get booked quickly, and if you delay, you'll end up giving up your preferred choices and having to make do with people who will leave you regretting the decision every time you look at your wedding photos. When deciding what to prioritize, put photography and videography above everything else on this list, since you'll be looking at their work for decades.
- Wedding Planner or Coordinator: This decision impacts everything else. Full-service planners guide you through the entire process, recommend vendors, manage logistics, and handle day-of execution. Day-of coordinators step in for the final month to confirm details and run the timeline. Month-of coordinators bridge the gap. If your budget allows it, a planner saves you countless hours and costly mistakes.
- Photographer and Videographer: You’ll look at these images forever. This isn’t where you cut corners. Review portfolios carefully - not just for technical skill but for style. Do they capture candid moments or prefer posed shots? Is their editing bright and airy or moody and dramatic? Meet them in person or on video. You’ll spend hours with this person on your wedding day, so you need to genuinely like them.
- Caterer: Food is one of the most memorable parts of the day for guests. Schedule tastings, ask about dietary restrictions and service style (plated, buffet, family-style, stations), and ask recent clients for references.
- Florist: Your florist brings your visual concept to life. Share your inspiration boards and budget openly. Great florists can suggest seasonal alternatives that achieve your vision for less. Discuss not just your bridal bouquet but ceremony arrangements, centerpieces, boutonnieres, and any installation pieces you’re dreaming of.
- Entertainment (DJ or Band): This can make or break your reception energy. Live bands offer an incredible atmosphere but cost more and need more space; DJs offer versatility and read the room in real time. Watch them perform live if you can, or at minimum review demos and testimonials.
- Officiant: Your officiant sets the ceremony's tone, religious or secular. Meet to discuss your vision and any traditions you want included; some also offer pre-marriage counseling worth considering.
- Hair and Makeup Artists: Book trials several months before your wedding. Bring inspiration photos but also trust their professional advice about what translates well in photos and holds up through a long day. Confirm how many people they can handle, timing requirements, and whether they travel to your getting-ready location.
Once you've chosen your team, read every vendor contract carefully before signing, making sure you understand the cancellation policy, what happens if a vendor can't keep their commitment, the payment schedule, and exactly what's included in the package. It's a dull task in the middle of an otherwise exciting process, but it's precisely the kind of careful attention that prevents an unpleasant surprise three weeks before the wedding.
Step 6 – Decide on Wedding Style & Design
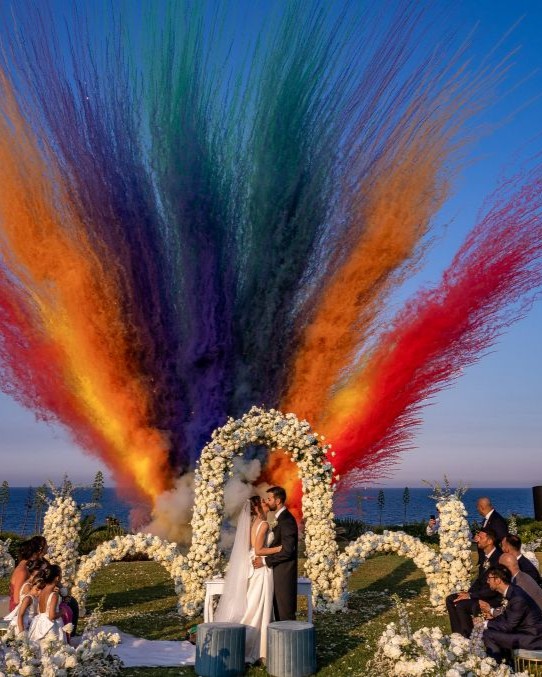
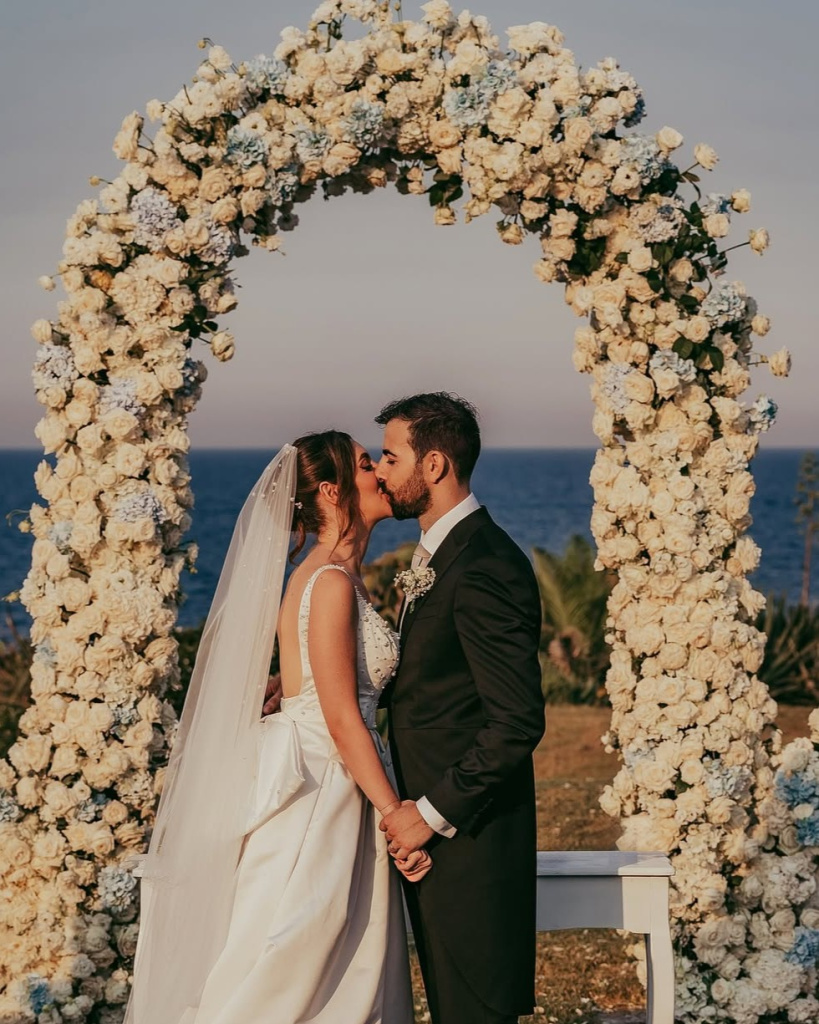
Now we get into the visual magic, turning your vision into concrete design elements that create a unified, impressive celebration instead of a series of separate, attractive ideas. At this stage, your Pinterest boards become a reality, and the hardest decision is usually whether to exercise restraint or try to fit every saved image into one day.
Color Palette Selection
Your color palette does heavy lifting, creating mood and tying everything together, so choose 2-3 main colors plus 1-2 accent colors rather than trying to include every shade you love. Consider how colors photograph (since some look dramatically different in photos than in person), how they work against your venue's existing environment, and whether they suit the season you're marrying in. Jewel tones like emerald, sapphire, and burgundy feel rich and luxurious, pastels like blush, lavender, and sage create soft romance; neutrals like ivory, taupe, and gold offer timeless elegance, and bold combinations like navy and coral or black and white with color pops make a genuinely dramatic statement. Whatever direction you lean toward, test it against your actual venue before committing, since that dusty blue you love might clash with existing drapes, or those warm terracotta tones might look muddy under dim reception lighting.
Theme Inspiration
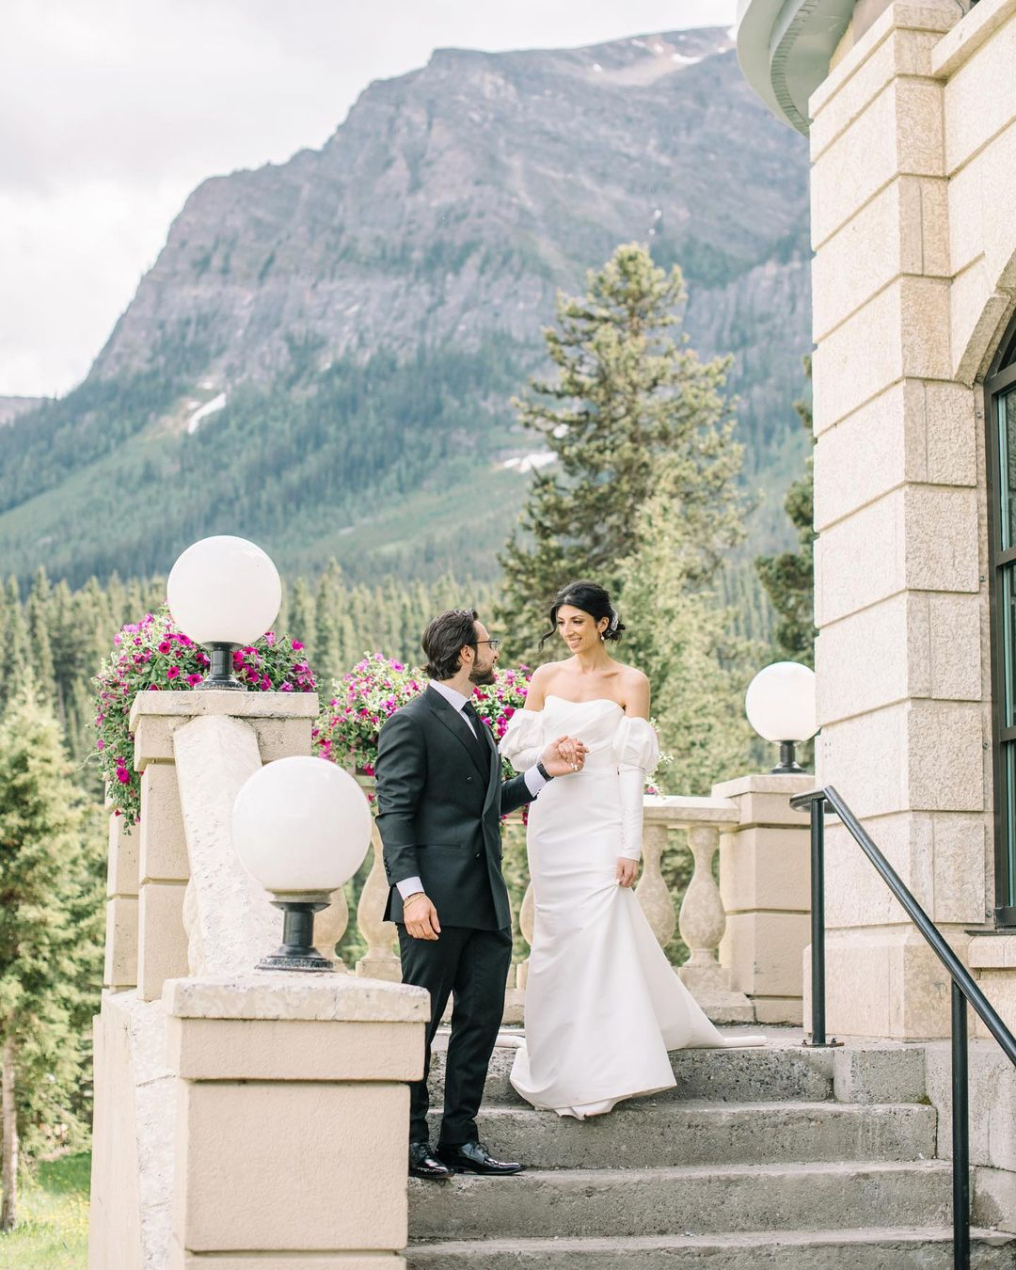
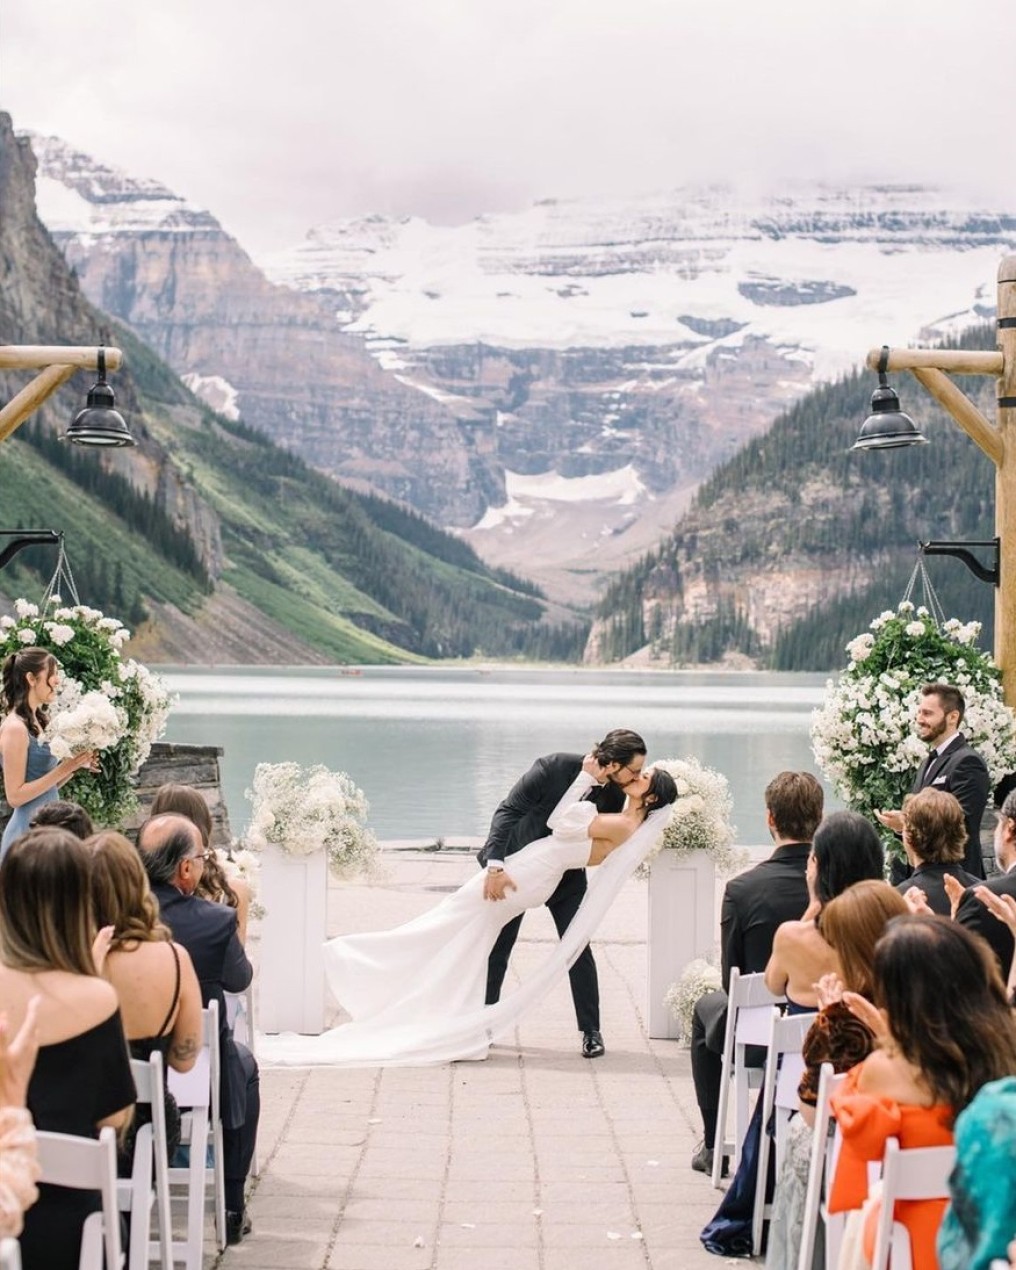
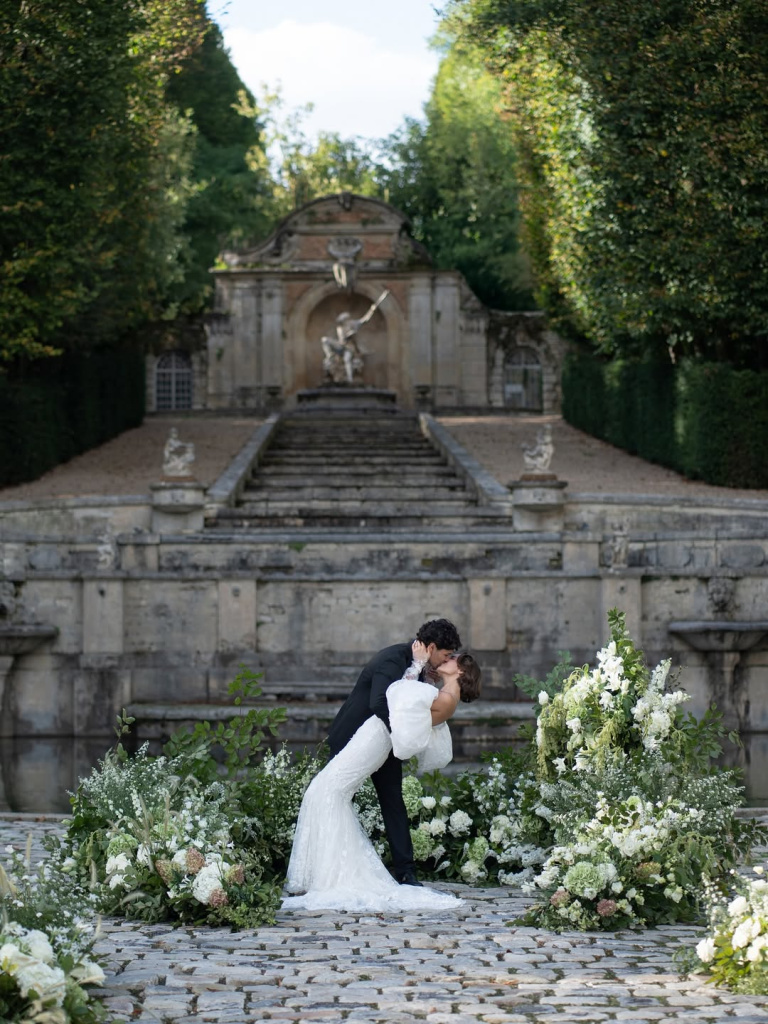
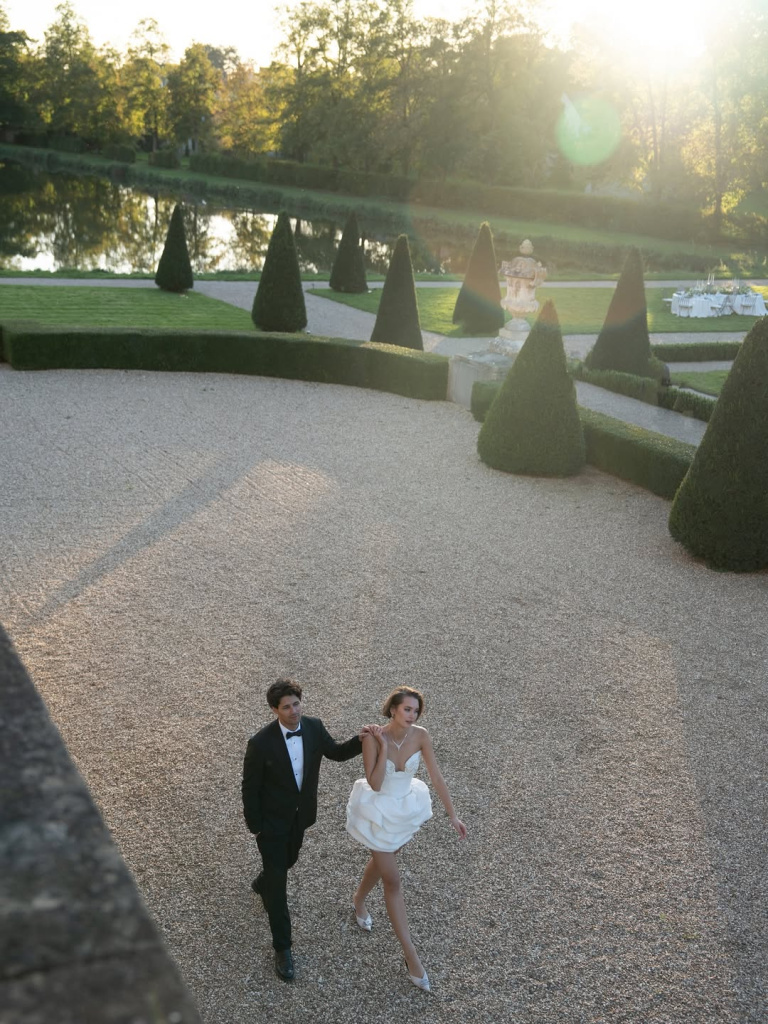
Your theme isn't about gimmicks, it's about creating a consistent atmosphere that feels intentional rather than assembled from a dozen unrelated ideas. Classic elegance features traditional elements, symmetry, and timeless beauty; rustic chic combines natural textures, organic elements, and relaxed sophistication; garden party embraces outdoor beauty, lush florals, and fresh, natural settings; luxury black-tie delivers glamour, opulence, and refined details; cultural fusion honors heritage while blending traditions in meaningful ways. Whichever direction resonates, your theme should feel authentic to who you are as a couple, not something you force simply because it's trending this season and looks good on paper. Sara puts it more bluntly than most: choose venues and concepts that are truly unique to you, "not just a copy-paste." Avoiding conformity, she says, is the one piece of advice she repeats to nearly every couple she works with.
Décor Breakdown
Once you've set your palette and theme, décor is where those decisions take physical form across the venue. A handful of categories tend to matter most:
- Ceremony backdrop: This is where you'll say your vows - make it meaningful. Floral arches, fabric draping, geometric structures, or simply the natural beauty of your venue.
- Tablescapes: Your reception tables are prime real estate for visual impact. Consider centerpiece height (mix tall and low for visual interest), linens (texture matters as much as color), place settings, menu cards, and table numbers.
- Lighting: Never underestimate lighting's transformative power. String lights create warmth. Uplighting can completely change your venue's ambiance. Candles add romance. Spotlights highlight specific areas.
- Floral installations: Beyond centerpieces and bouquets, think about statement pieces - hanging installations, floral chandeliers, ceremony aisle markers, bar area arrangements.
Work with your florist and decorator to create a cohesive vision rather than tackling each category in isolation. Share mood boards, venue photos, and your budget upfront so they can suggest solutions that achieve the full look without unnecessary spending on pieces that won't get noticed.
Step 7 – Find and Secure Attire
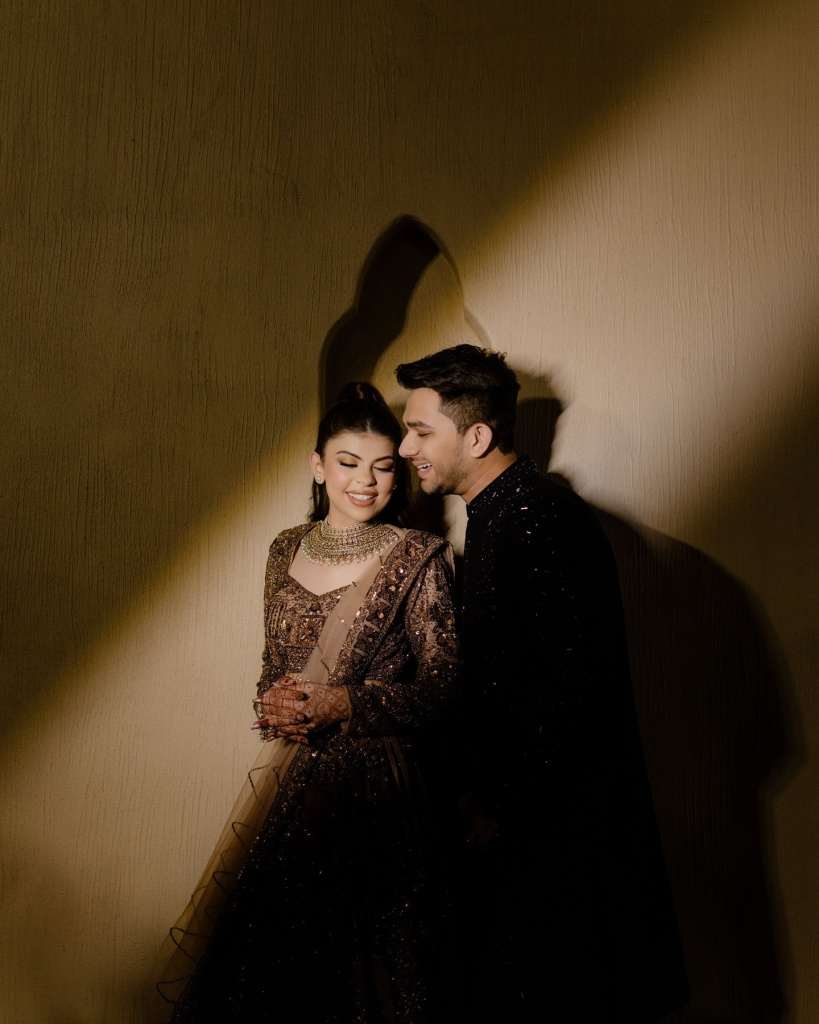

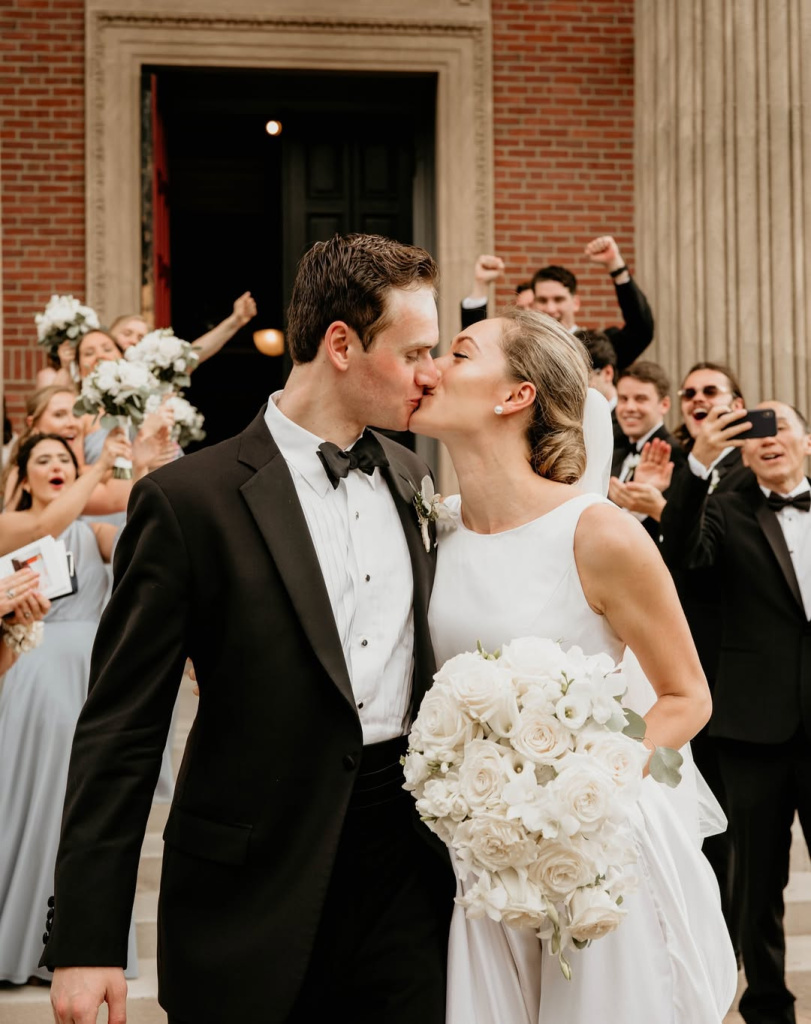
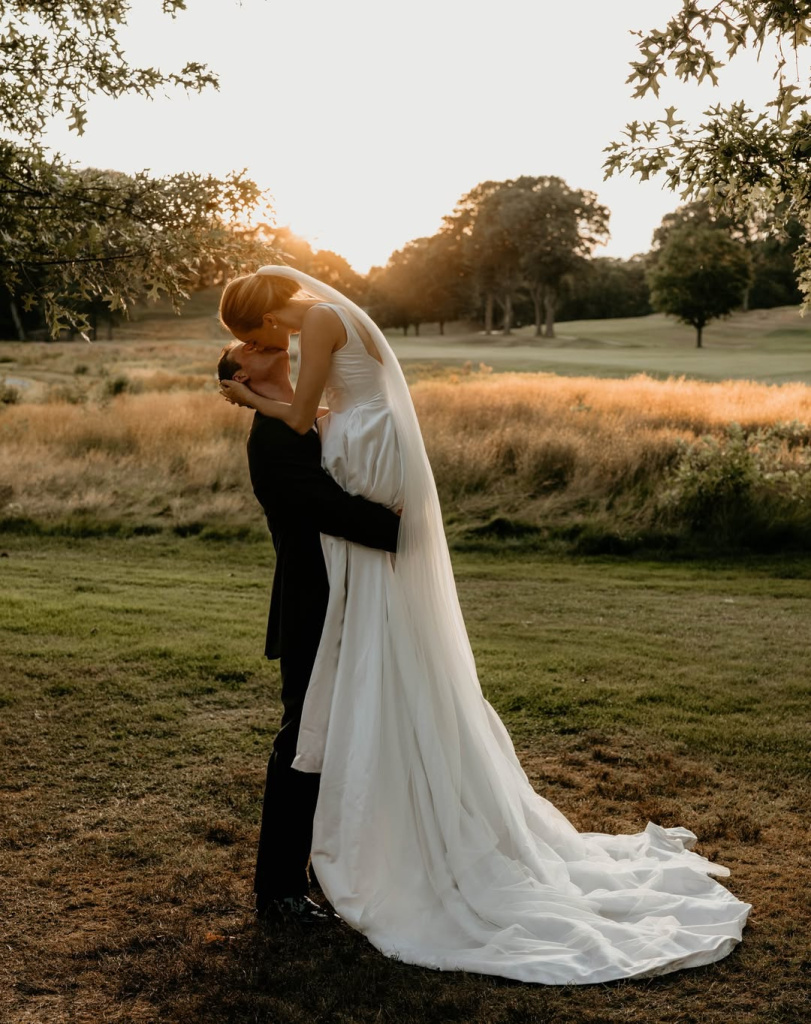
What you wear becomes part of your wedding story and legacy, since these are the images your grandchildren will see decades from now, long after the stress of choosing them has faded. This deserves time, thought, and joy, not stress.
For You, the Bride
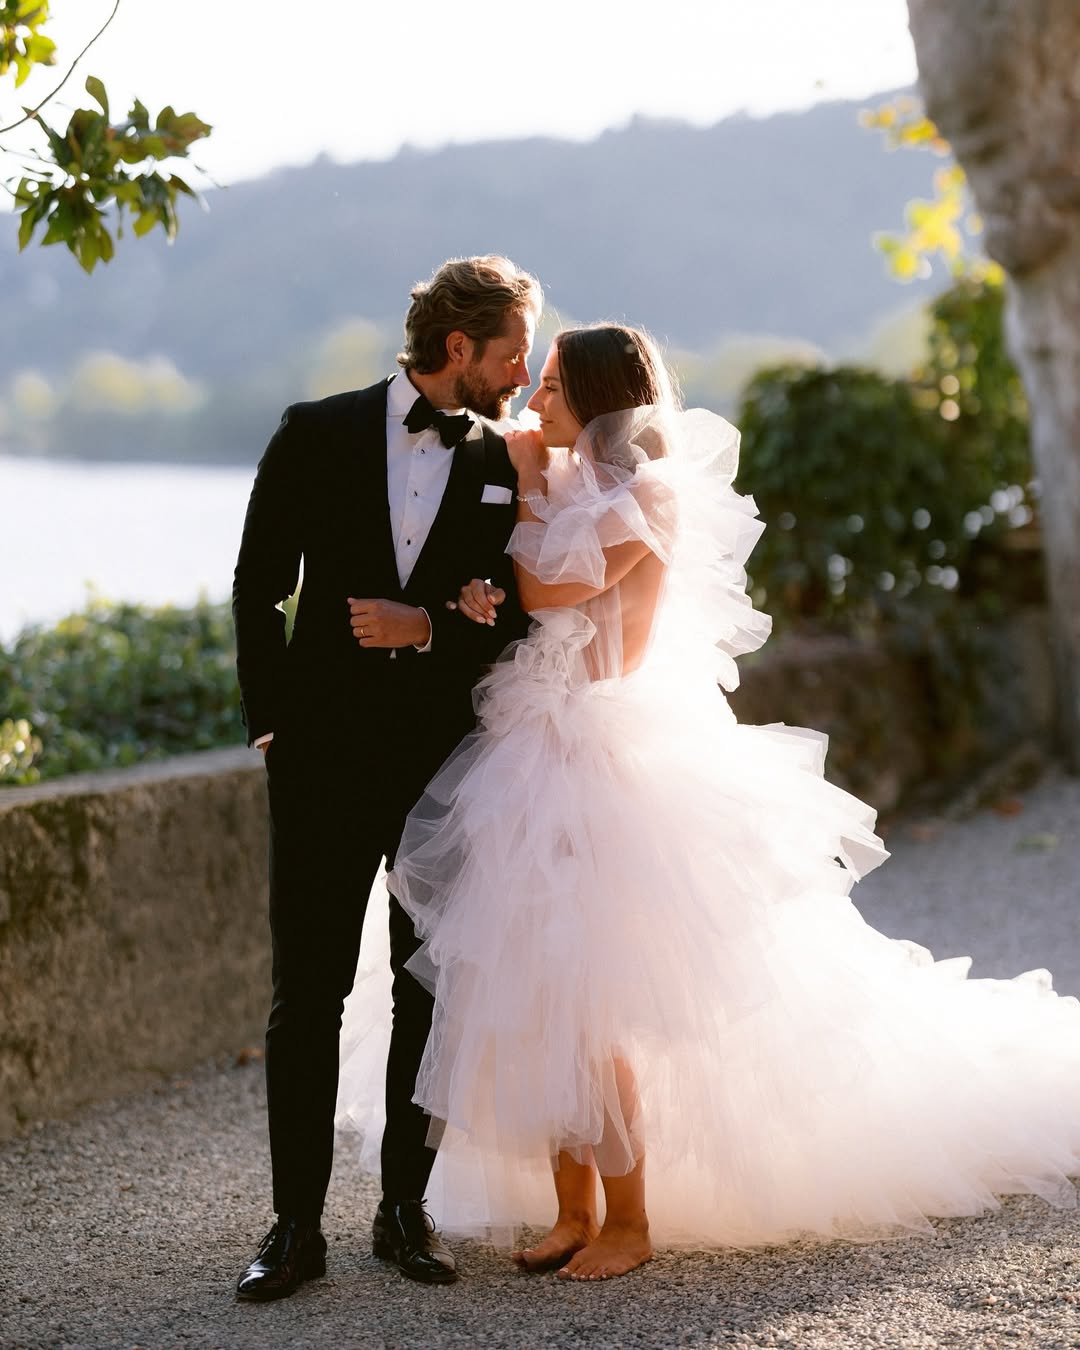
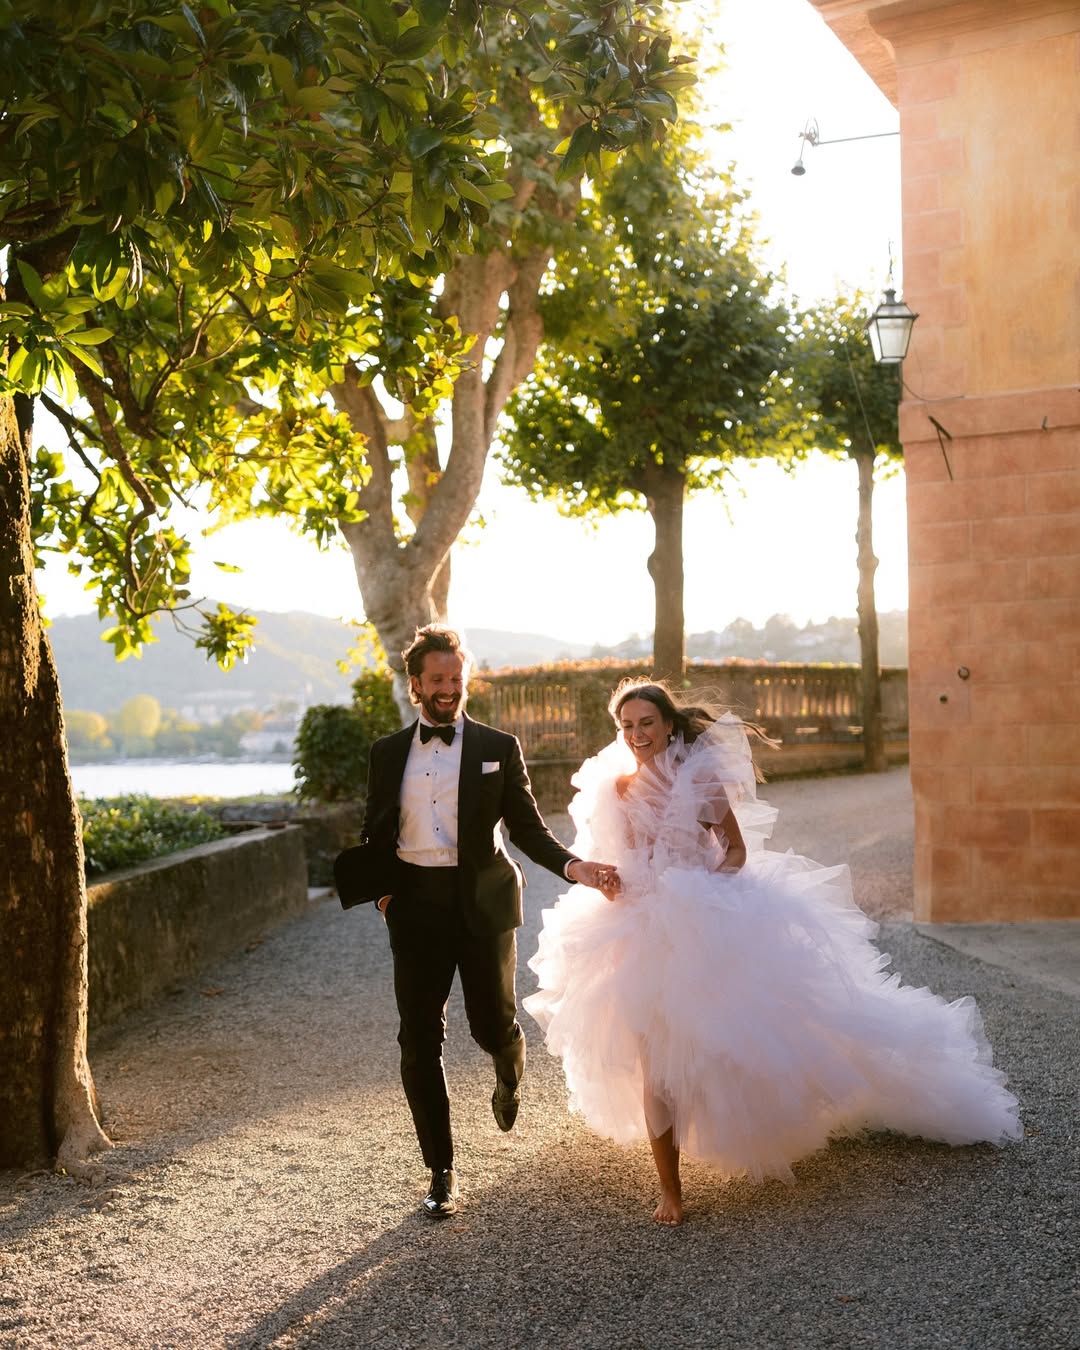
Start shopping 9-12 months before your wedding, since dresses typically take 6-8 months to arrive, then need 2-3 months for alterations on top of that. Bring only 2-3 trusted people to appointments; too many opinions create confusion rather than clarity, and know your budget before you start trying anything on, since falling in love with something you can't afford is genuinely heartbreaking. Stay open to styles you hadn't imagined going in, too, since what looks stunning on a hanger might not flatter your body, and the dress you walked straight past might turn out to be the one once you're actually in it.
Trust your consultant's expertise while still honoring your own instincts, and don't forget the accessories: veil or headpiece, jewelry, shoes you've actually broken in, proper undergarments that make the dress fit better, and something blue if that's a tradition you want to honor. Schedule your final fitting 2-3 weeks before the wedding, with your actual shoes, undergarments, and any shapewear on hand, so your seamstress can perfect the fit.
For Your Partner
Suit or tuxedo shopping starts around the same time, and the buy-versus-rent decision usually comes down to long-term value: buying offers more flexibility if your partner will wear it again, while renting works well for a specific style or one that isn't their typical wardrobe. Whichever route you choose, custom tailoring transforms a good suit into a great one, and even rental tuxedos benefit from minor alterations for a fit that looks intentional. The details are what pull the entire look together in the end: cufflinks, tie or bowtie, pocket square, shoes, belt, watch, small touches that photograph as effortless precisely because someone thought them through.
For the Wedding Party
Decide on your approach early: matching dresses and suits, same color in different styles, or simply a color palette with freedom to choose. The trend is moving toward giving your wedding party more autonomy, which often makes them more comfortable and happy. Order attendant attire 6-8 months out. Provide clear direction and deadlines, but be sensitive to varying budgets in your group.
Cultural Attire Considerations
If you’re incorporating cultural traditions, research appropriate attire, consult family members who can guide you, and give yourself extra time. Some cultural garments require specialized tailors or need to be made custom. You might wear multiple outfits throughout your celebration - plan for seamless transitions if you do.
Step 8 – Plan the Ceremony
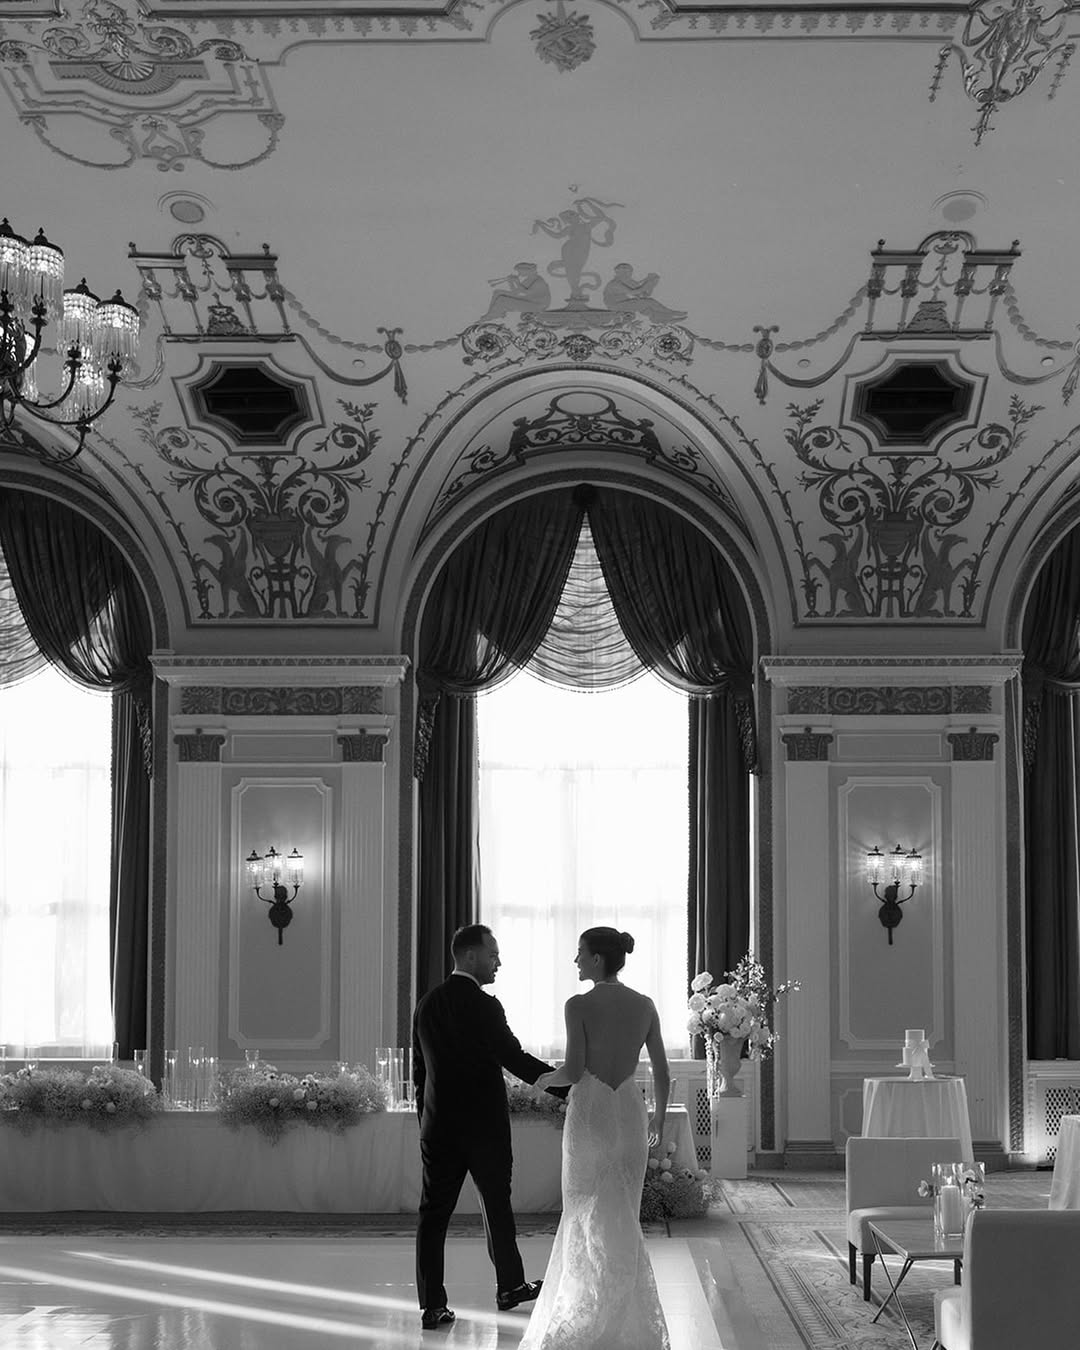
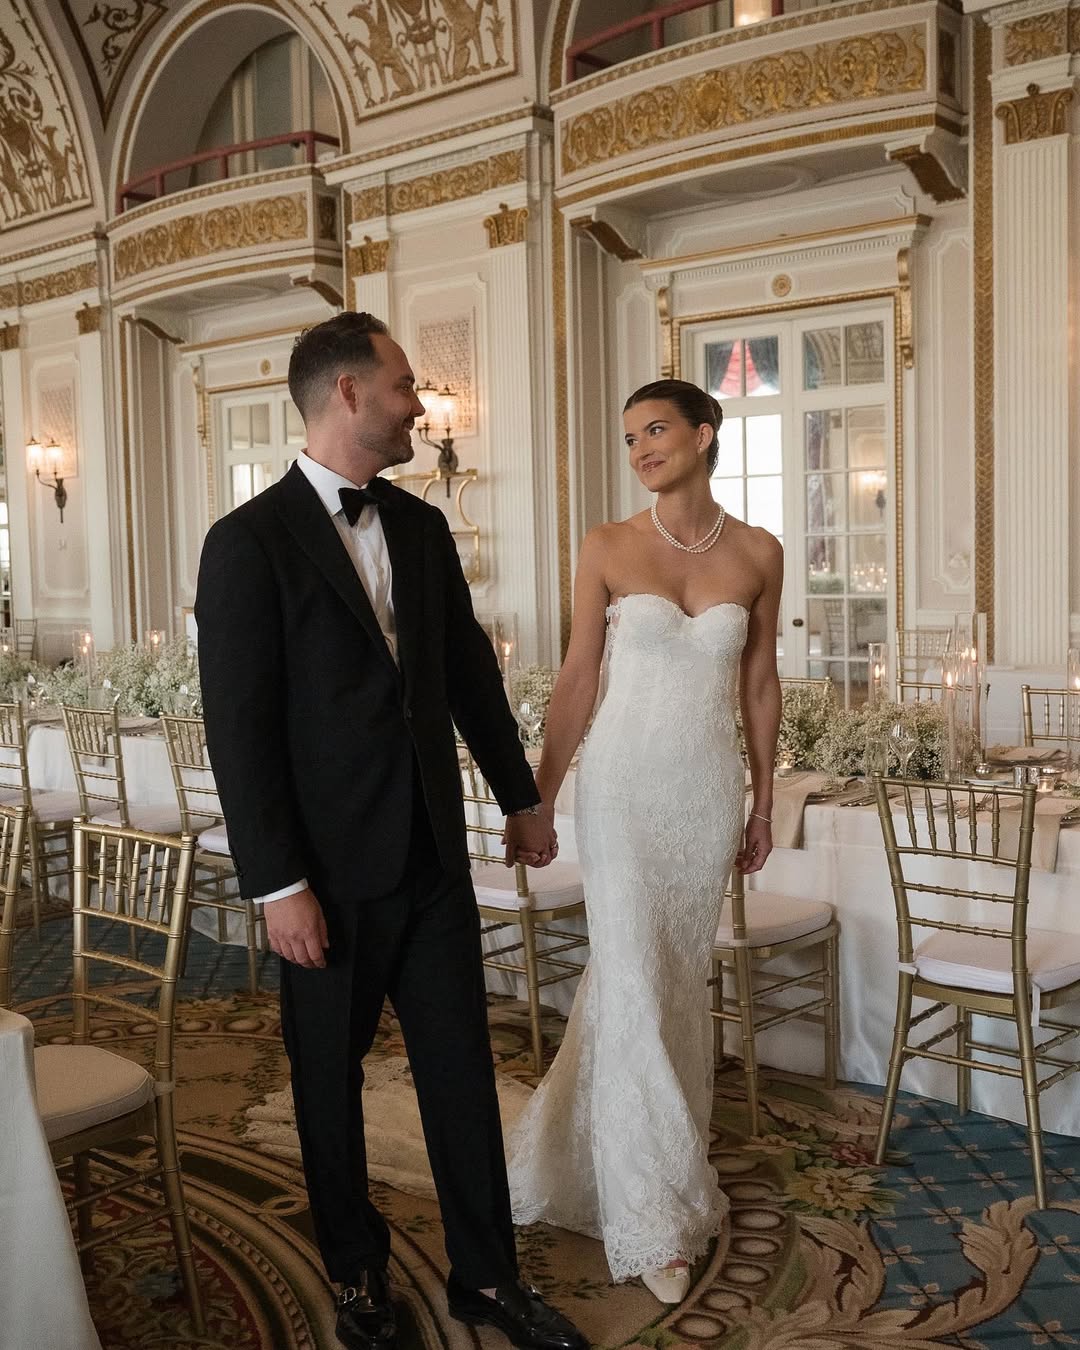
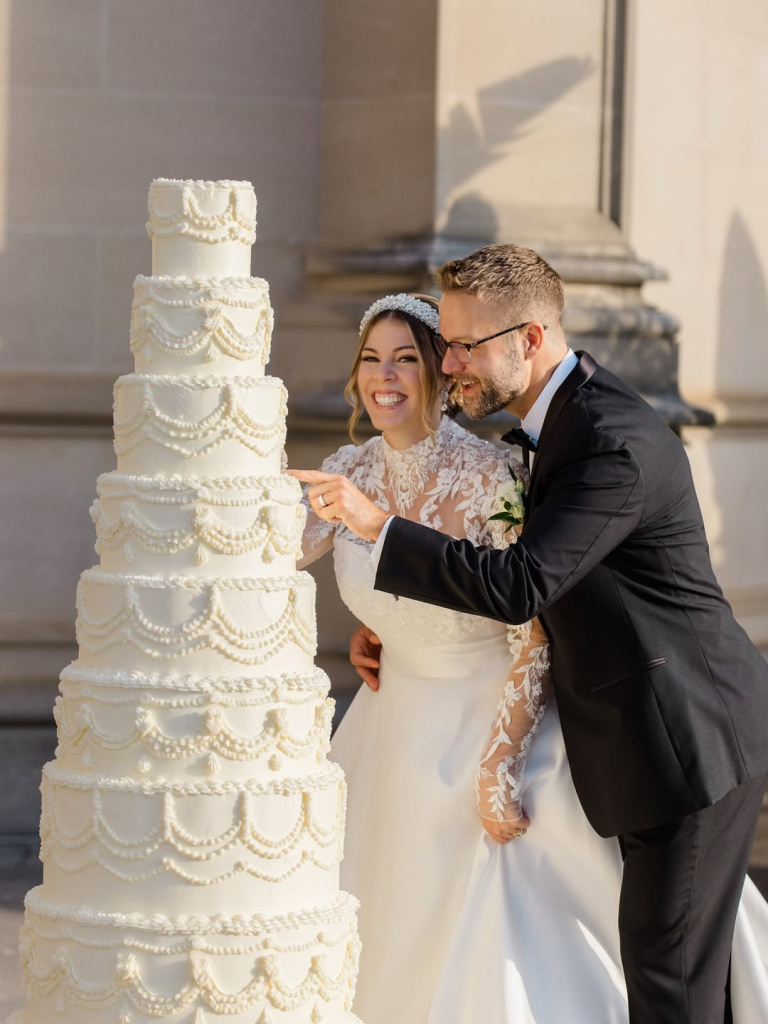
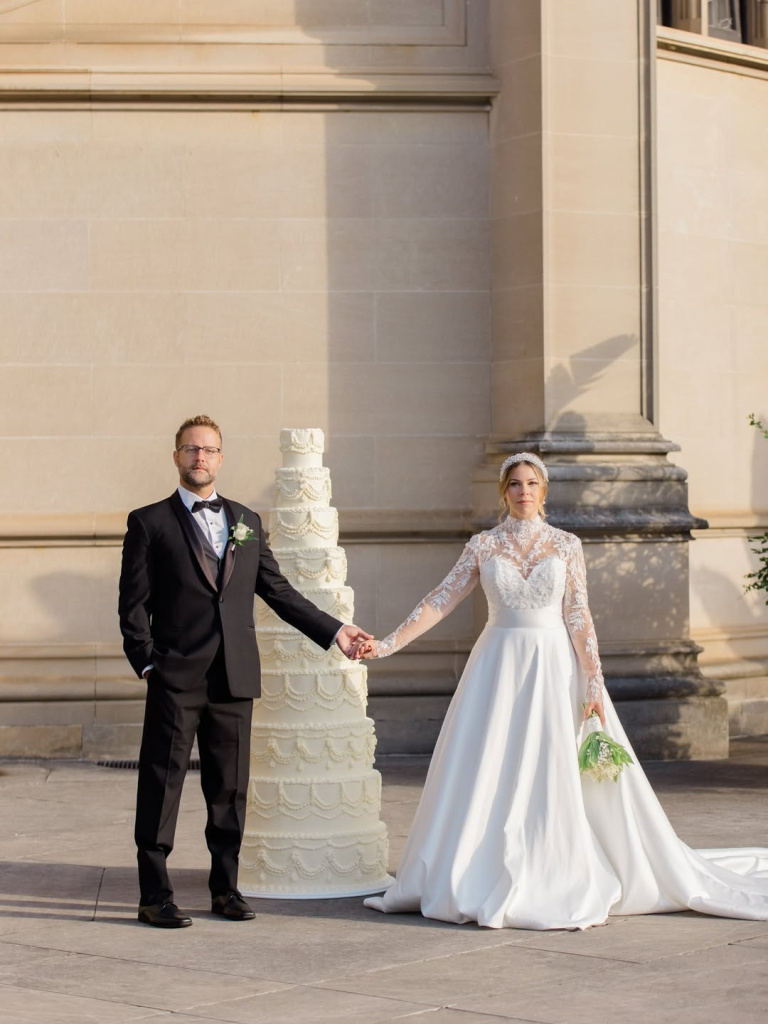
Your ceremony is the heart of the entire day, the actual reason everyone's gathered, before the reception, the dancing, or any of the details that come after. Every other element matters, but this is the moment that matters most, and it should feel deeply personal rather than borrowed wholesale from a template.
Structure
Most ceremonies follow a basic flow: processional (wedding party and couple enter), welcome and opening remarks from your officiant, readings or musical interludes (optional but add depth), personal vows or traditional vows, ring exchange, pronouncement (the "you may kiss" moment), and recessional (your joyful exit as newlyweds). That structure is genuinely flexible, though; you can condense it to a tight 15 minutes or stretch it to 45 depending on how many meaningful elements you want to include.
Unique Elements
This is where you make the ceremony yours. Cultural traditions might include jumping the broom, breaking the glass, tea ceremonies, handfasting, or circling rituals. Personal vows allow you to speak directly from your heart - write them yourself or use traditional vows with personal additions. Symbolic rituals like unity candle lighting, sand ceremonies, or tree planting ceremonies represent your union visually. Including parents or siblings in readings, blessings, or symbolic gestures acknowledges the families joining together. Just ensure everyone participating feels comfortable with their role.

Music Selection
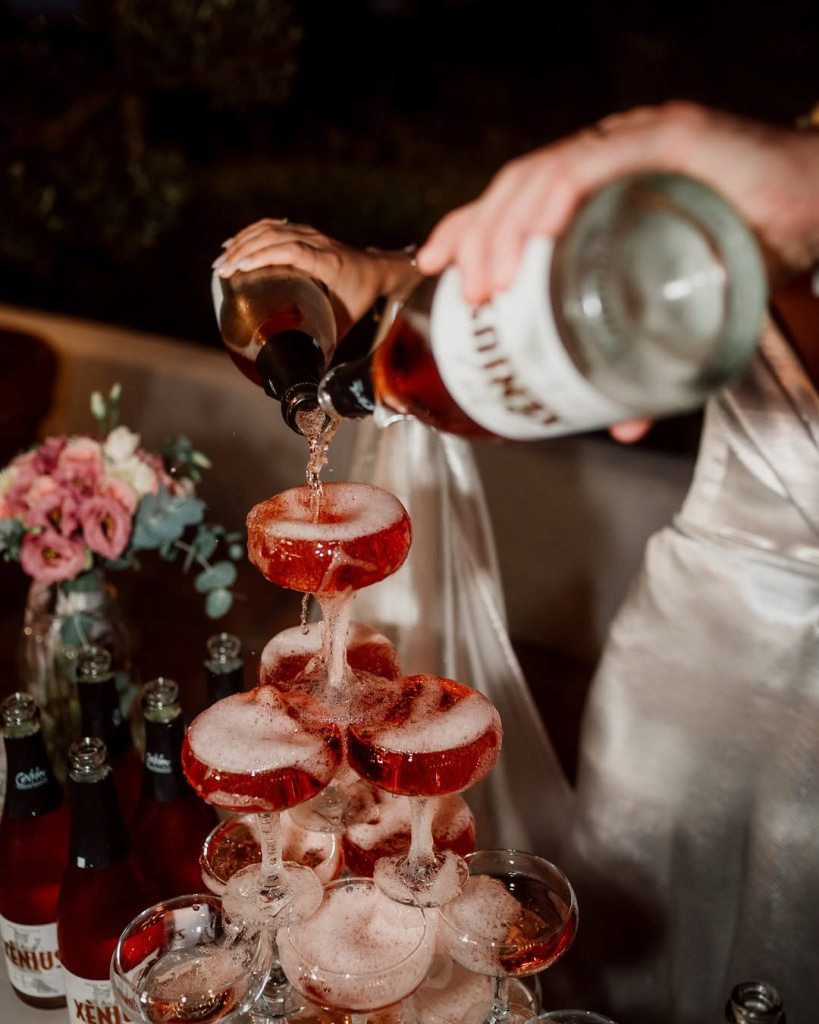
Music creates emotional resonance, and choosing it deliberately for each moment makes a real difference: processional music for the wedding party, usually instrumental and elegant; a special song for the bride's entrance that's genuinely hers, optional ceremony music during readings or unity rituals, and celebratory, joyful recessional music for your exit as newlyweds. Live musicians, a string quartet, guitarist, or vocalist, add real elegance, though recorded music works perfectly well if that fits your budget better; just make sure your venue's sound system can actually handle it or coordinate directly with your DJ or band.
Work with your officiant on timing and flow well before the day itself, and rehearse the ceremony at least once so everyone knows where to stand, when to move, and what to expect when it counts, since the run-through catches small confusions before they happen in front of your guests.
Step 9 – Organize the Reception
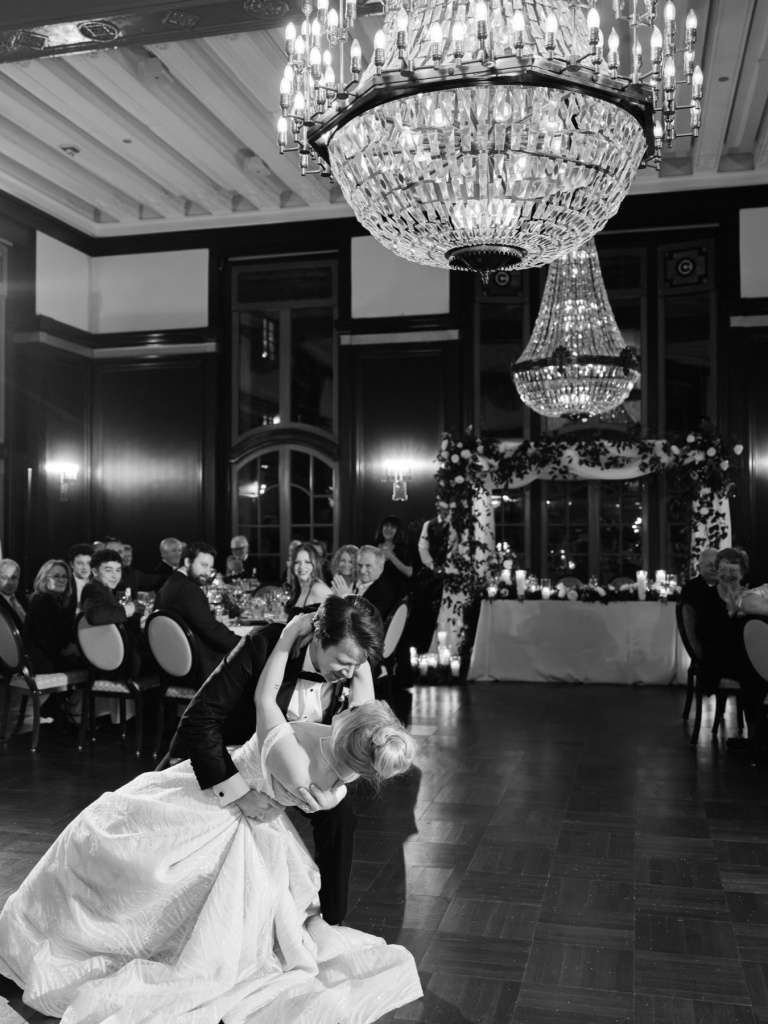
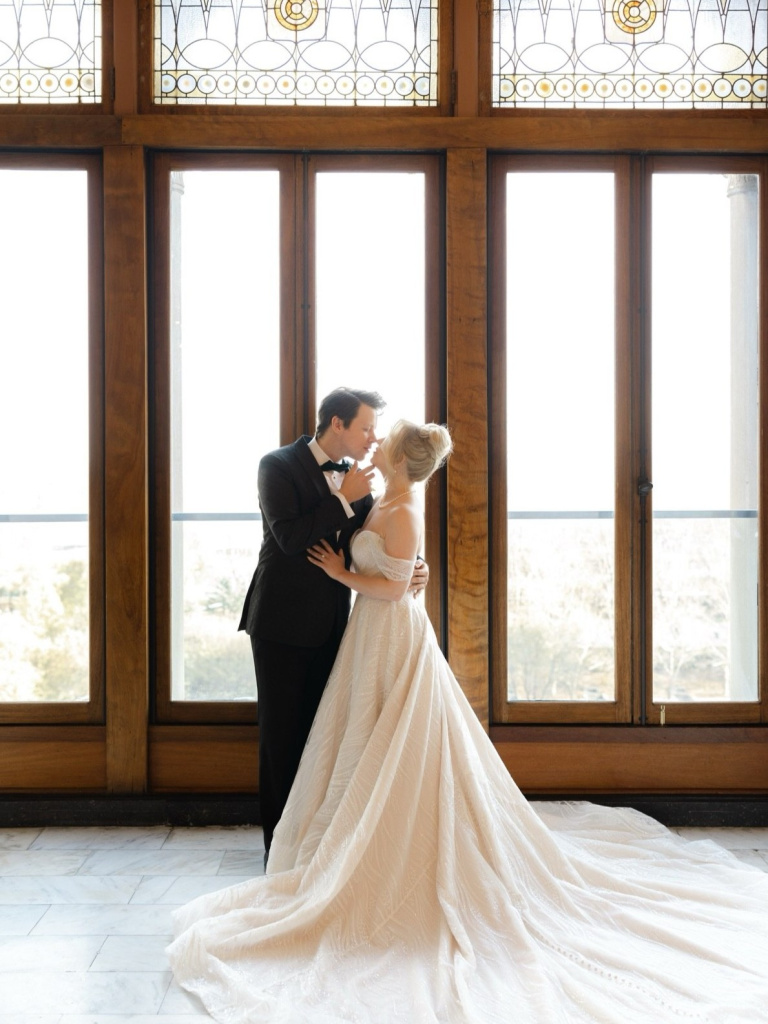
Your reception is where everyone celebrates together. This is about creating an experience your guests will remember - and that requires thoughtful planning across multiple elements.
Food & Drink
Schedule tastings with your caterer 4-6 months before the wedding, bringing someone whose opinion you trust and who'll be honest if something isn't great, and taste everything, appetizers, main courses, sides, desserts, before locking anything in. Service style deserves just as much thought: plated dinners feel formal and allow for precise timing but require collecting meal choices from guests ahead of time, buffets offer variety and let guests control portions but can create lines and pacing challenges, family-style creates warmth and encourages sharing but needs ample table space, and food stations provide variety and flow but require strategic placement to prevent congestion near any single station.
Accommodate dietary needs without making anyone feel singled out, vegetarian, vegan, gluten-free, and allergy-friendly options should be seamlessly integrated into your actual menu rather than tacked on as an afterthought. Bar packages range from open bar, where you cover everything, to cash bar, where guests pay, to drink tickets offering a limited number per guest, and while open bars are the most generous and appreciated option, they're also the most expensive. A signature cocktail or two that genuinely reflects your personality is a small, fun detail guests tend to remember long after the reception ends.
Entertainment & Timeline
Your reception timeline orchestrates the entire evening, and a typical flow runs something like this: cocktail hour immediately after the ceremony while you take photos, usually about an hour, grand entrance introducing the wedding party and you as a married couple, first dance either right after that entrance or after dinner, welcome toast usually from parents or whoever officiated, dinner service, toasts and speeches from the best man, maid of honor, and anyone else you'd like to include, cake cutting, optional parent dances, open dancing, special dances like an anniversary dance or bouquet toss if you're doing one, a last dance, and send-off. Don't over-program it, though; long speeches and too many planned moments mean less dancing and socializing, so cap toasts at 3-5 minutes max.
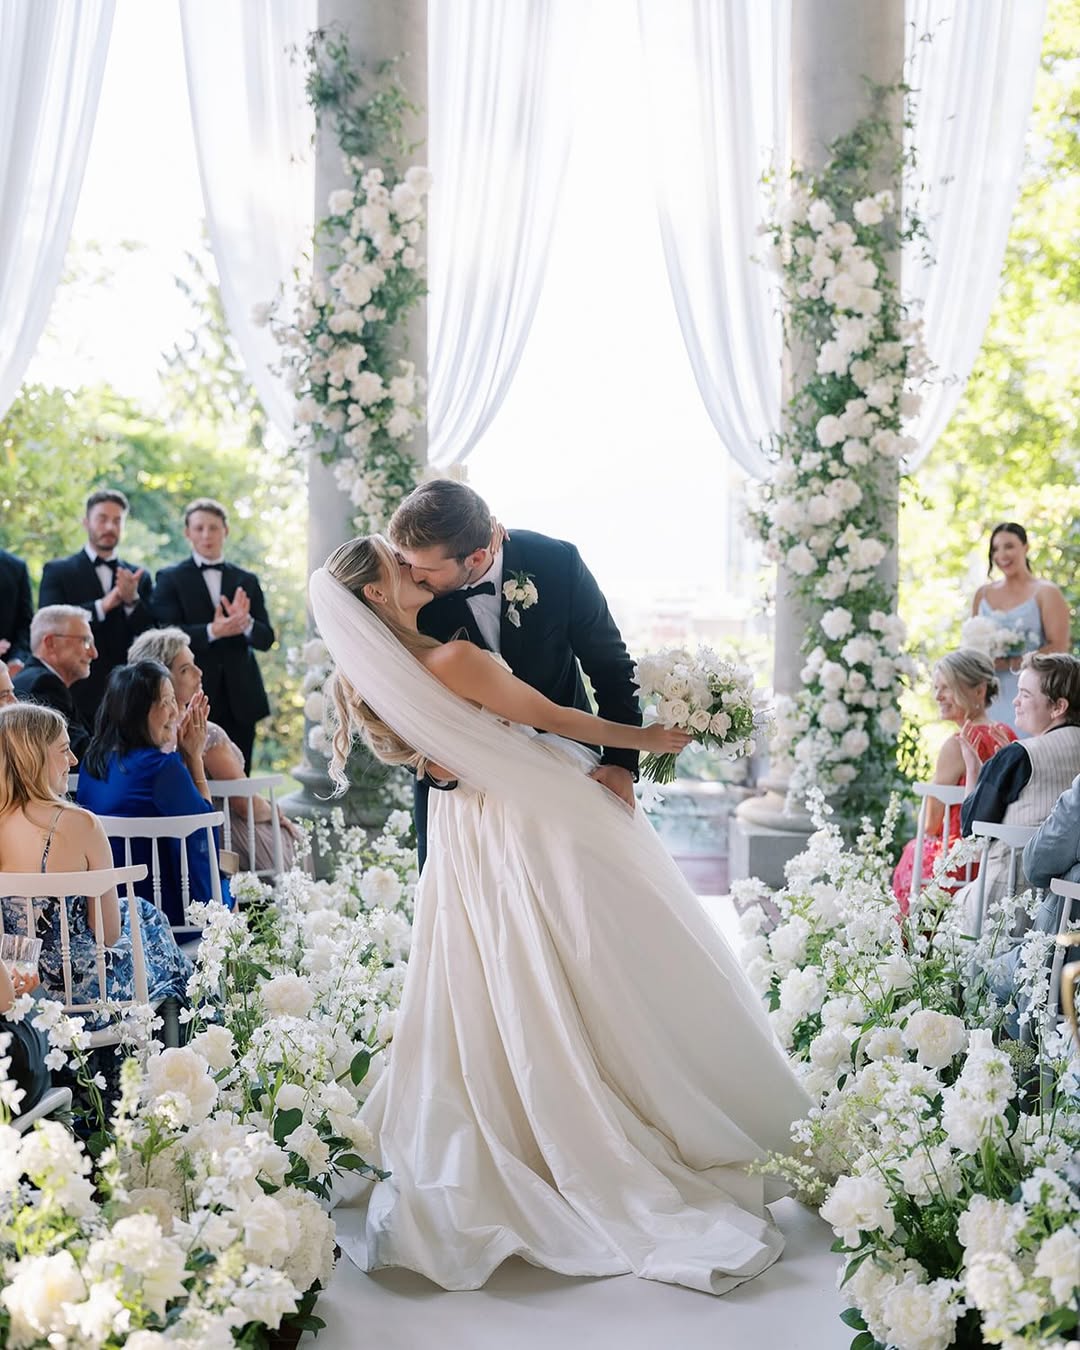
Your DJ or band is crucial to making this timeline actually work in the room, not just on paper. Sara sees the opposite mistake constantly, couples who pour everything into decor and forget the elements guests actually feel: "rhythm, entertainment and the overall flow… which are what truly make an event unique," as she puts it. An experienced entertainer reads the crowd, knows when to play high-energy songs and when to slow things down, and keeps the energy flowing without you having to manage it yourself. Share your must-play and do-not-play lists upfront, but trust their expertise on the moments in between; that's exactly what you're paying for.
Seating Chart Tips
Start your seating chart 2-3 weeks after your RSVP deadline, using online tools or sticky notes on a board so you can easily move people around as changes come in. Decide on your head table setup first: a sweetheart table just for the two of you, a head table with the full wedding party, or skipping the head table concept entirely and sitting at a regular table with family or close friends instead.
From there, the immediate family typically sits near the front, and if either family is large, split them across multiple tables rather than cramming everyone onto one enormous one. Beyond that, seat people with common interests or connections rather than clustering by category; don't just group all the college friends together and all the work friends together, mix age groups and social circles so people actually make new connections. Avoid seating divorced parents at the same table unless they've explicitly said they're comfortable with it, and rather than isolating single guests at one obvious table, either give them a table with genuine shared interests or mix them thoughtfully among the others.
Step 10 – Manage Invitations & Stationery
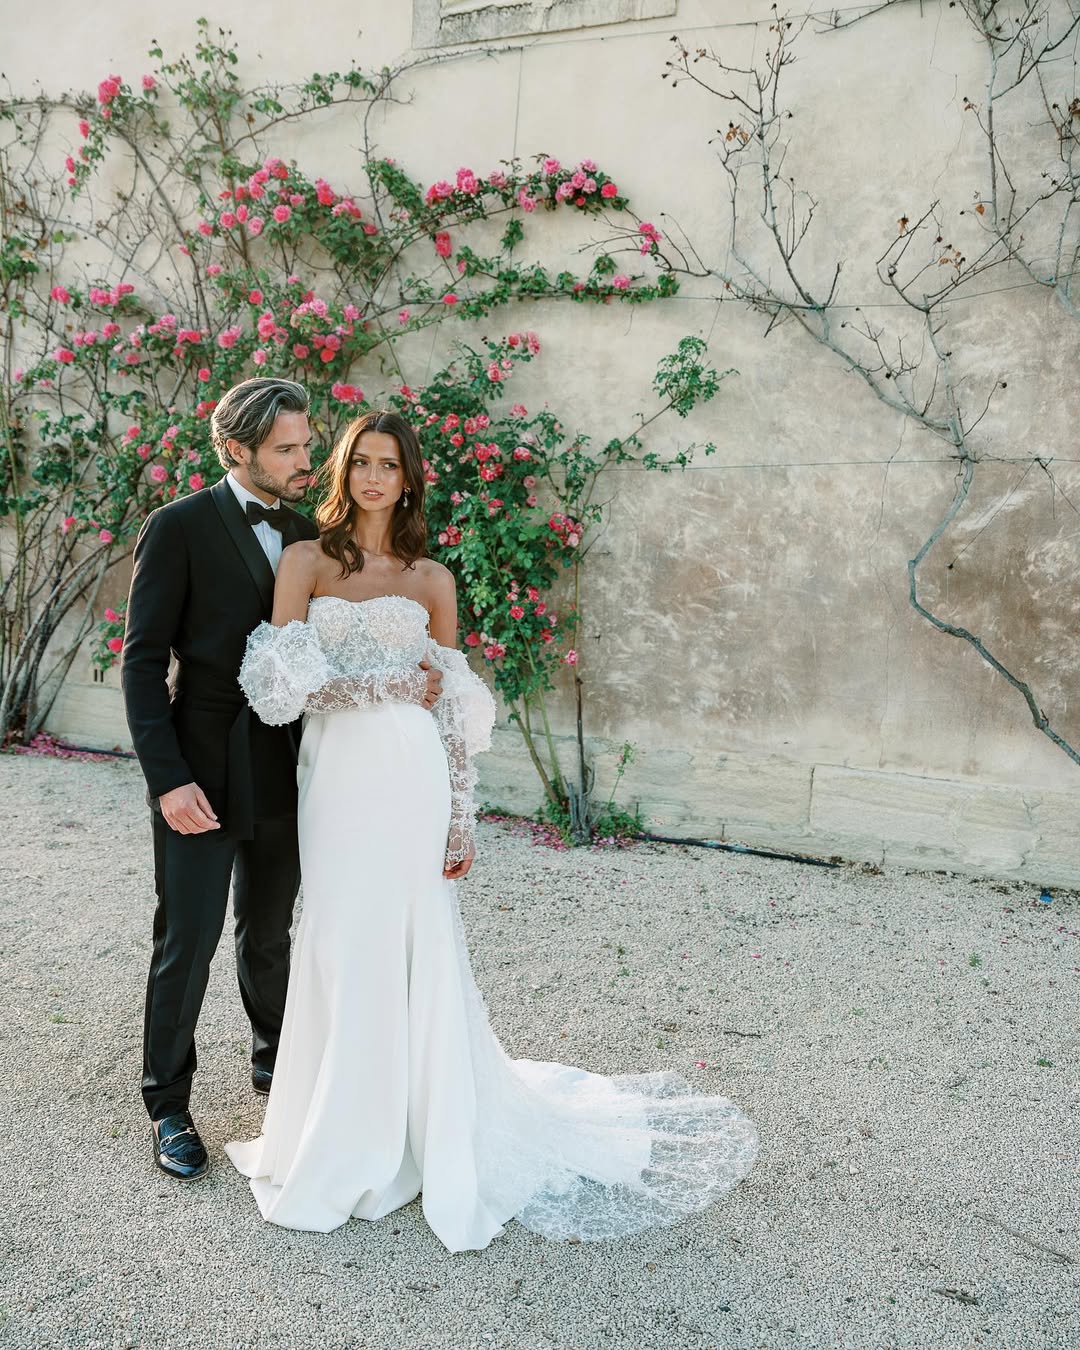
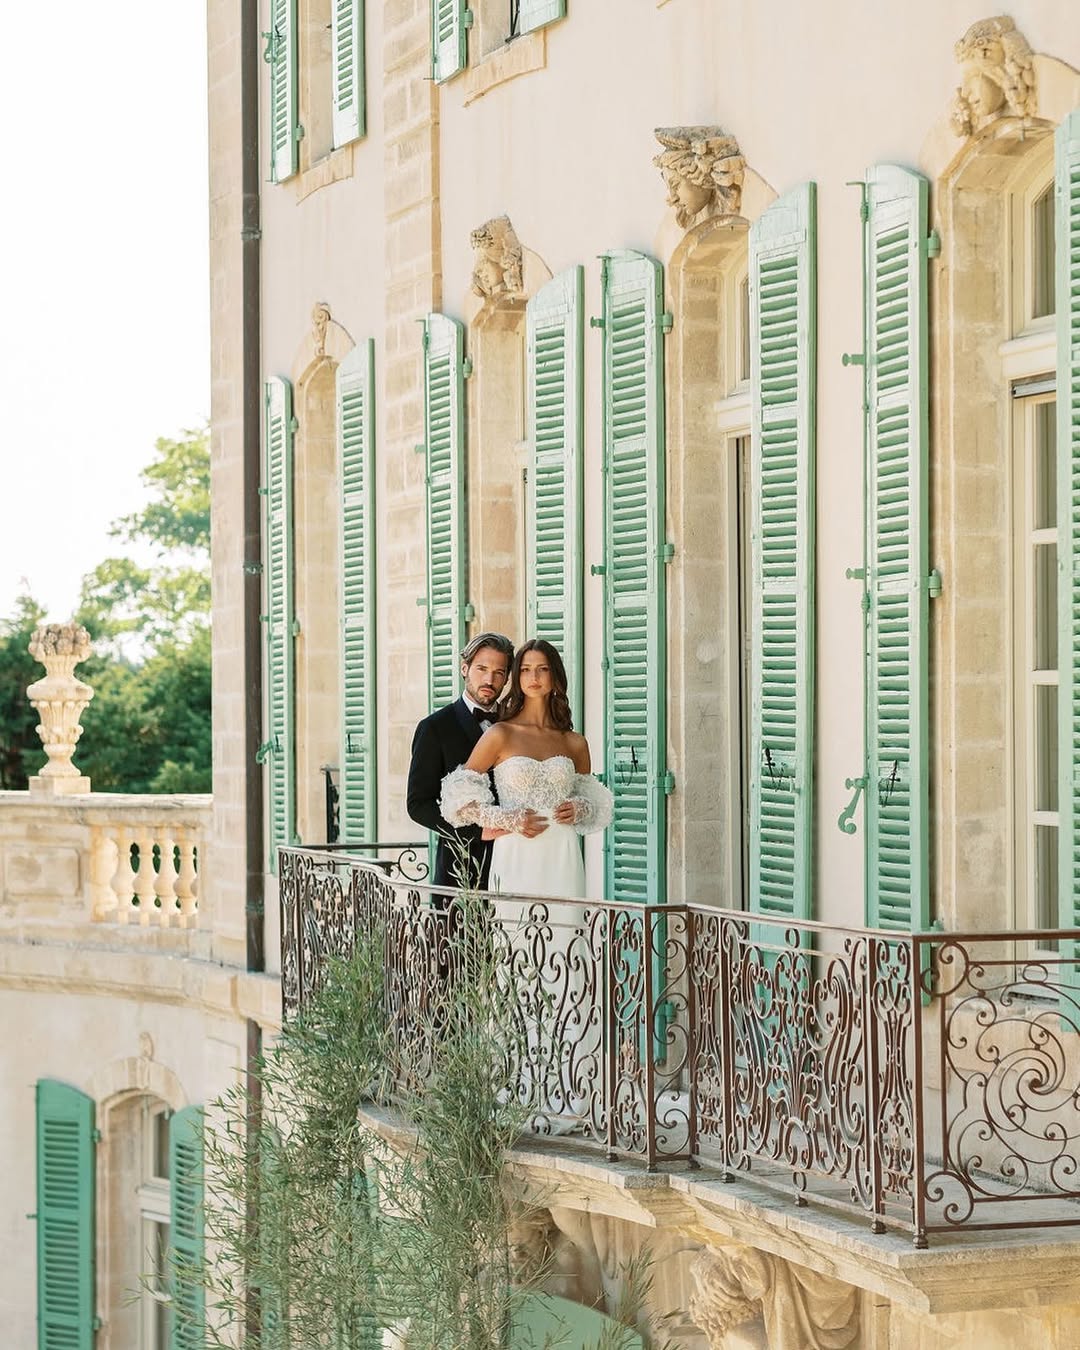
Your invitations are your guests’ first tangible glimpse into your wedding. They set expectations and provide crucial information - handle this step with care.
Save the Dates vs. Invitations
Save the dates first, 6-8 months before the wedding (or 8-12 months out for a destination wedding), as a simple heads-up: reserve this date; more details coming. Include your names, the wedding date, and the general location (city and state is enough), along with a note that a formal invitation will follow, and skip specific venues or timing details for now. Formal invitations follow later, 8-10 weeks before the wedding, and this is where the actual details live: specific venue addresses, time, dress code, an RSVP deadline typically set 3-4 weeks out, and any wedding website information guests will need.
Stationery Checklist
Your complete stationery suite might include save-the-dates, formal invitations covering ceremony and reception details, RSVP cards with pre-addressed stamped envelopes, a details card for accommodations, transportation, dress code, and website, rehearsal dinner invitations for that smaller subset of guests, optional but helpful ceremony programs, menu cards, table numbers, place cards if you're using assigned seating, signage for a welcome sign, bar menu, dessert table, and directional needs, and thank-you cards, worth ordering early so you're actually ready once the wedding is behind you. Everything in this suite should feel cohesive rather than assembled piecemeal, with matching or complementary designs, a consistent color palette, and the same general style running from the first save-the-date through the final thank-you card.
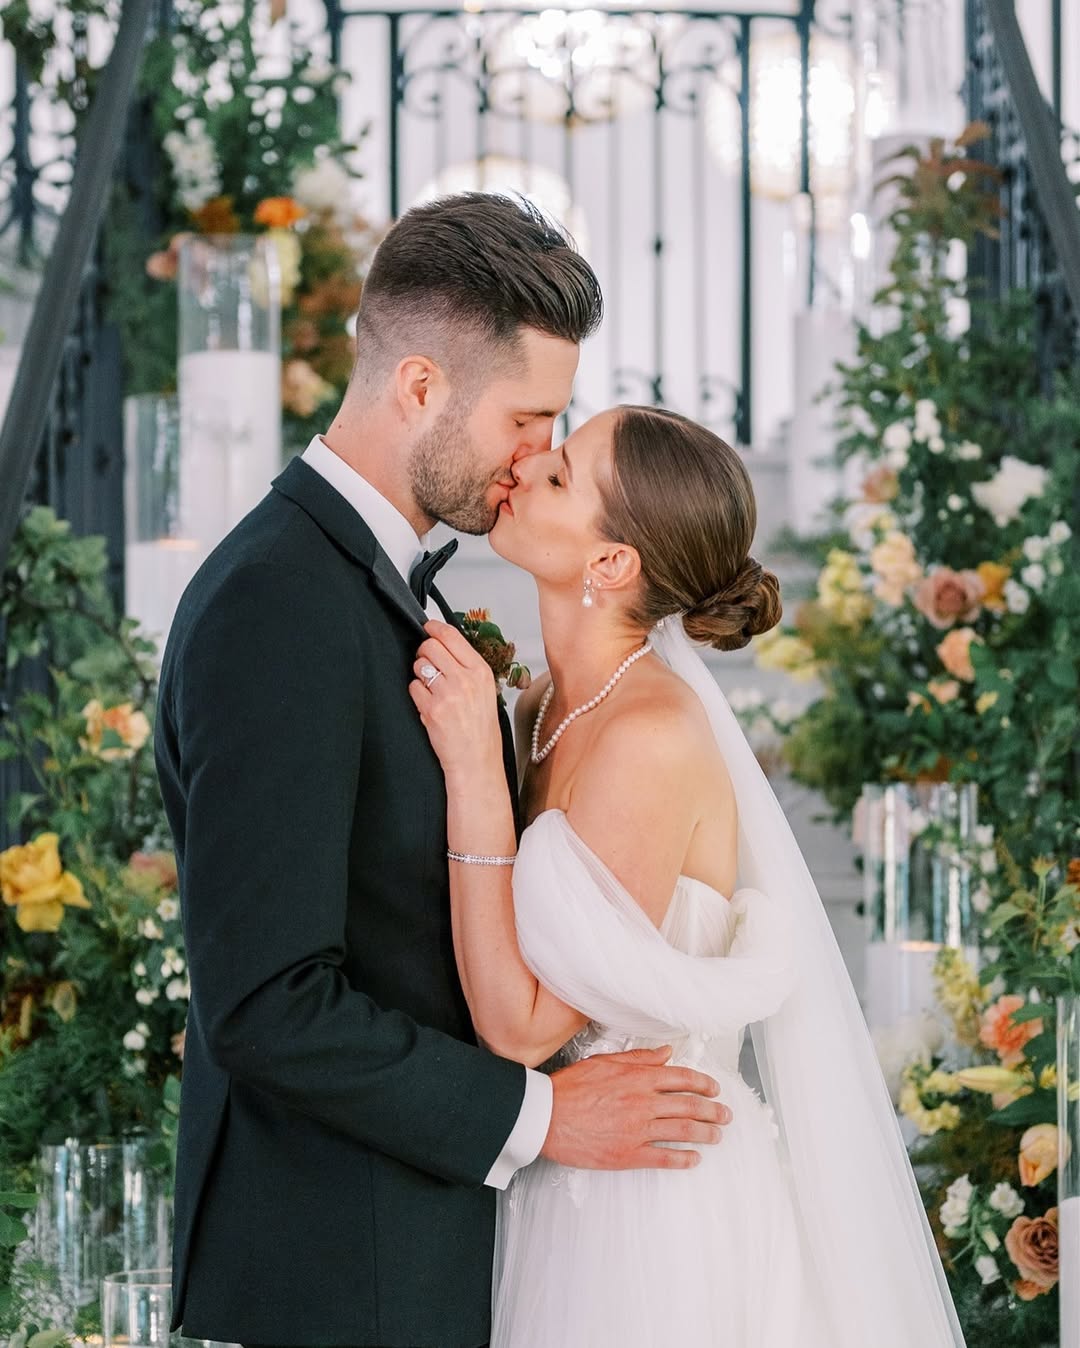
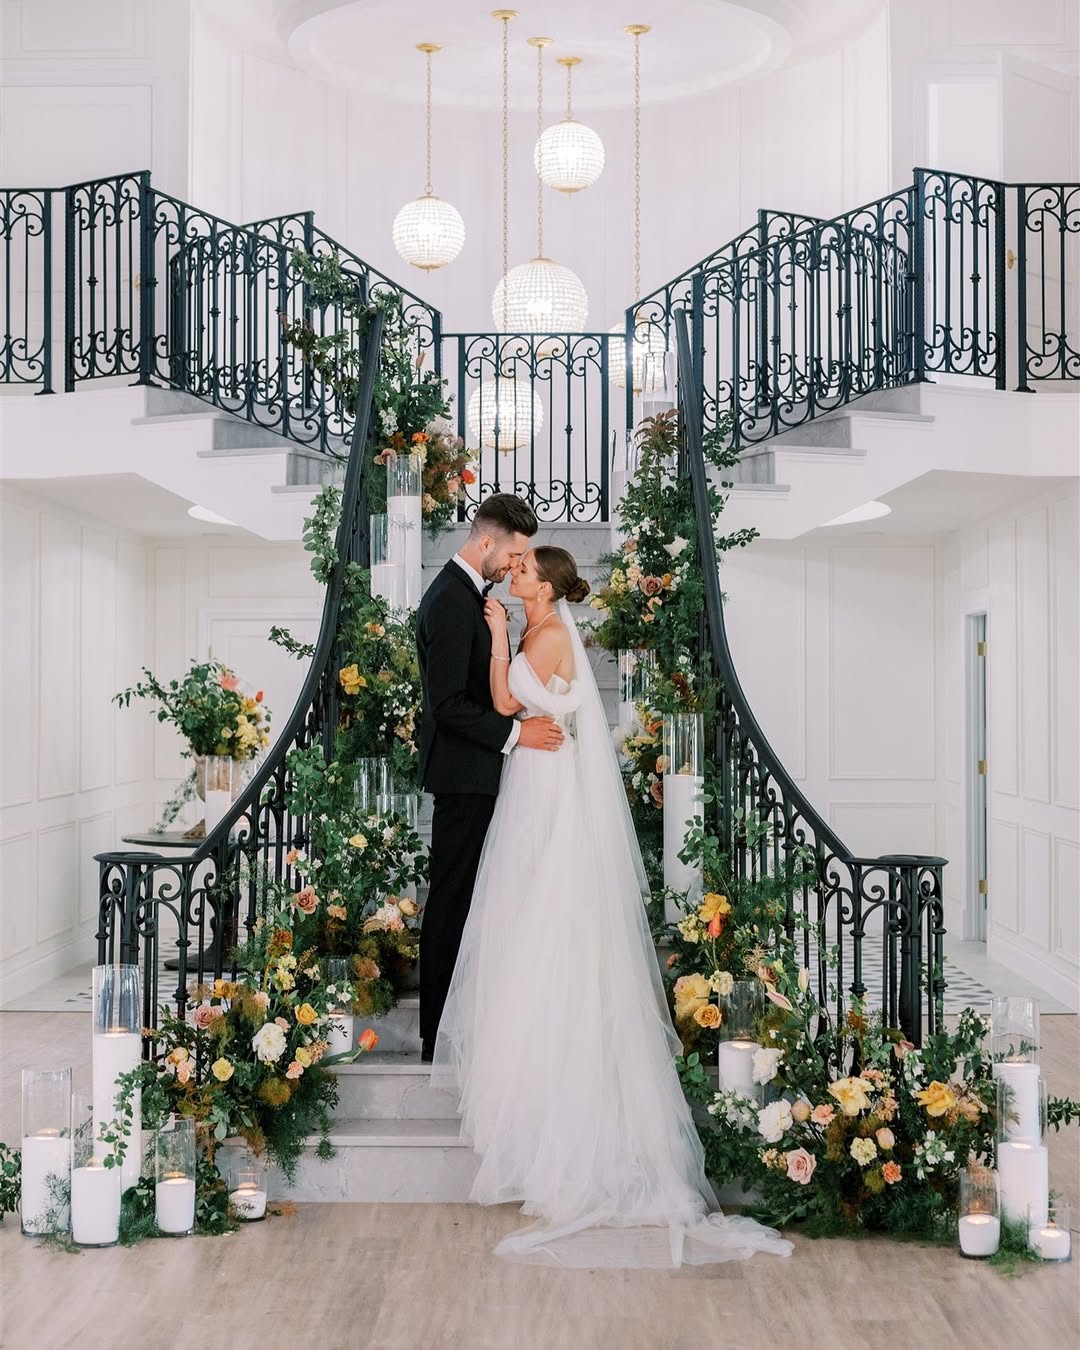
Digital vs. Print Pros & Cons
Print invitations feel traditional and give guests something tangible to display, but they cost more and need more lead time. Digital invitations save money and make tracking RSVPs easier, though they can feel less formal and occasionally get lost in spam folders or overlooked by less tech-comfortable relatives. Many couples split the difference: print for the wedding itself, digital for smaller events like a welcome party, or send save-the-dates digitally and save the budget for beautiful print invitations later.
Create a wedding website regardless, since it becomes your central hub for accommodations, registry links, schedules, and travel details, all easy to update as changes come up. It also saves you from repeating the same answer to a dozen different guests every time something shifts.
Step 11 – Organize Transportation & Accommodation
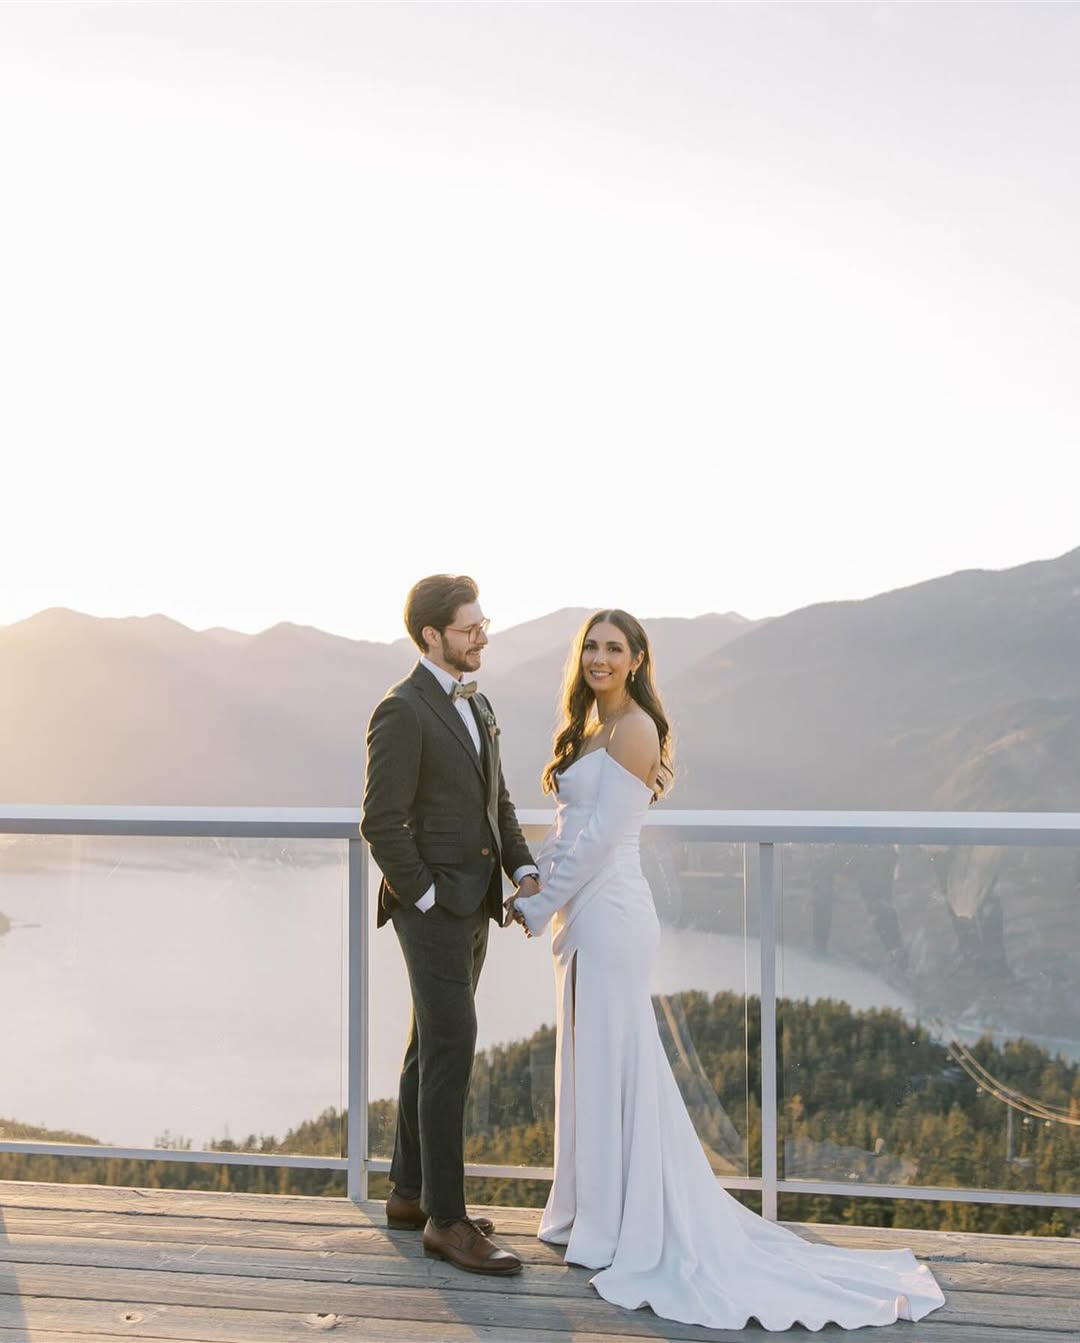
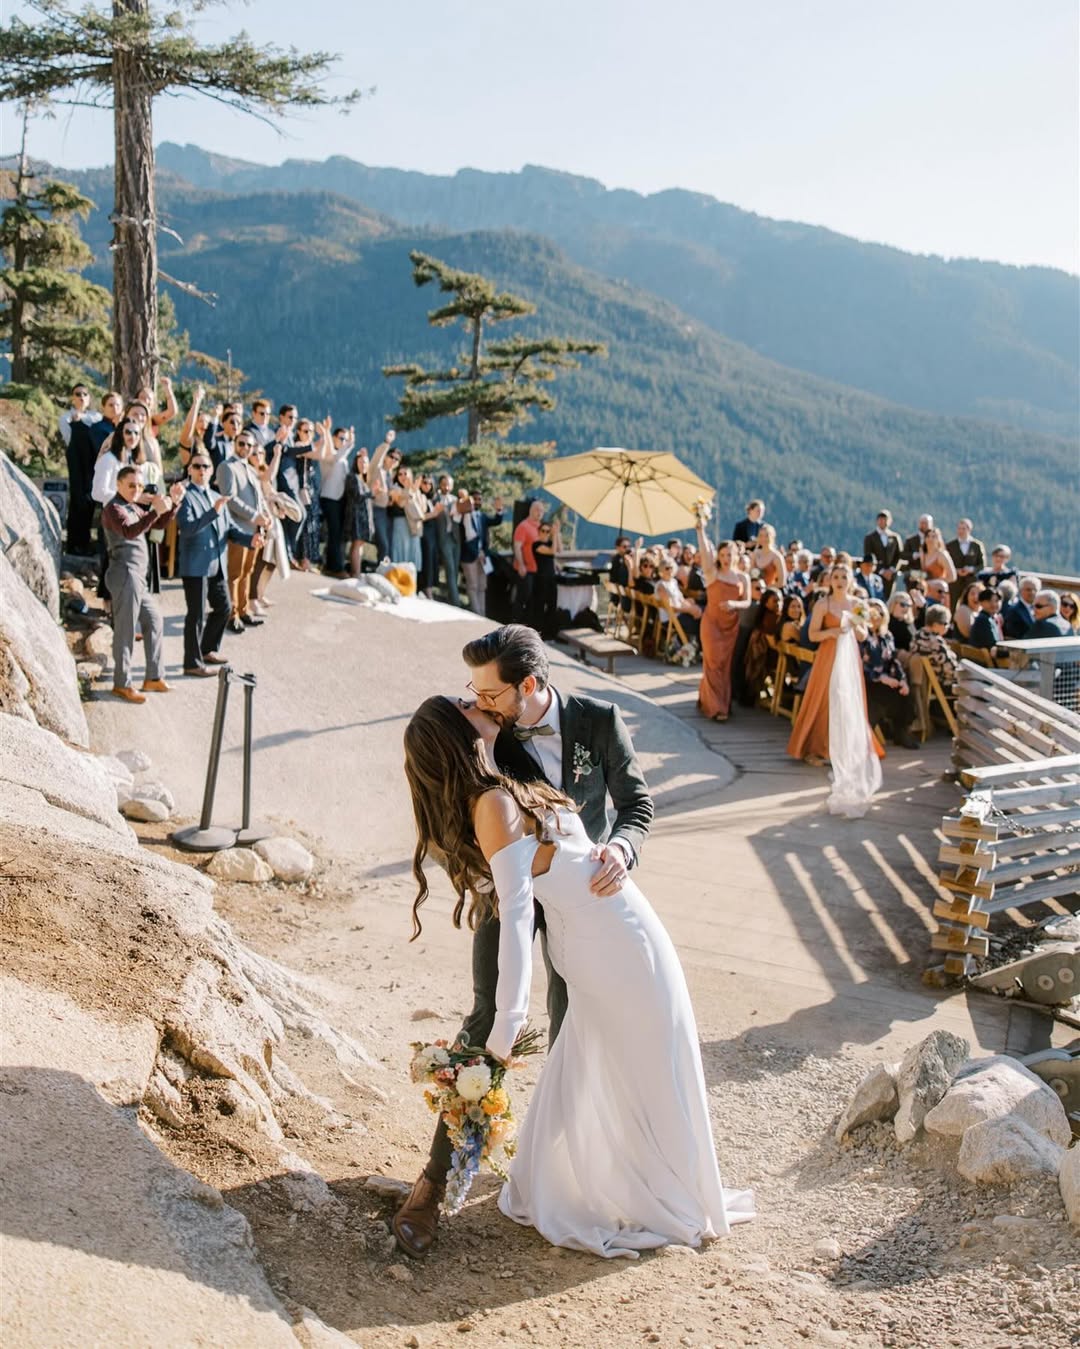
Your guests are traveling to celebrate you - make that journey as smooth as possible. Thoughtful logistics show you care about their experience, and the couples who nail this part are usually the ones whose guests talk about the wedding for all the right reasons.
Hotel Blocks
Reserve room blocks 6-9 months before your wedding at 2-3 hotels across different price points, negotiate group rates (typically 10-15% off), and ask about courtesy blocks that hold rooms without financial penalty if they don't fully book. Also ask for the cutoff date when unreserved rooms are released back to the public, since missing it can leave latecomers scrambling. Choose hotels near your venue, or near the airport if most guests are flying in, and include all of this information clearly on your wedding website and details card.
Guest Transportation
Shuttle services between hotels and your venue eliminate parking concerns, let guests drink freely, and ensure everyone arrives on time, so budget for round-trip coverage from ceremony start through reception end, plus a mid-reception departure option for guests with kids or anyone who won't be staying late. For destination weddings specifically, airport transportation on arrival and departure days is incredibly appreciated, and even without a full shuttle service, clear information about taxi services, rideshare availability, and estimated costs goes a long way toward helping guests plan ahead.
Bridal Party Coordination
Your wedding party needs clear direction on when and where to be, so send a detailed timeline 1-2 weeks before the wedding covering where to arrive for getting ready, what time hair and makeup starts, when photos begin, where to store personal belongings, transportation to the venue, and where they need to be throughout the evening. If you're getting ready at different locations, a bridal party at one place, groomsmen at another, coordinate transportation to the venue directly rather than assuming everyone has a car or actually knows the way there.
Step 12 – Gifts, Registry & Favor Management
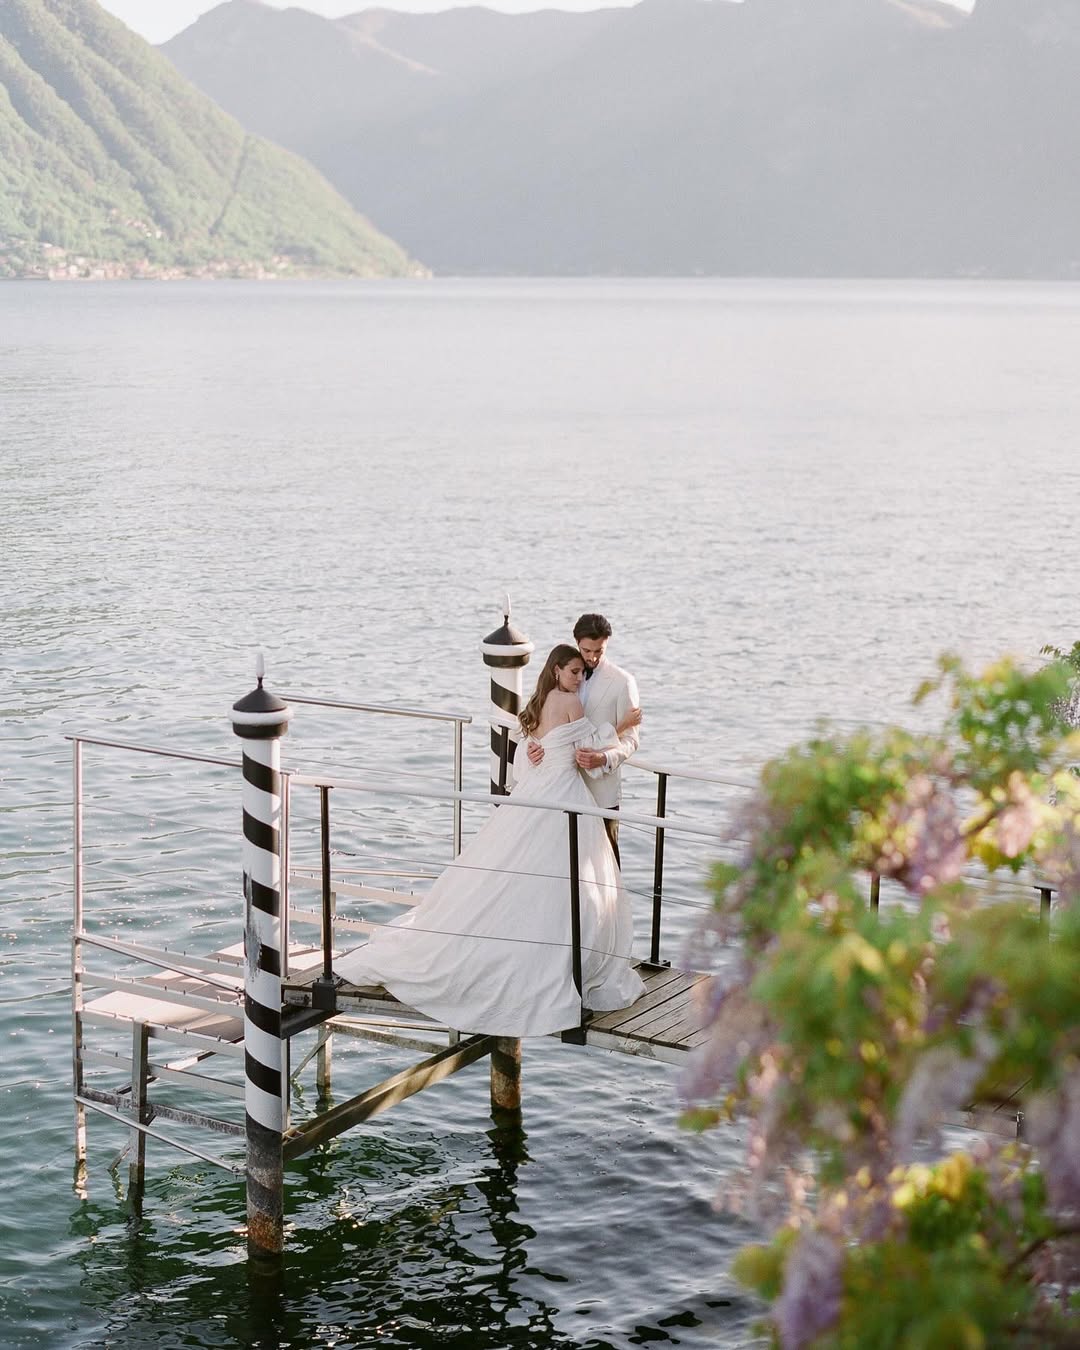
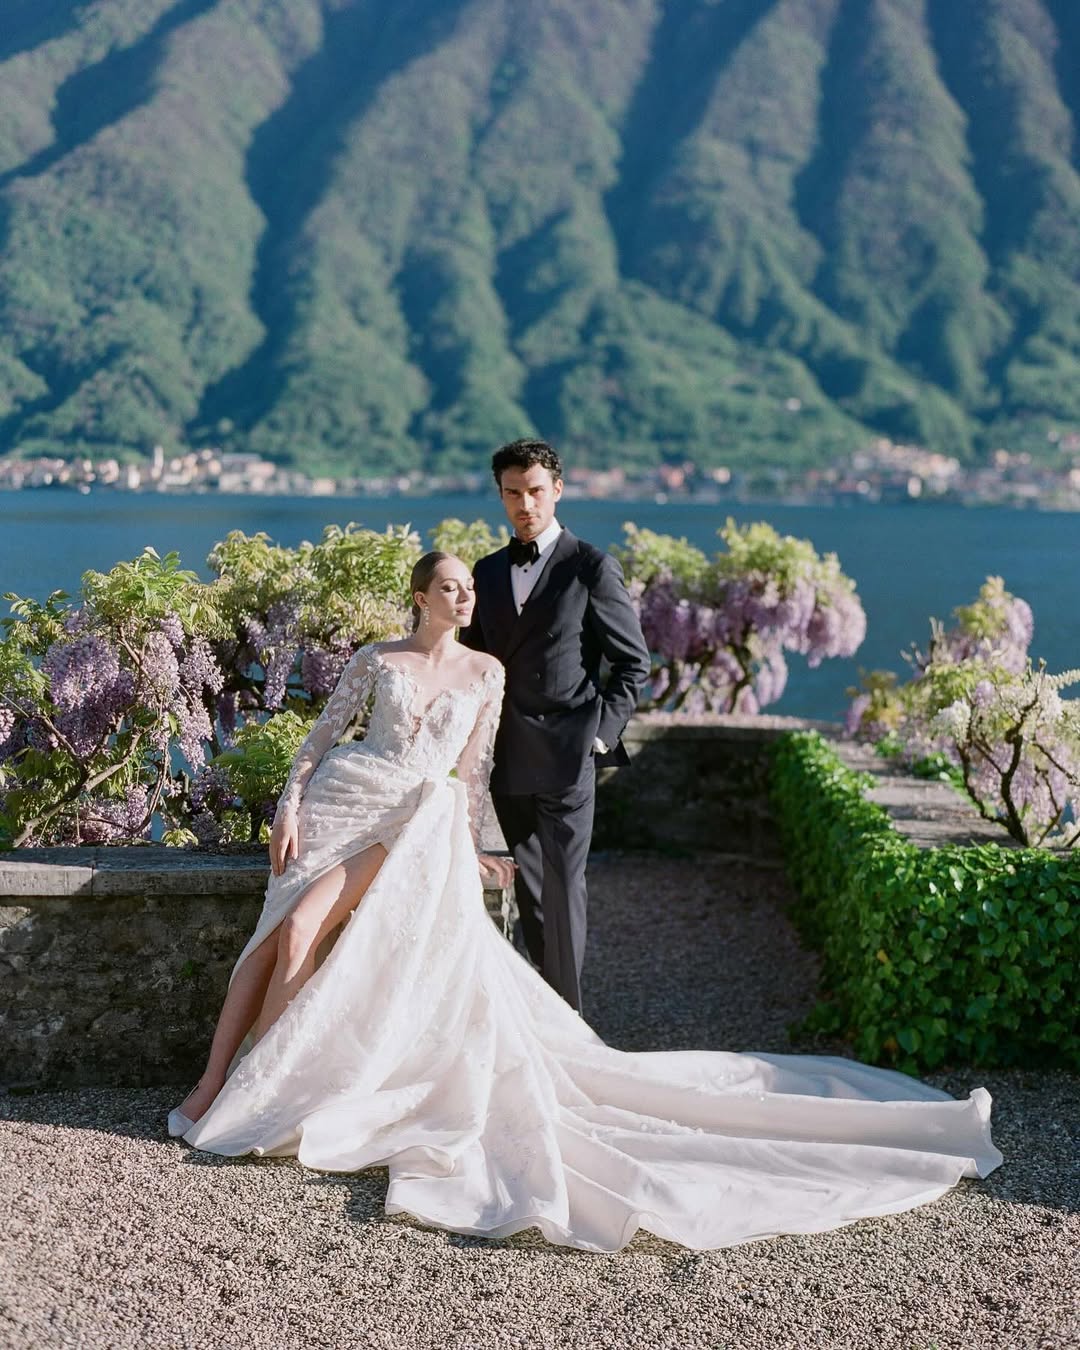
Registries help your guests give you what you actually need. Favors are optional thank-yous. Neither one needs to be complicated, even though both tend to accumulate far more decisions than they probably deserve.
Registry Setup
Create your registry 2-3 months after engagement so guests can shop early if they want to, registering at 2-3 stores across different price points, one traditional department or home goods store, one online, and potentially one specialized to your interests, an outdoor store if you're adventurous, a bookstore if you're readers. Register across a genuine range of prices too, since not everyone can afford expensive items but you also deserve a few dream pieces, aiming to include:
- Basics you need: everyday dishes, sheets, towels
- Upgrades to what you already have, nice cookware, quality appliances
- Experiences, a honeymoon fund, date night fund, or home improvement contributions
Keep your registry updated as items get purchased, since nothing frustrates guests more than finding it empty or seeing duplicates they can't tell apart. Honeymoon registries and cash funds are increasingly common and perfectly acceptable too, though some guests still prefer giving something traditional, so it's worth offering both options rather than forcing everyone toward cash.
Wedding Favors
Favors are entirely optional - your guests don’t expect them, and they’re often forgotten on tables. If you do them, make them meaningful or useful: Edible favors (local honey, homemade jam, cookies, regional treats) get used. Practical favors (bottle openers, coasters, candles) serve a purpose. Charitable donations in your guests’ names honor causes you care about. Personalized items that reflect your relationship or wedding location create memories. Skip favors entirely if they stress you or strain your budget.
Step 13 – Legal & Administrative To-Dos
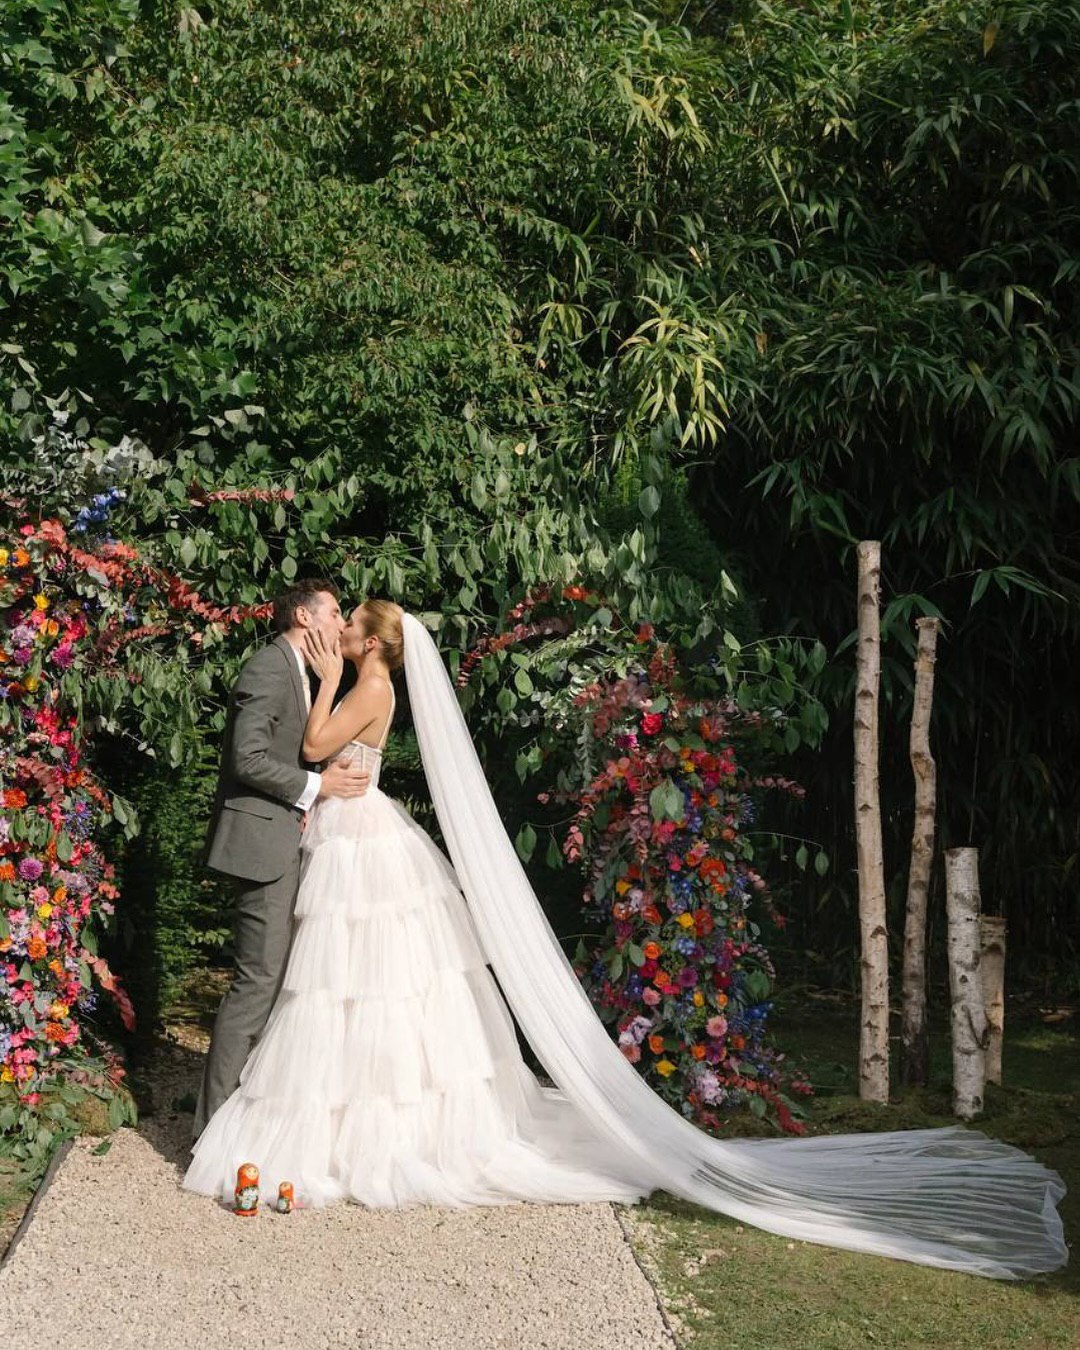
The romance is important, but so is the paperwork that makes your marriage legally recognized- the boring-but-essential stuff nobody posts about. It's not glamorous, but skipping it or leaving it too late can turn into a genuinely stressful scramble in the final weeks.
Marriage License
Requirements vary dramatically by location. Some require waiting periods, some need blood tests, some have residency requirements. Research your specific location’s requirements 2-3 months before your wedding.
- Timing matters: Most licenses are valid for specific timeframes (30-90 days). If you get yours too early, it may expire before your wedding. Get it too late and you’re scrambling. Generally, obtain your license 1-4 weeks before the wedding.
- What you’ll need: Government-issued IDs, Social Security numbers, birth certificates (sometimes), divorce decrees if previously married (original copies), and witnesses (depending on location). In most places, both of you must be present to apply.
- Name changes: If you’re changing your name, you’ll need certified copies of your marriage certificate after the wedding to update your Social Security card, driver’s license, passport, bank accounts, credit cards, employment records, insurance, and everything else. Order multiple certified copies (5-10) from the start - it’s easier than ordering more later.
None of these steps are complicated on their own, but missing the timing window or showing up without the right documents is exactly the kind of avoidable delay that turns a simple errand into a stressful one. Double-checking requirements with your specific county or country office beforehand, rather than relying on general advice like this, is worth the extra ten minutes.
Officiant Requirements
Your officiant must be legally authorized to perform marriages in your location. Requirements vary: some places allow online ordination, others require specific religious credentials or government appointment. Confirm your officiant’s credentials 3-4 months before the wedding. They’ll need to sign your marriage license the day of, along with your witnesses. Make sure they understand the filing process and timeline - some states require them to file the license, others require you to file it.
Insurance
Event insurance protects you against cancellation due to extreme weather, vendor no-shows, venue issues, illness, or military deployment, typically costing $100-600 depending on coverage and covering non-refundable deposits along the way. Liability insurance covers something different: property damage or injuries at your event, and many venues actually require it, though it's inexpensive, often under $200, for the peace of mind it buys. Get either policy 1-2 months before your wedding, and read the terms carefully rather than skimming, since what's covered and what's excluded varies more than most couples expect.
Step 14 – The Rehearsal
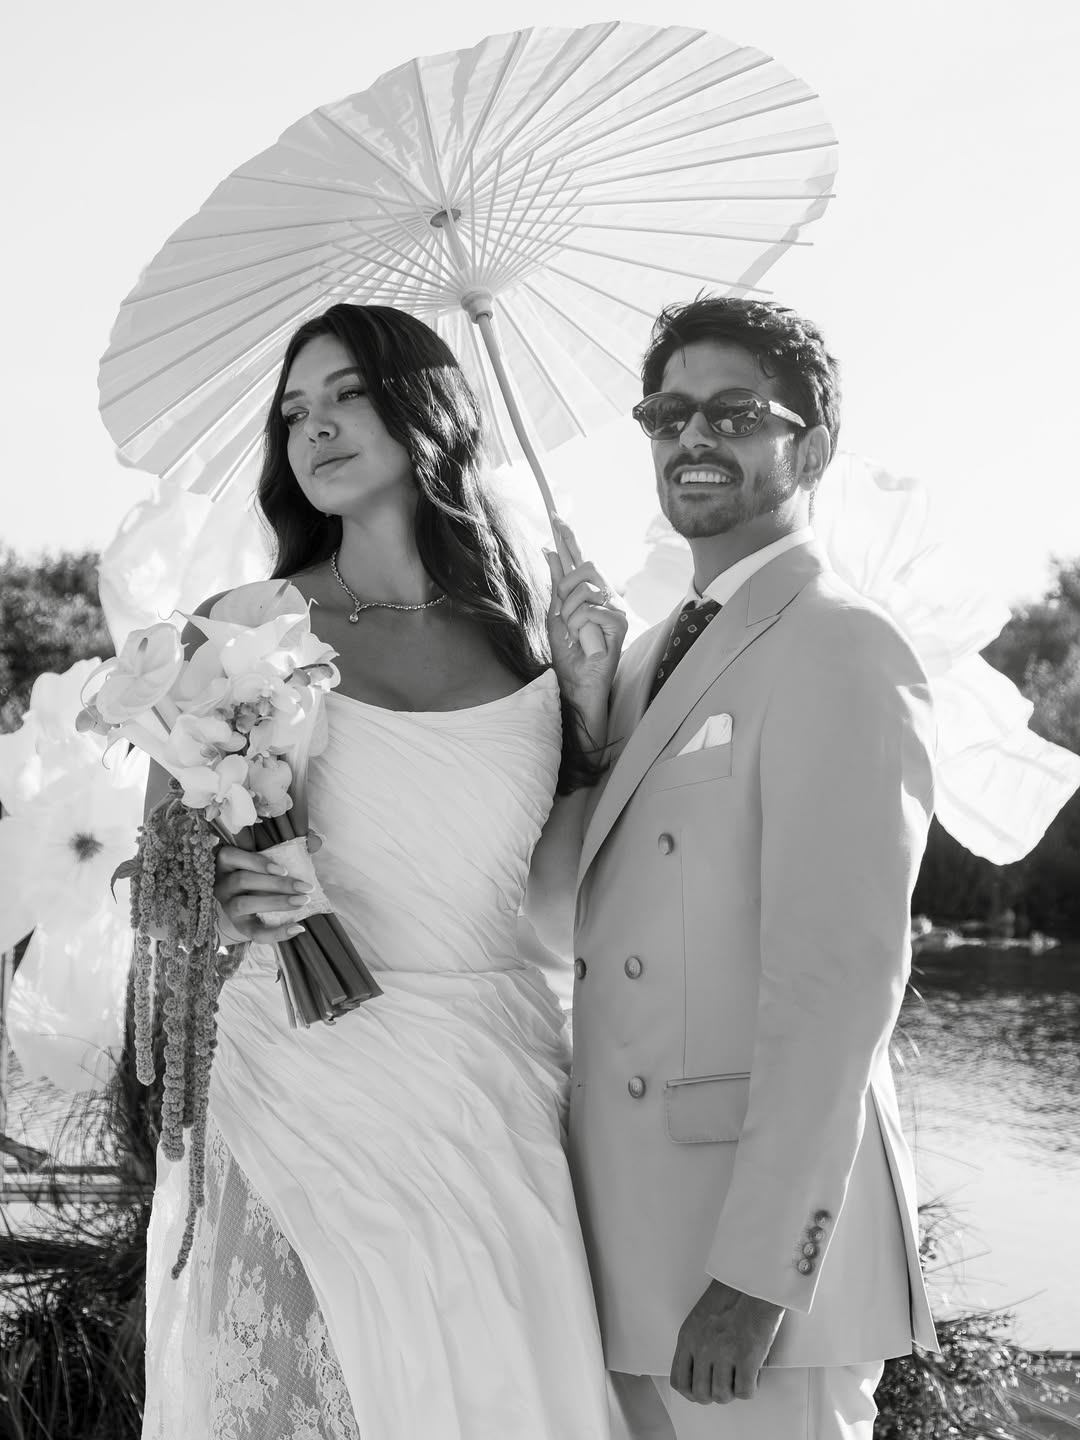
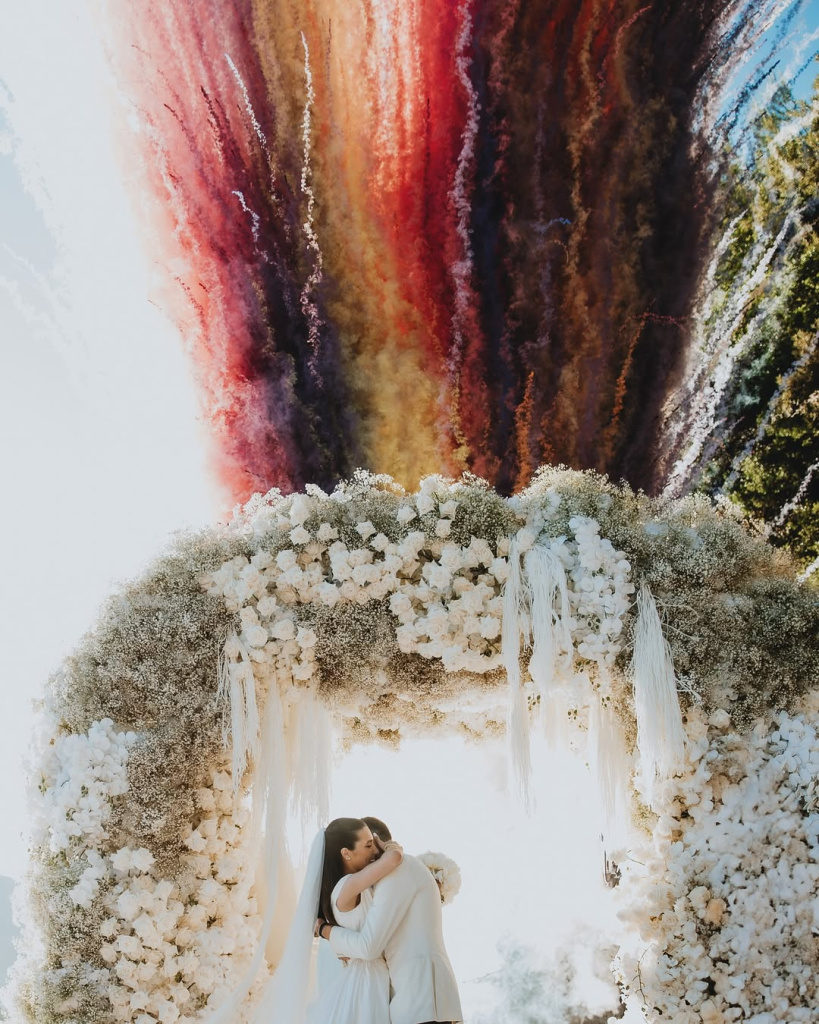
The rehearsal ensures everyone knows their role before the wedding day itself, and it's worth taking seriously rather than treating it as a formality, since a confused wedding party fumbling through their first walk down the aisle on the actual day is exactly the stress this one evening prevents. Schedule it the evening before at the ceremony venue, inviting everyone with a role- wedding party, parents, officiant, readers, and anyone else participating - and walk through the entire ceremony start to finish at least twice: processional order and pacing, where everyone stands, how to hold bouquets and move, when and how rings are exchanged, recessional order and pace. Use the time to address the practical questions too, what if someone faints, where do bouquets go, how slowly should we actually walk; your coordinator or officiant leads this and has seen every version of what tends to trip people up.
The rehearsal dinner follows, typically more casual than the wedding itself, giving your closest people a chance to gather without the larger wedding's formality. Traditionally, the groom's family hosts, though many couples now host themselves or split costs with both families. With the rehearsal behind you, the entire timeline for wedding planning shifts from preparation to execution; nothing left to plan, only the day itself left to actually live.
Step 15 – The Wedding Day
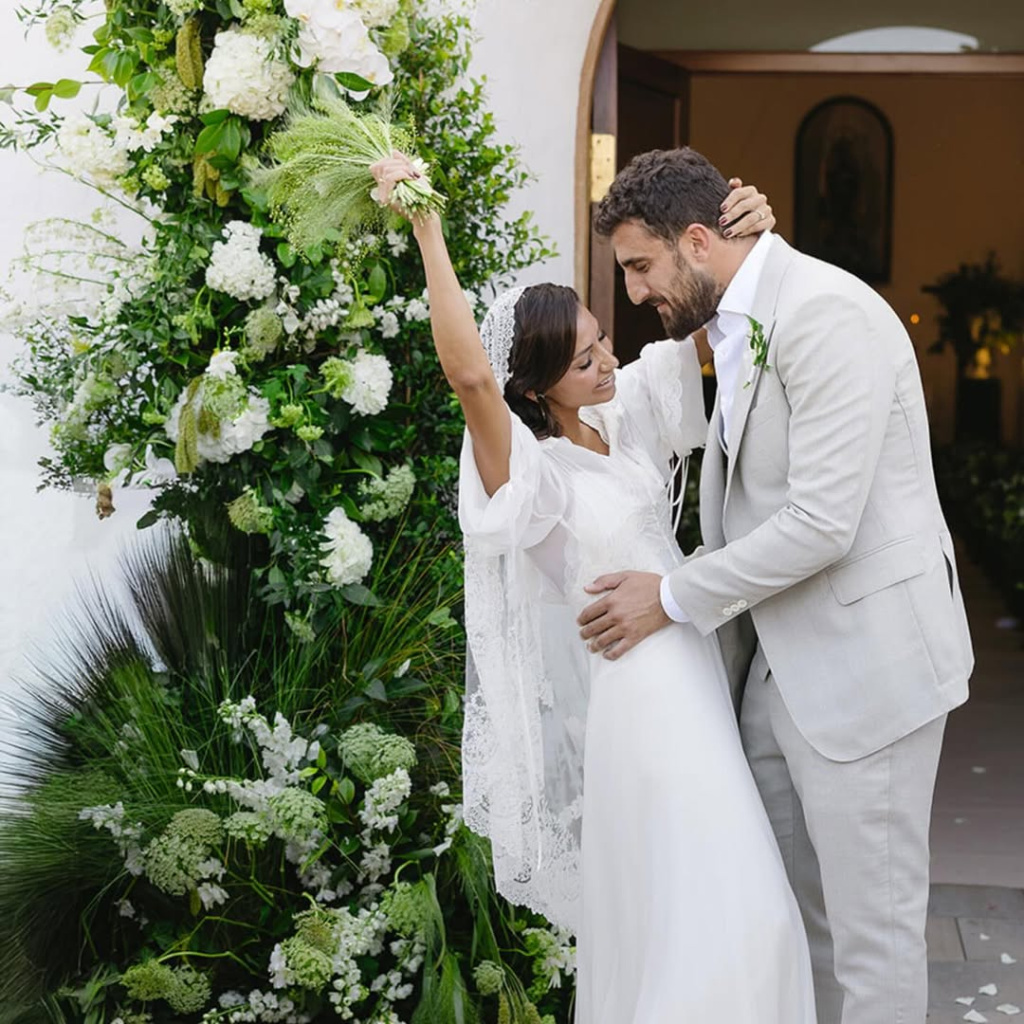
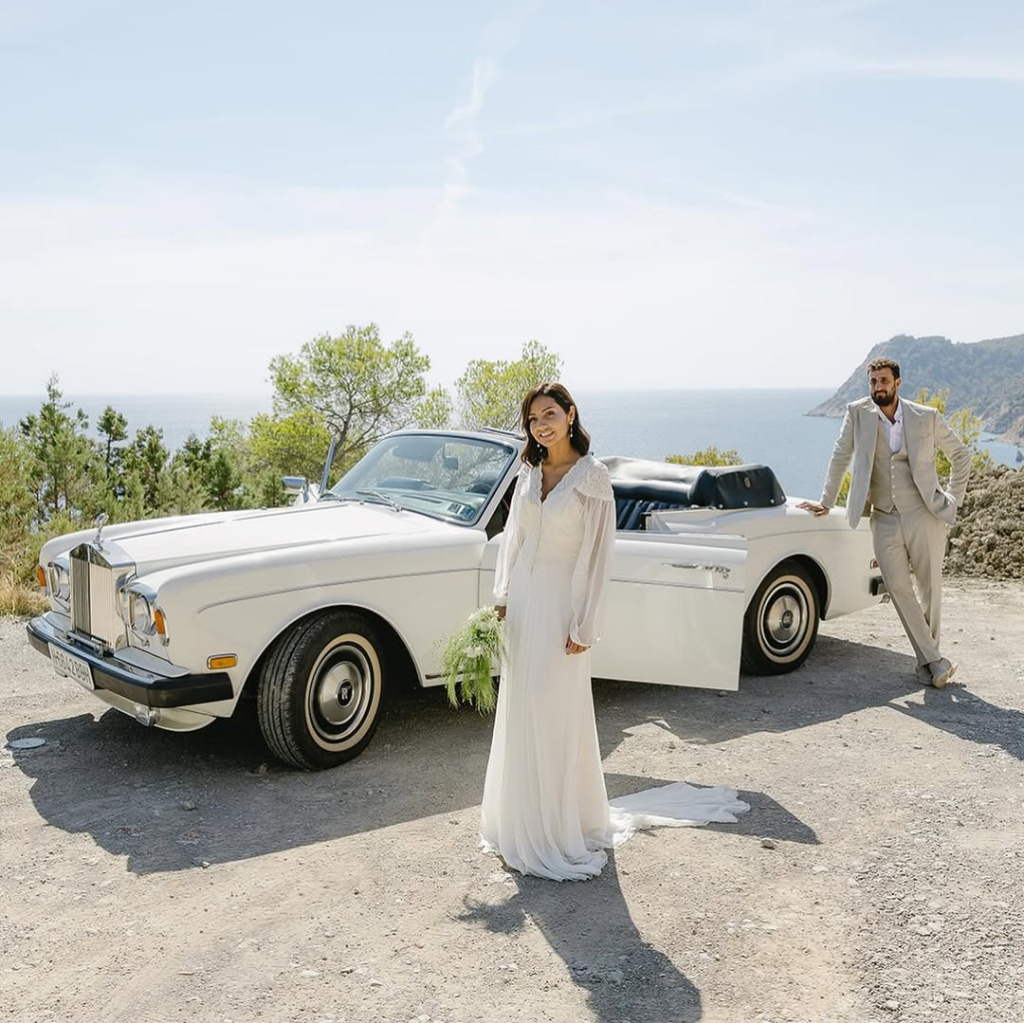
You've been planning for months and made thousands of decisions; now it's time to hand over control, trust your team, and be fully present for the day you've created. Here's what actually contributes to a smooth outcome.
Delegate Everything and Get Your Morning Right
This isn't the day to manage logistics; you've hired vendors and designated a coordinator or trusted people for exactly this reason. Your coordinator handles vendor management and problem-solving, your maid of honor and best man manage the wedding party and keep things on track, and family or friends can take on specific tasks like seating elderly relatives or gathering everyone for formal photos. Trust the people you've already hired and asked, professionals do their best work when they're actually allowed to be professional.
The same goes for the morning. Start preparing earlier than you think you need to, since the rush of getting ready creates stress that affects everything that follows, and build in extra time as a buffer for delays or just to enjoy these moments with the people you are closest to.
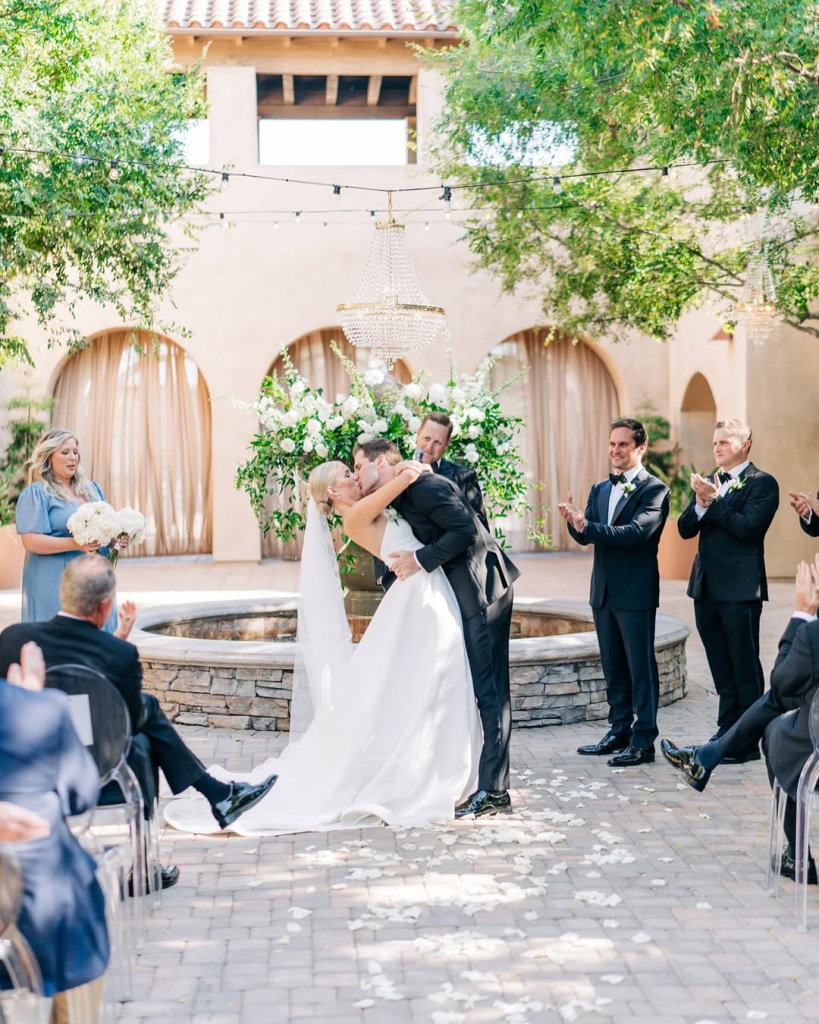
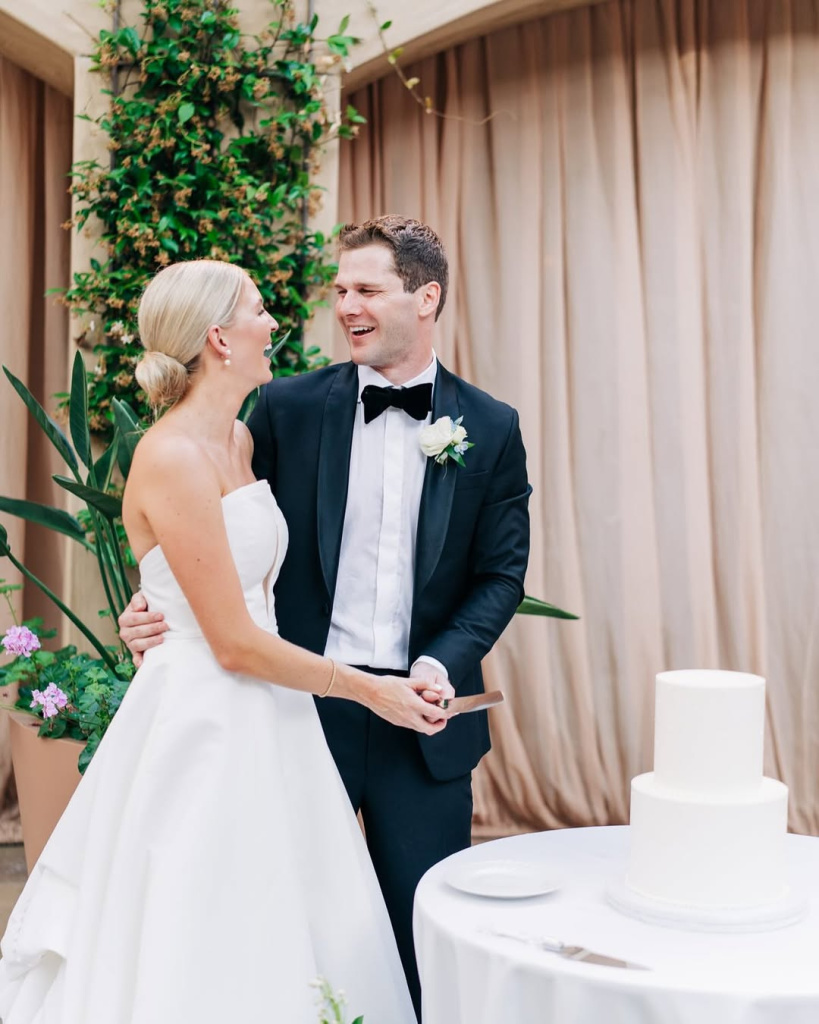
- Create the right atmosphere: Choose your getting-ready location thoughtfully. Natural light is ideal for photos and makeup applications. Make sure there's enough space for everyone (hair and makeup artists, photographer, wedding party, family who'll stop by). Keep it relatively calm - this isn't the time for chaos or drama.
- Eat breakfast: We're serious about this. You're going to be standing, greeting hundreds of people, dancing, and running on adrenaline. Eat protein, complex carbs, and stay hydrated throughout the day. Your wedding coordinator or designated person should make sure you eat during cocktail hour or have plates ready when you sit for dinner.
- Stay on timeline: Your hair and makeup artists will have a schedule. Stick to it. If photo time is 2pm, honor that. Your photographer has calculated timing for specific lighting. Trust their expertise.
The effort involved is nothing great, since all one needs to do is plan ahead of time, and it's this kind of subtle preparatory work that lets the rest of the day go ahead without anyone noticing how much coordination actually took place.
Emergency Kit Essentials
Have someone, such as the maid of honor, wedding planner, or responsible bridesmaid to take charge of an emergency kit and have them pack it the week before so that on the day of the wedding you won't be in a rush trying to remember what you might need. A few small items put into a bag can quietly resolve the situation when something inevitably goes wrong:
- For attire emergencies: Safety pins (multiple sizes), fashion tape (for keeping necklines and straps in place), needle and thread (white and colors matching your wedding party attire), stain remover pen, clear nail polish (for stocking runs), extra earring backs, bobby pins and hair elastics, static guard.
- For beauty touch-ups: Your lipstick, powder or blotting papers, breath mints, travel-size deodorant, perfume, makeup for touch-ups, hairspray, floss, and toothbrush.
- For comfort and health: Pain reliever (headaches, cramps), antacids, Band-Aids (new shoes cause blisters), tissues, feminine products, any prescription medications you might need.
- For unexpected situations: Small scissors, phone charger, copies of vendor contact information and timeline, snacks that won't stain (granola bars, crackers), water bottles, umbrella (if outdoor elements are involved).
Most items never get used, and that's the point - keeping them available means a minor wardrobe mishap or a headache can be sorted in five minutes instead of becoming a real crisis. Give the kit to someone who doesn't have their own hair and makeup to look after, so it's ready to use when needed.
Mindset for the Day
On your wedding day the things that matter most seldom appear on any checklist; it's not a question of perfection but of being truly present, and couples who look back on their wedding with real warmth are almost never the ones who carried out all the details flawlessly.
- Be present: Put your phone away. Don't check social media. Don't worry about whether the napkins are exactly the right shade of blush. You planned beautifully - now experience what you created.
- Things will go wrong: A vendor might be slightly late. The weather might not cooperate. Someone might spill wine. Your great-aunt might give an unexpectedly long toast. None of it will matter in your memories. What matters is that you're marrying someone you love, surrounded by people who care about you both.
- Observe the details you'll want to remember: How your partner's hand feels when you first see each other. Your parent's expression during the ceremony. The sound of everyone laughing during toasts. The feeling of the first dance. These sensory memories matter more than perfectly styled tablescapes.
- Take intentional pauses: Step away with your new spouse for five minutes. Look out at everyone celebrating you. Sneak away during reception for private photos at sunset. Savor a quiet moment before the grand entrance. These pauses become some of your most treasured memories.
- Let emotions happen: If you cry during vows, beautiful. If you laugh during the ceremony, perfect. If you're overwhelmed with gratitude, embrace it. Authentic emotion makes your wedding real and meaningful, not performed perfection. Sara sums up the whole philosophy in one line she gives every couple: don't focus too much on the details, always keep the big picture in mind, "that's what the guests will actually remember."
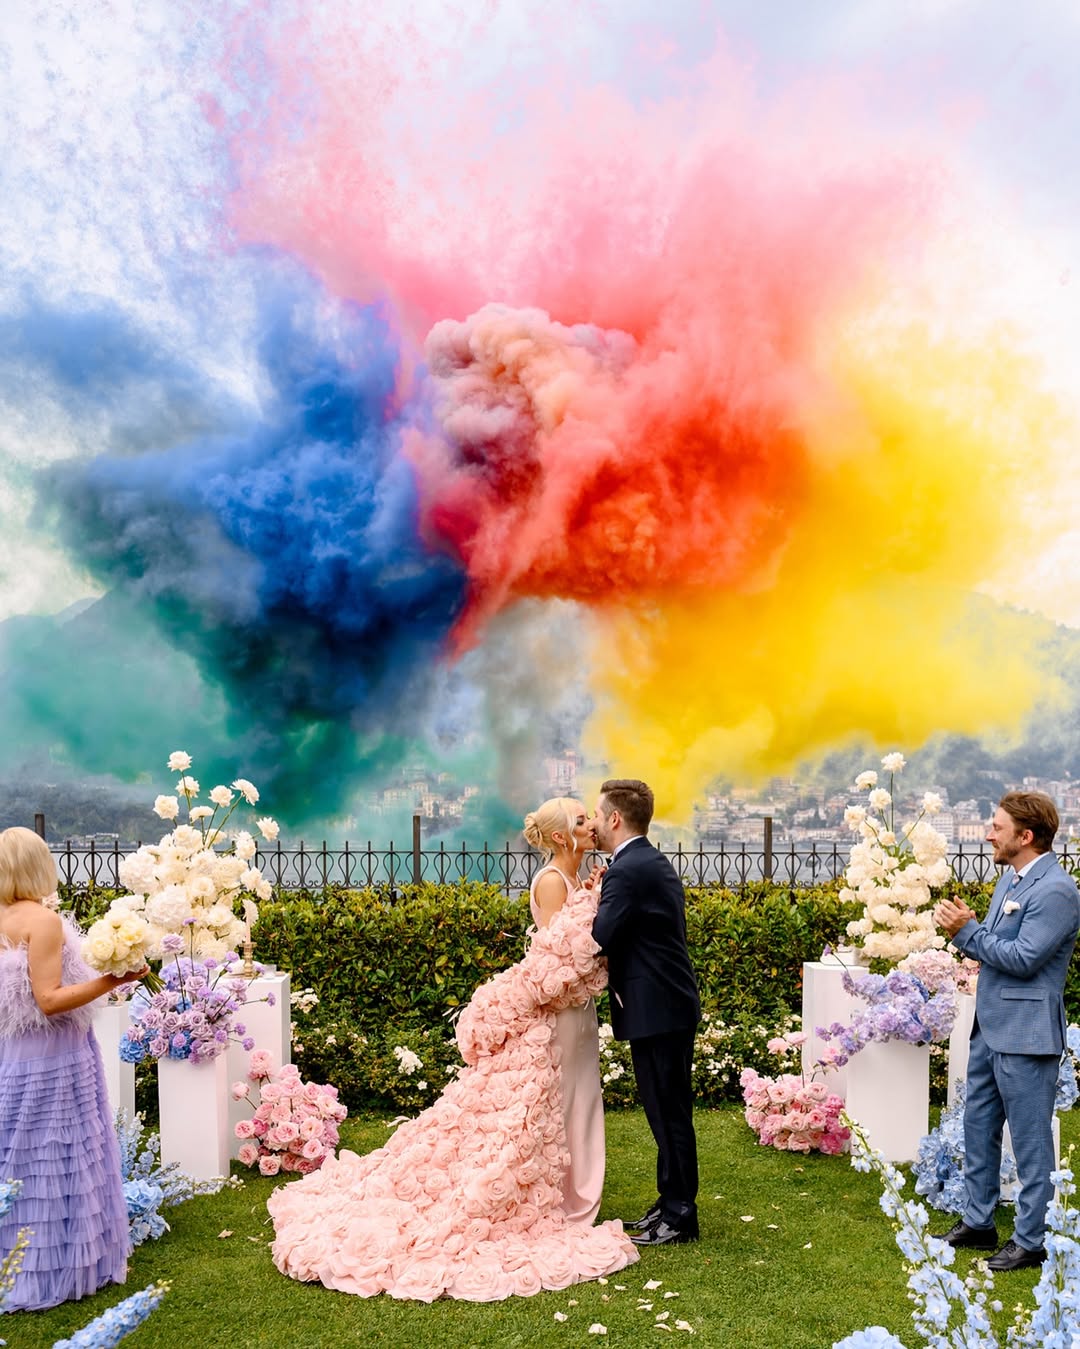
You've got the roadmap now, every decision, timeline, and tip needed to plan a wedding that's authentically yours, whether you follow it step-by-step or jump around prioritizing what matters most. Planning is genuinely one of the more complex events you'll ever organize, so give yourselves grace when things don't go perfectly, and remember that every stressful decision along the way is temporary and leads to one extraordinary day. More than the day itself, though, you're building the foundation for your marriage; the compromise, communication, and teamwork you practice now carry directly into how you'll navigate everything that comes after.
Keep a close eye on the details that are important to you, but don't forget to step back from time to time as well; since you're not simply planning a wedding, you're starting a marriage, and that is the true dream you should be aiming for. Wezoree's directory of wedding planners spans professionals who handle this exact process each season for those who prefer to leave the logistics to someone who can bring the entire vision together. Now go create something beautiful; we're supporting you every step of the way.

FAQ
How far in advance should I start planning my wedding?
Most couples start wedding planning ten to twelve months before the wedding date, but you can organize a wonderful celebration in as little as four months if you prioritize properly. The best timeline varies depending on your venue's availability, how much you want your dress and decorations customized, and whether you are having a destination wedding that needs extra lead time for guests.
Can you really plan a wedding in four months?
Yes, a four-month wedding planning timeline is absolutely achievable, as long as you make quick, confident decisions and stay flexible about your date. By deciding on your three non-negotiables: venue, photography, or the guest experience, early on, you will find the other decisions much easier and the tight schedule less overwhelming.
What’s the first thing I should do when planning a wedding?
Before touching a single spreadsheet or vendor email, sit down together and define your wedding vision: your priorities, your desired mood and style, and a rough sense of guest count. This foundational step makes every decision that follows, from budget allocation to venue selection, considerably easier since you already know what you’re building toward.
How much does the average wedding cost?
Wedding costs vary enormously by region, guest count, and priorities, but venue and catering typically consume 40-50% of a couple’s total budget, with photography, attire, flowers, and entertainment filling out most of the remainder. Building a 10-15% contingency buffer into your total budget from the outset helps absorb hidden costs, service charges, alterations, and overtime fees that catch most couples off guard.
Do I need a wedding planner, or can I plan everything myself?
Plenty of couples successfully plan a wedding themselves with a detailed checklist and consistent organization, especially on a ten-to-twelve-month timeline that allows steady, unhurried progress. That said, a wedding planner becomes considerably more valuable on a compressed four-to-six-month timeline, since their existing vendor relationships and industry knowledge can save weeks of research and prevent costly scheduling conflicts.
What should I do in the first week after getting engaged?
Beyond simply enjoying the moment, the first week is a good time to start a shared vision board, have an honest conversation about budget expectations with each other and any family contributing financially, and get a rough sense of your realistic guest count. These early planning steps set the foundation for every decision that follows, long before you need to book a single vendor.